stay home photo tip #4: photographing kids
May 6, 2020
Ever get frustrated taking pictures of your kids?
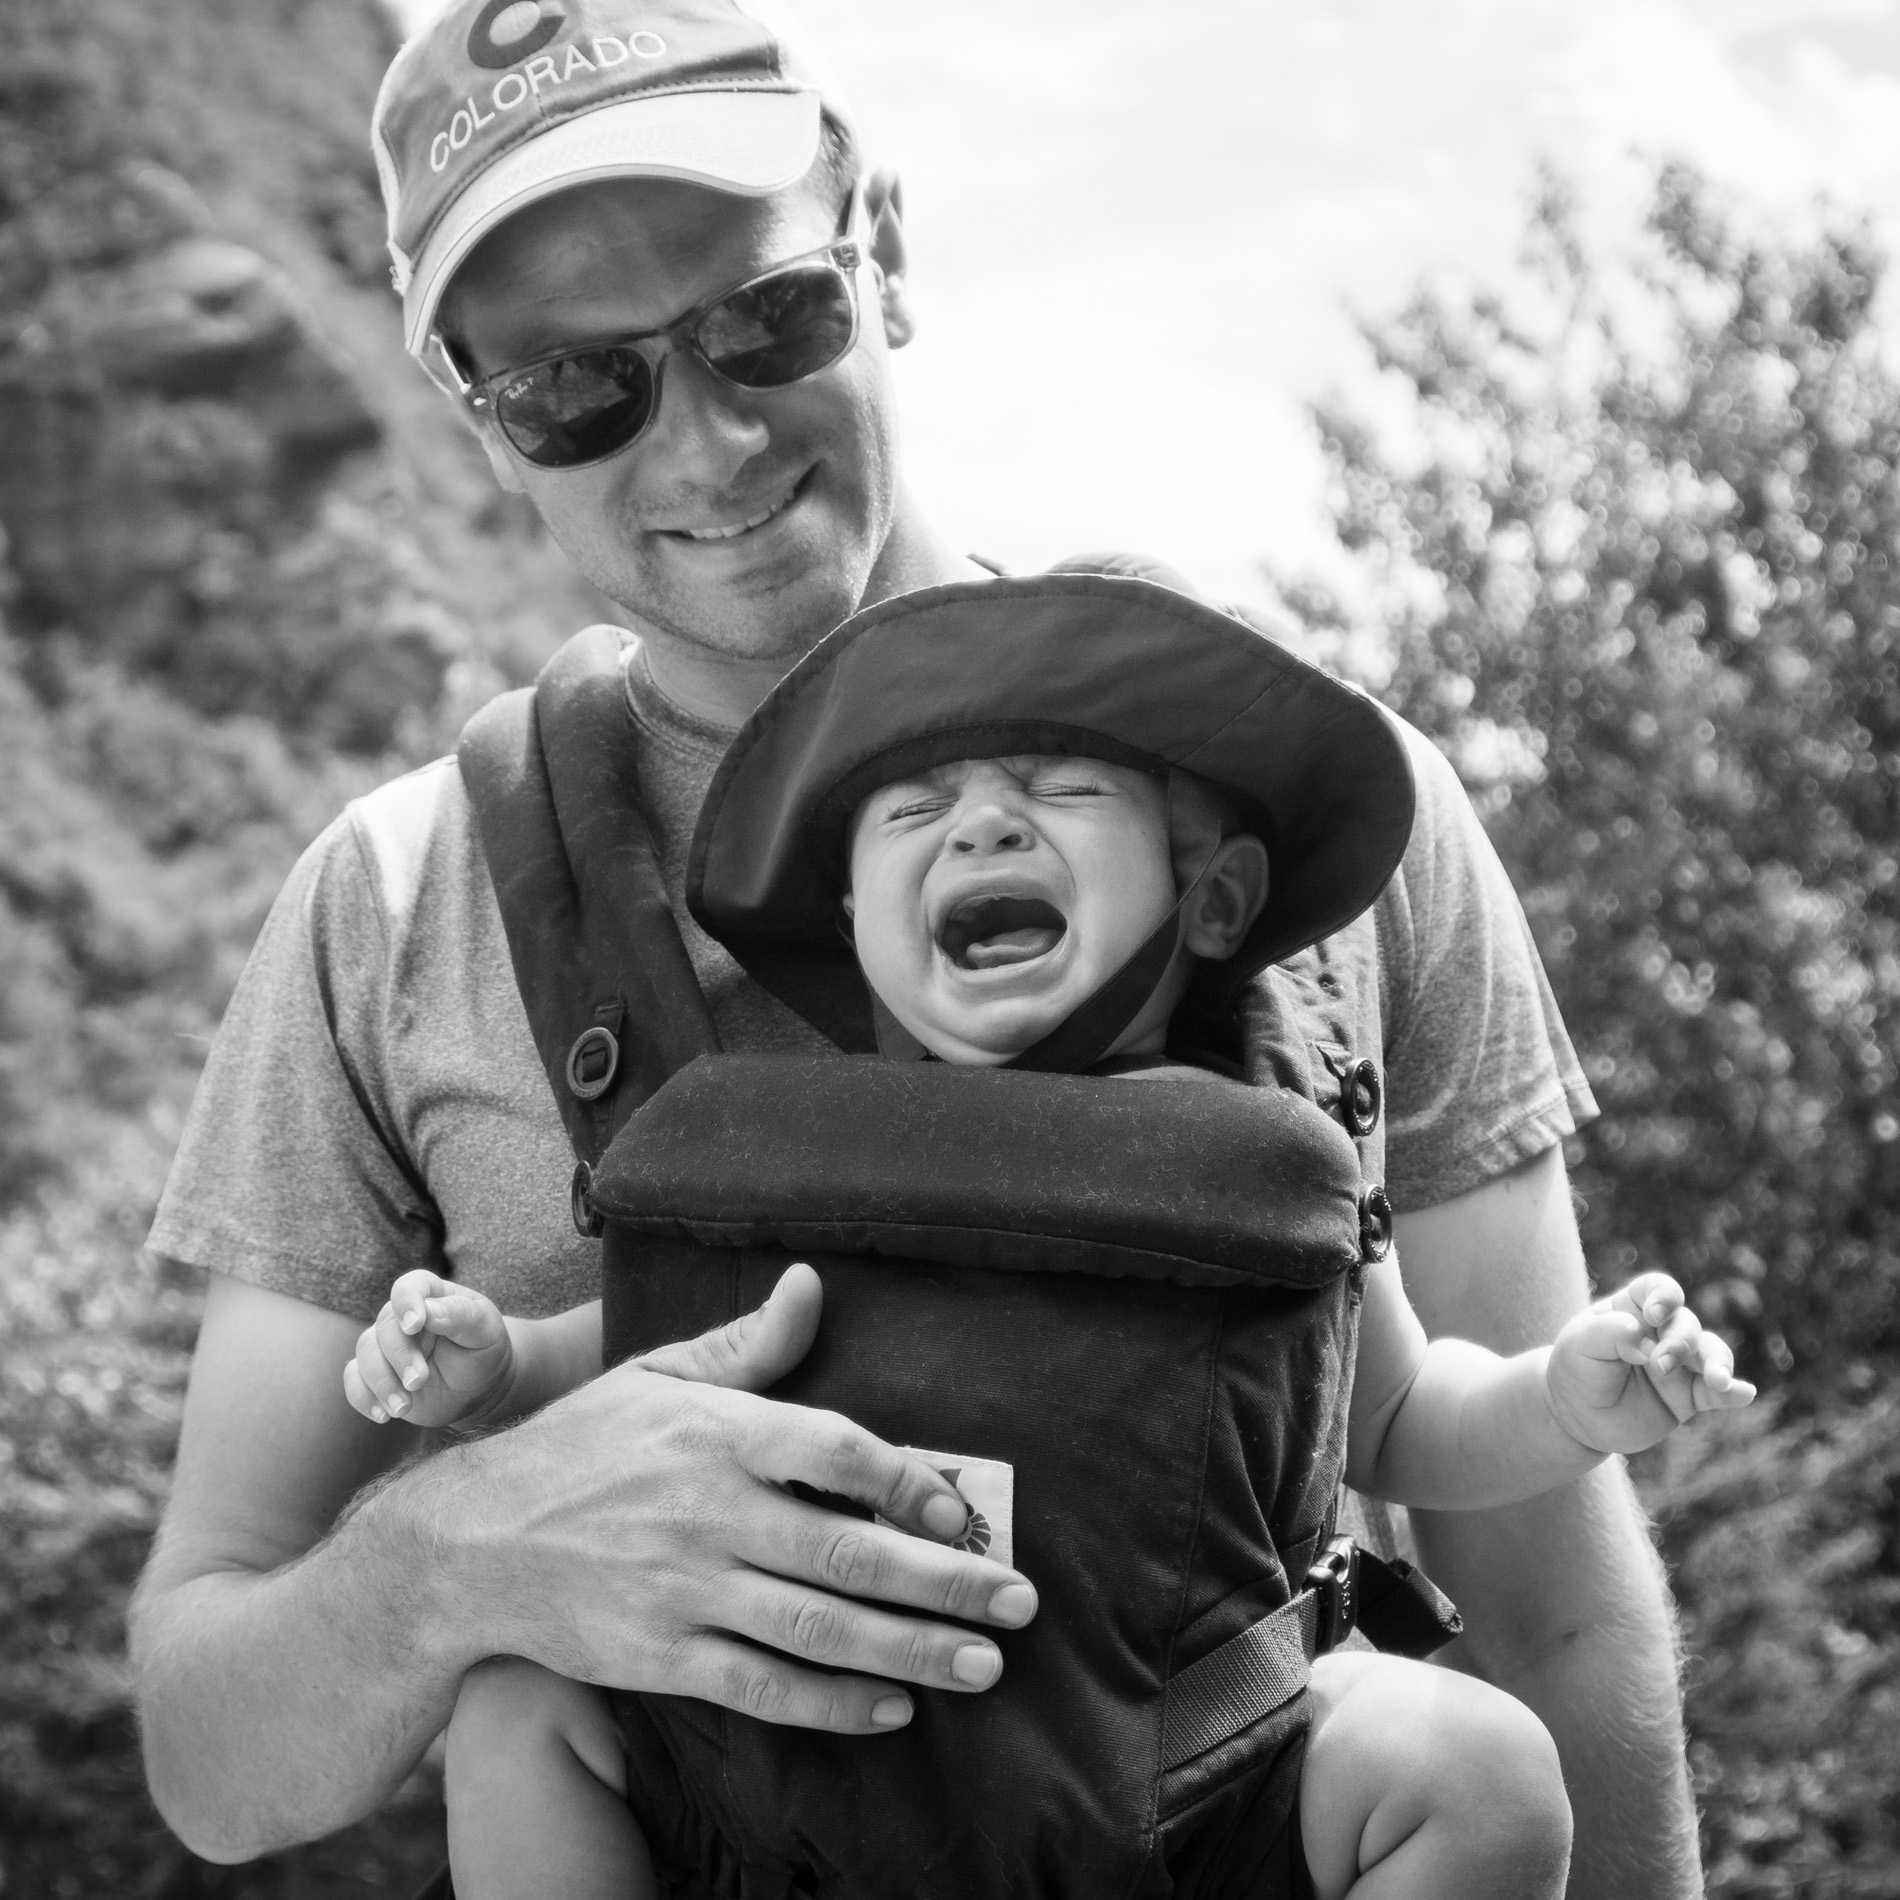
With a toddler and a baby at home, believe me – I feel your pain when trying to photograph your kids. Have you even SEEN how fast a 2-year-old can run?! It’s ridiculous!
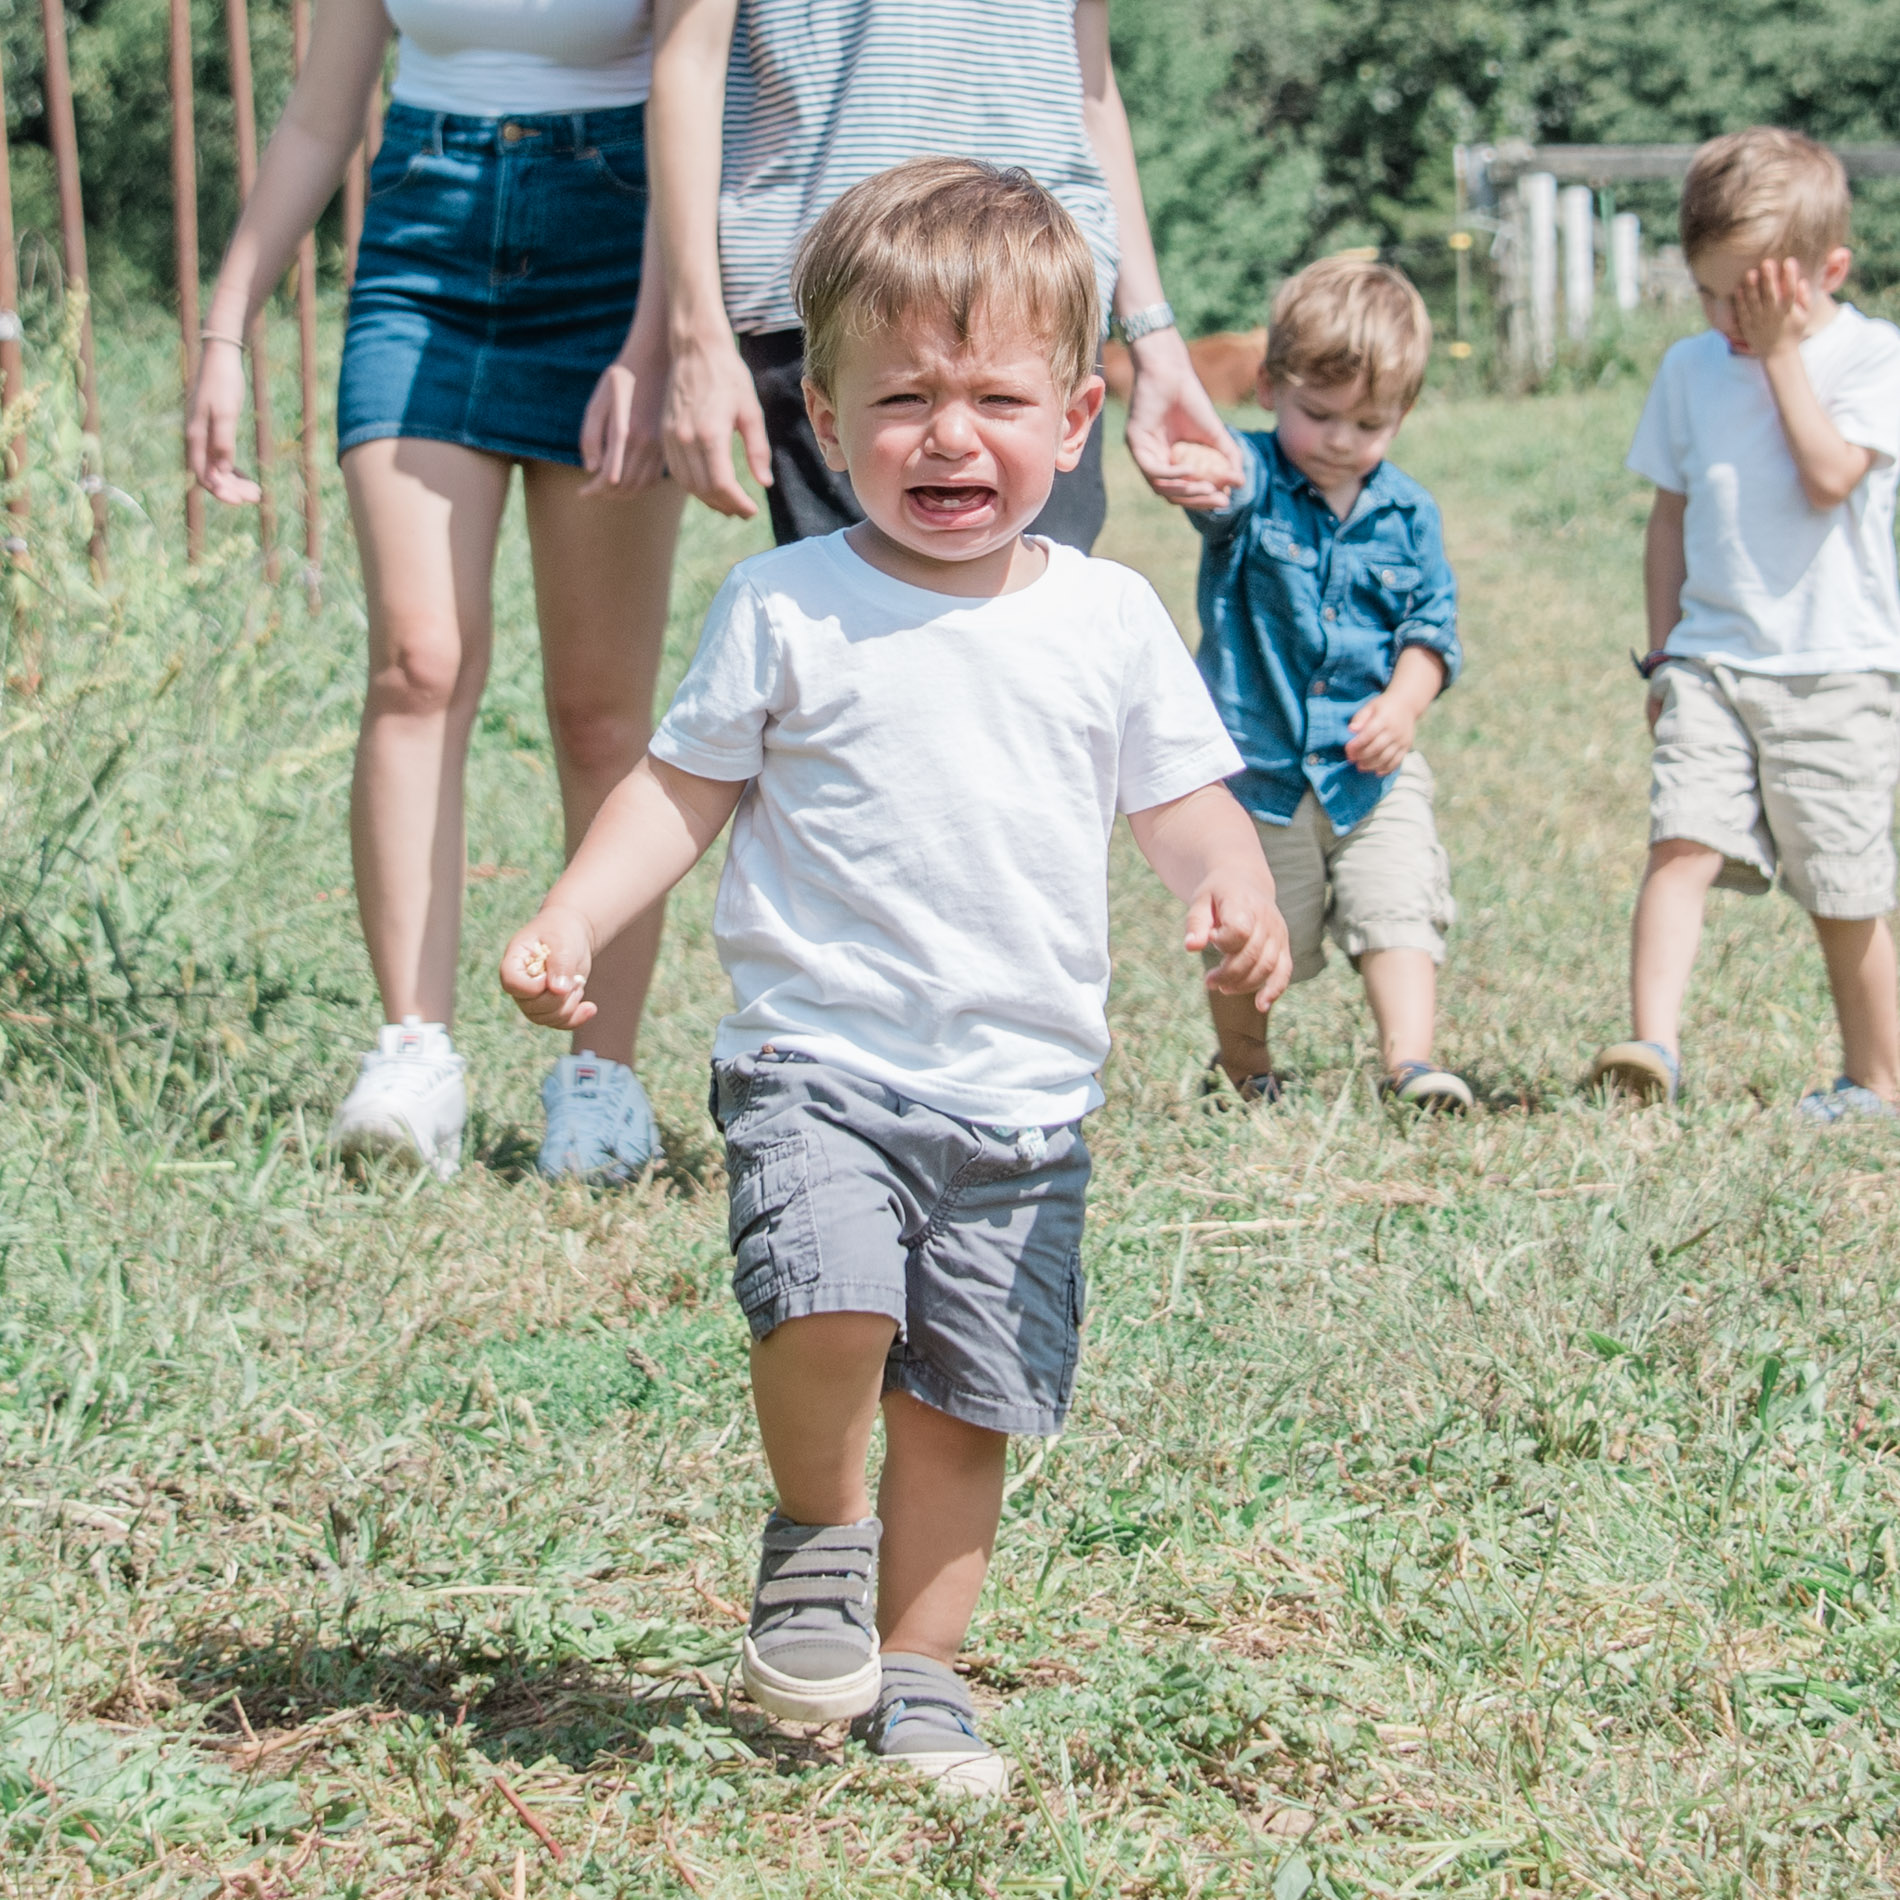
While I can’t help you ward off a bad attitude (see above picture of my son simply NOT having it!) I do have some great tips to help you take better pictures of your family while we’re all stuck home staring at each other.
And if you think your problem is not having a better camera, I’m here to tell you otherwise.
The best camera is the one you have with you, and today I have for you some tips for catching those sweet, funny, and fleeting moments, armed with nothing but your iPhone.
TIP #1: Adjust your position
Shooting candid photos of your children doesn’t mean you don’t have some control over the shots you take. Regardless of whether or not you’re directing your kids, you are still directing the shot.
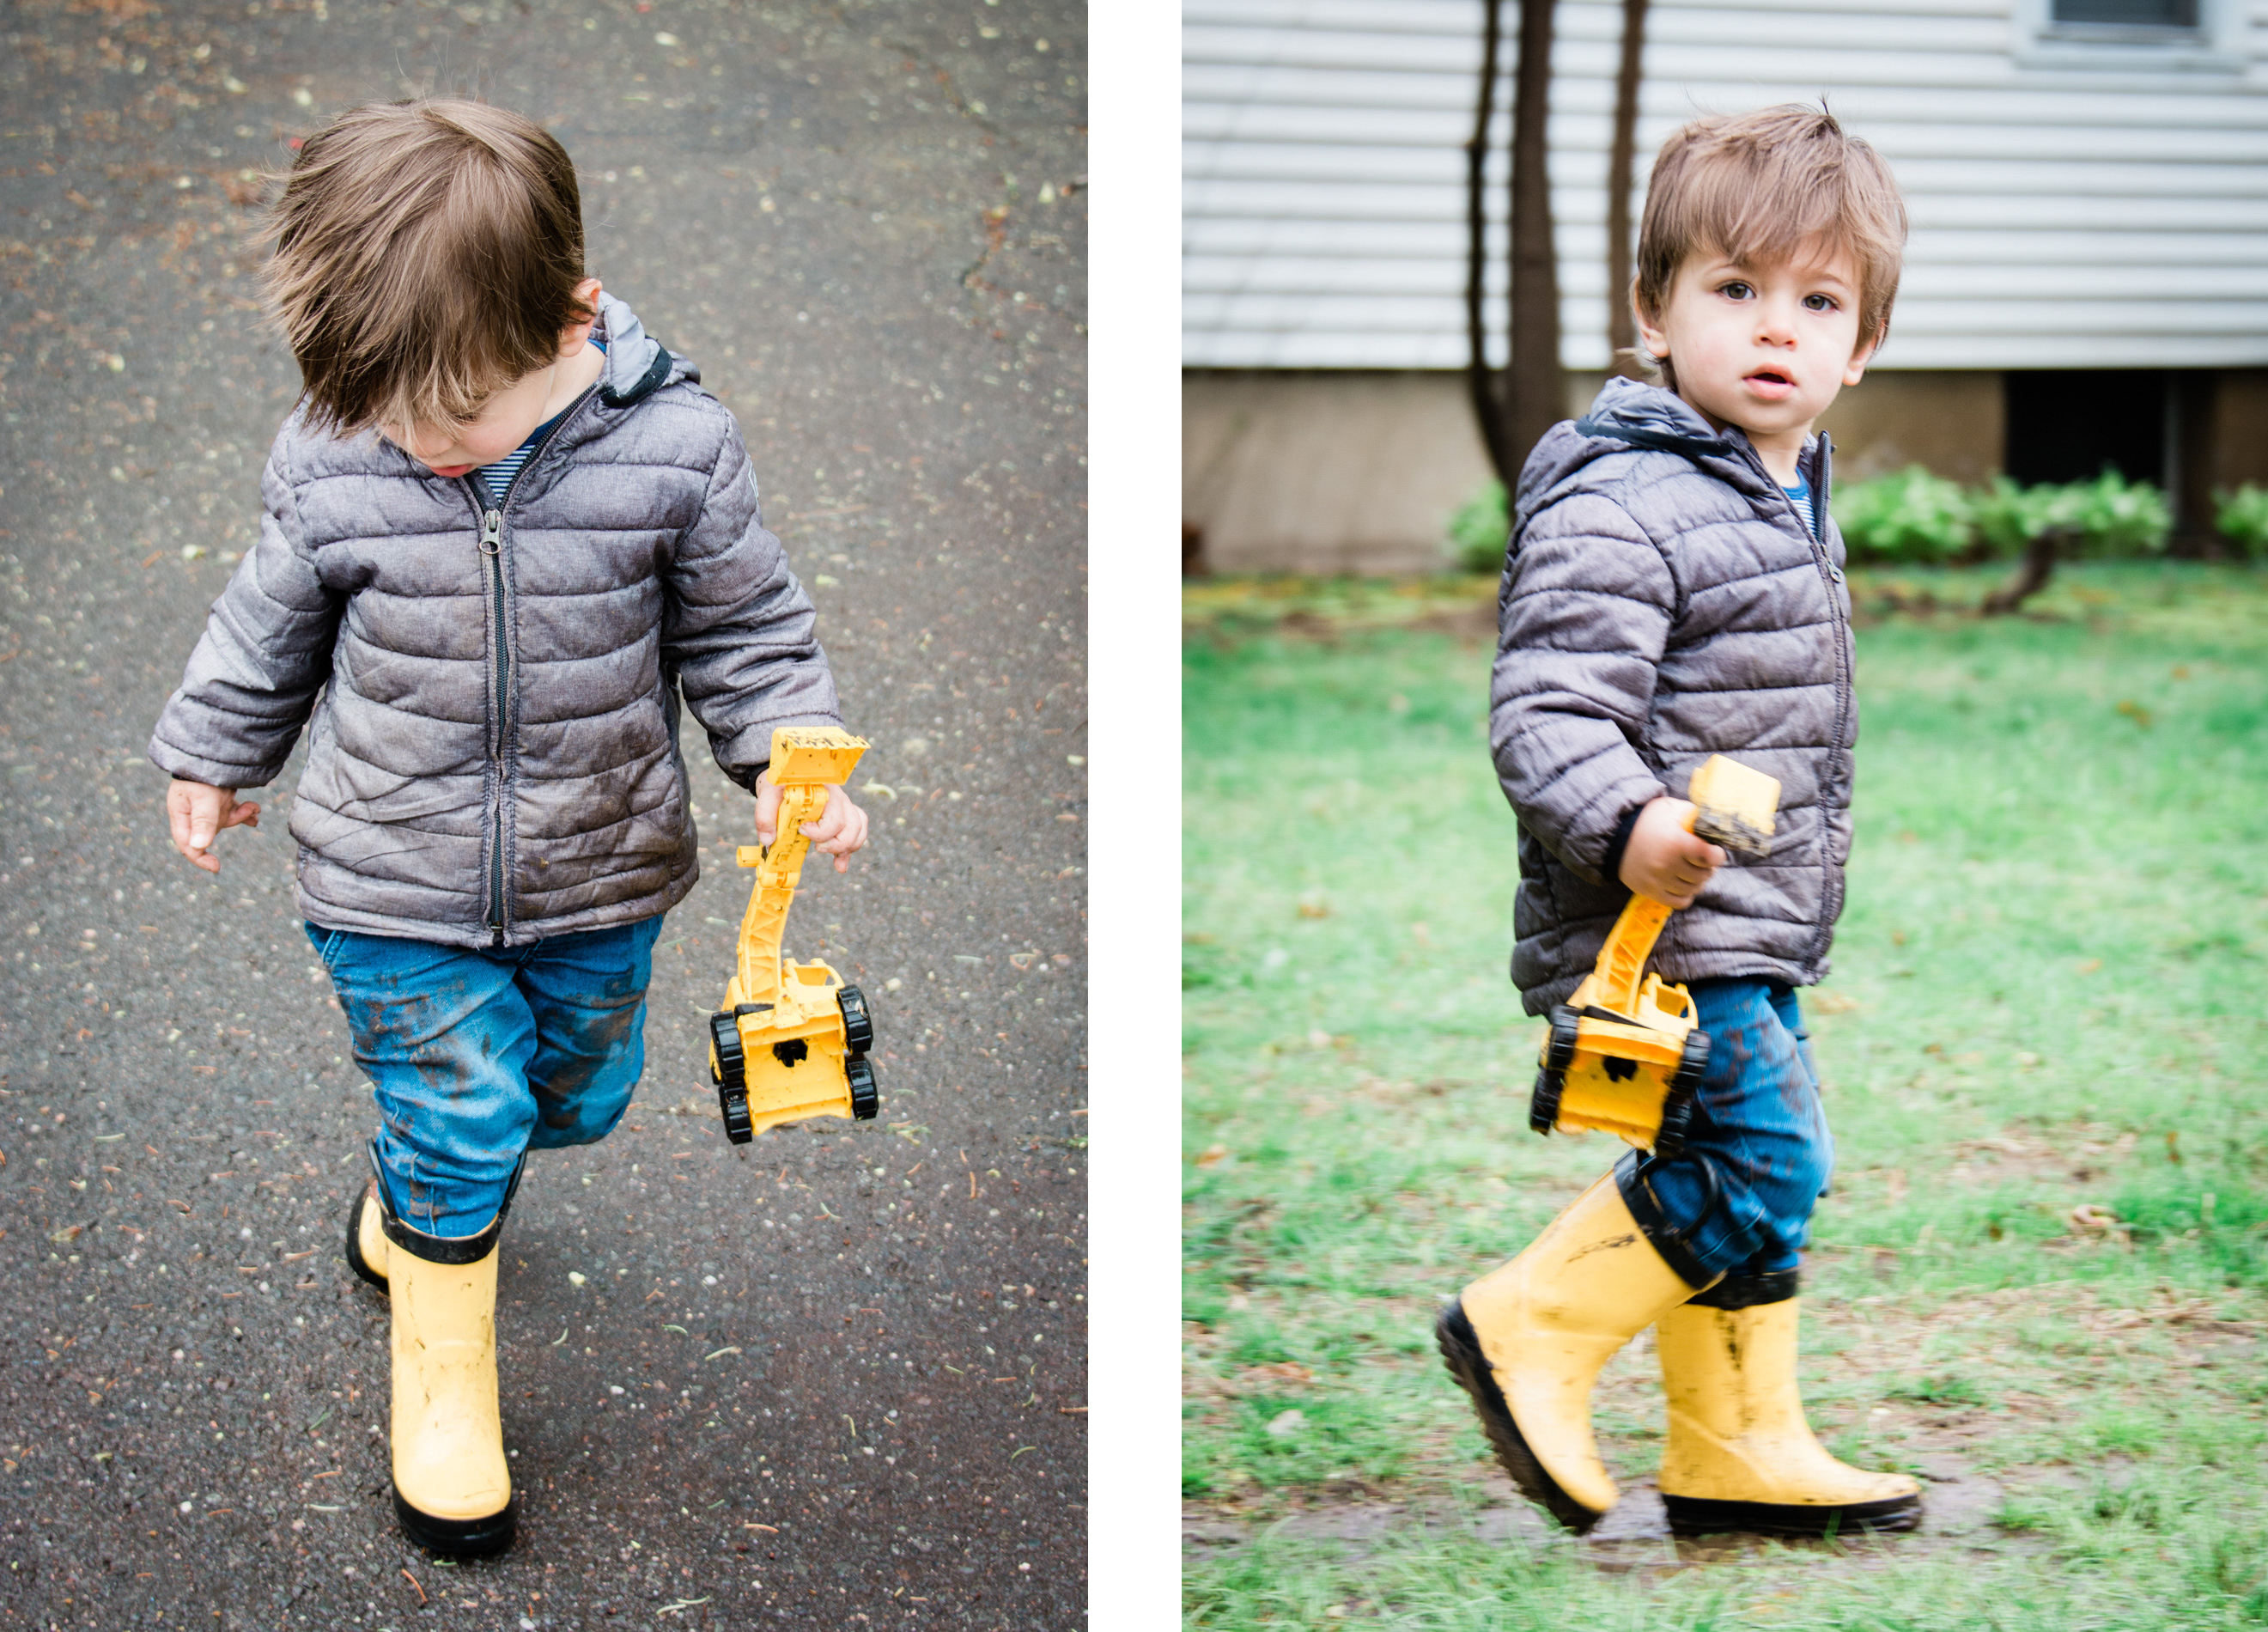
You can often get a better shot just by adjusting your own position to your subjects.
Do you see the difference between these two shots? The truck in the background of the first image is super distracting, and takes a lot of focus away from my cute kid. Do you see what a difference it makes to just move over a step or two, for a cleaner background?
Keep in mind that when you move around your subjects, it’s also going to change other things about your shot as well, such as the direction your light is coming from. You can see that in the images below.
All of the tips I’m going to give you are a balancing act. Sometimes you’ll sacrifice a better background for better light, or some other element. You’re not going to check every box for every photo. Rather, as the photographer, you will get to decide what takes precedence on a case-by-case basis as you shoot.
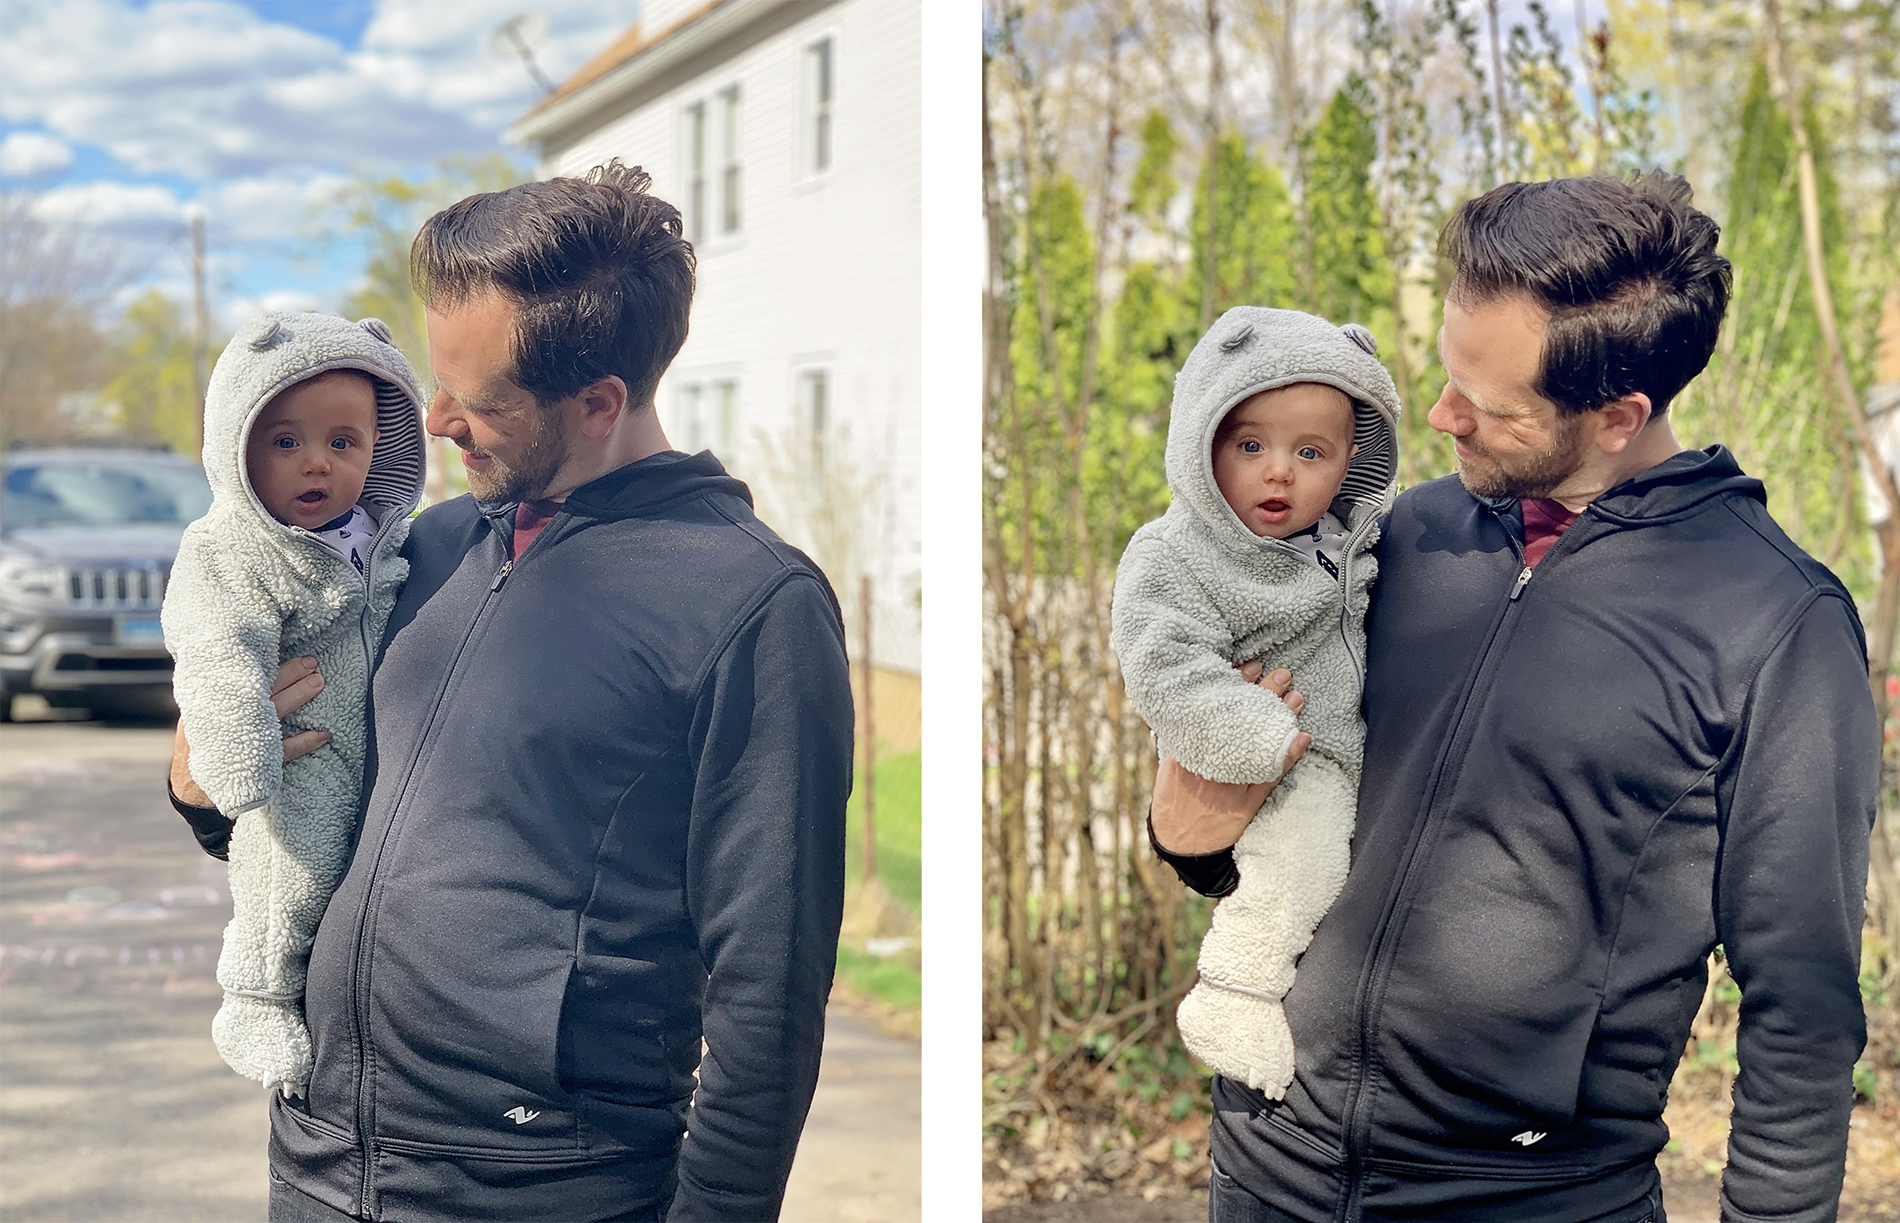
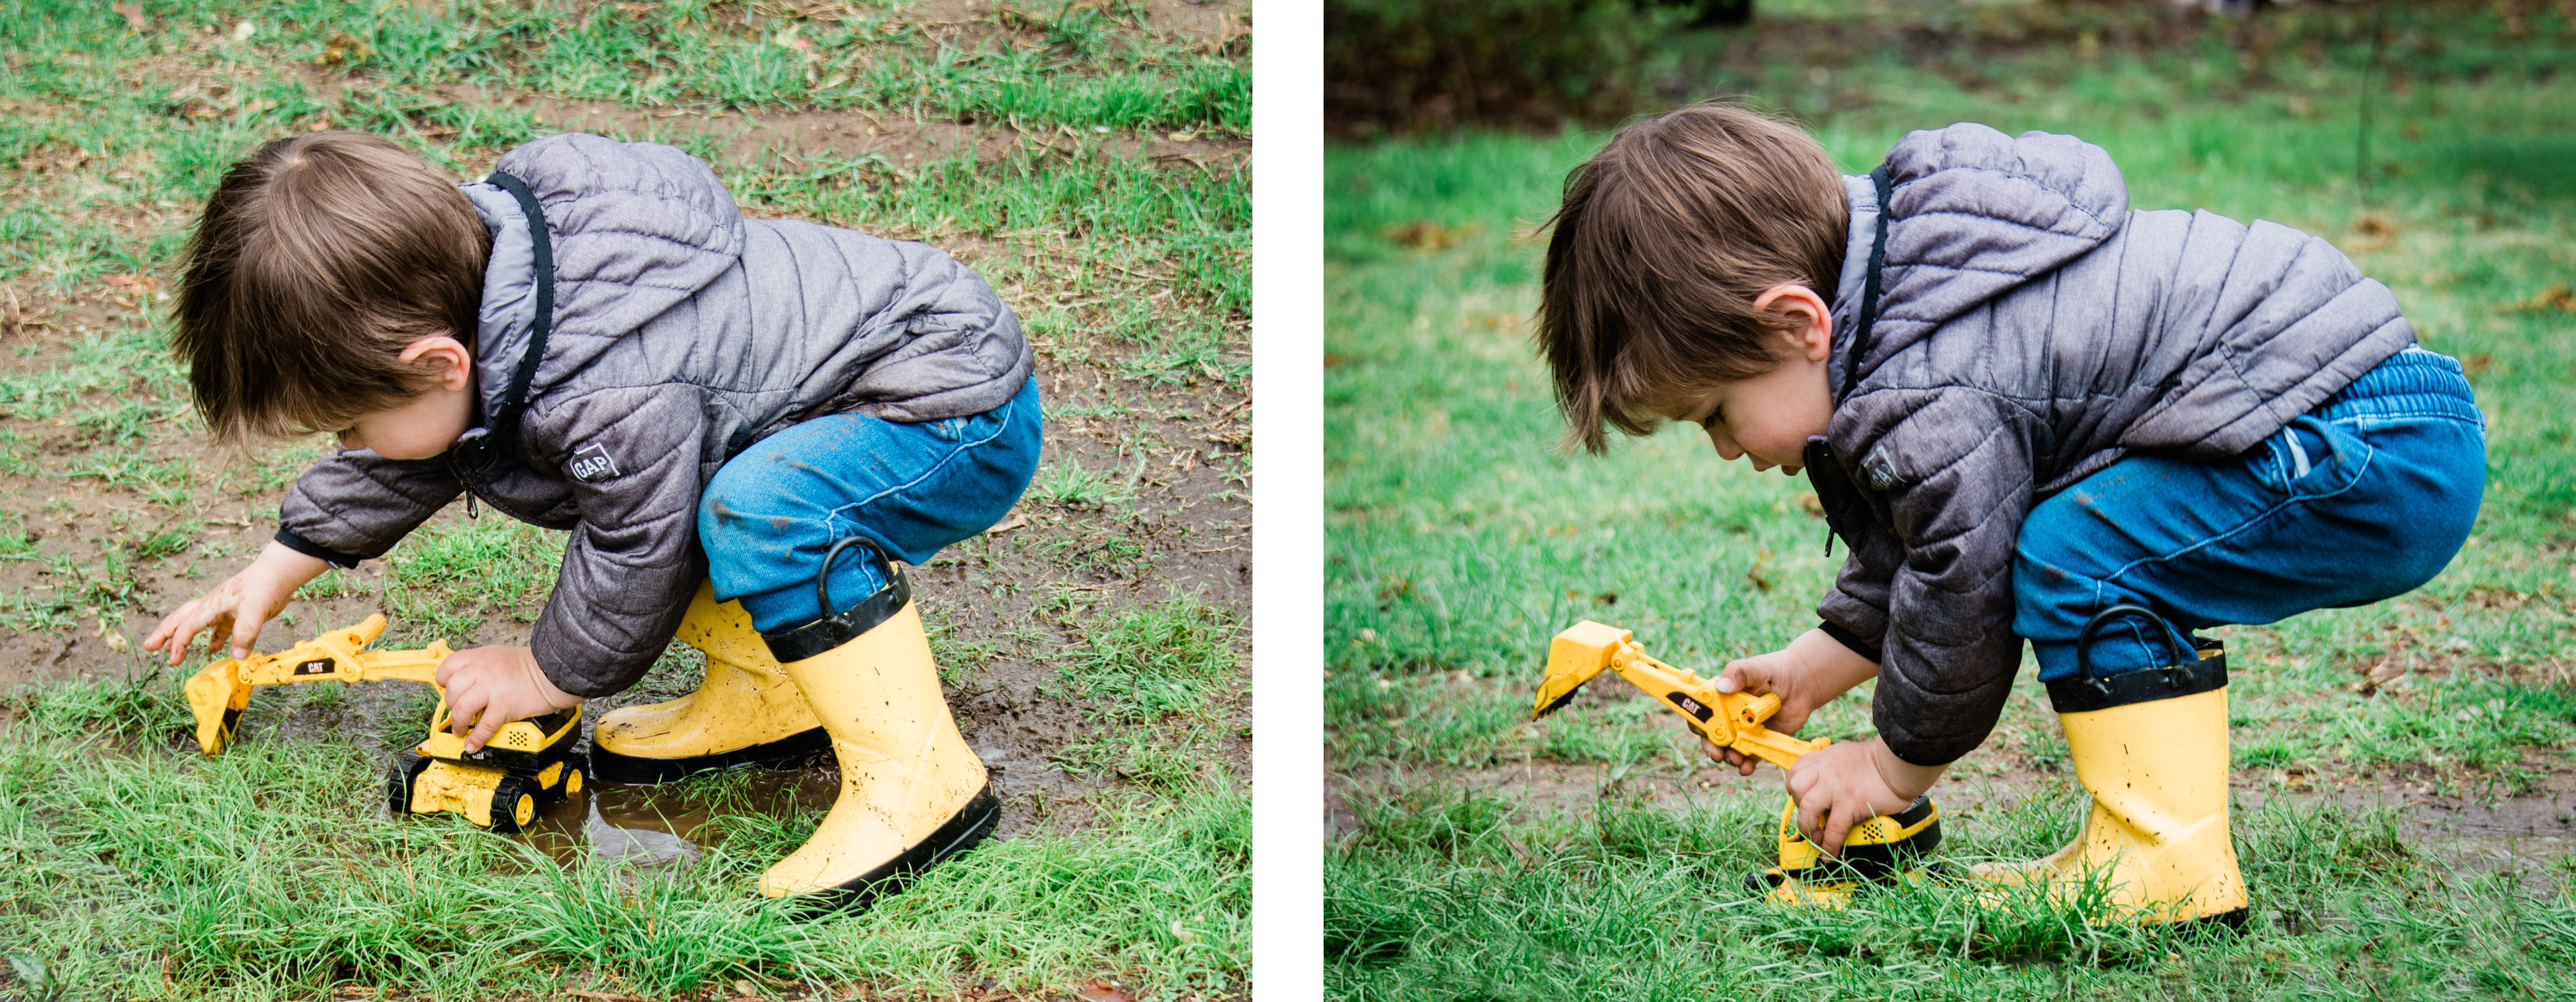
TIP #2: Get on their level
When you’re shooting kids, try getting on their level. Shooting from above dwarfs your kid, and misses a lot in terms of capturing their character. When you shoot your kids from a lower angle, you can actually capture a portrait of them as a person.
Look at the two sets of photos below. Do you see what a difference it makes when I get down on my son’s level, versus shooting him from above?
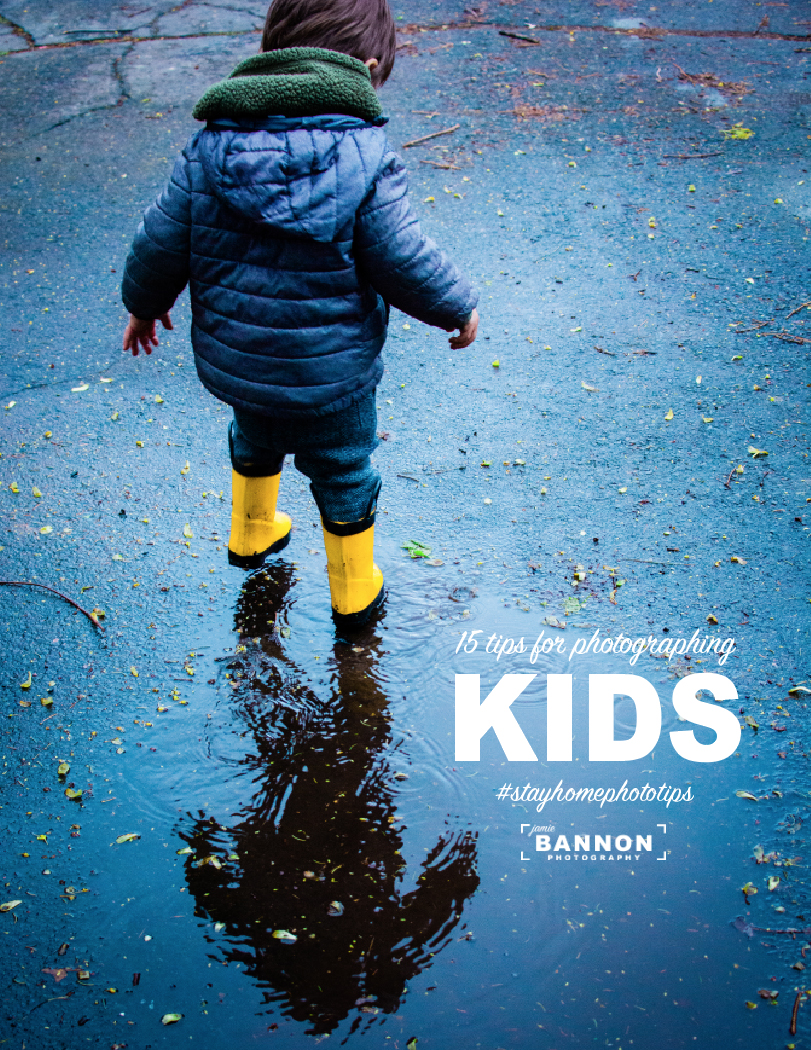
Again, this is one of those things you’ll have to weigh out. In some cases, you may opt for a slightly higher level for a cleaner background, or a different feel you might be going for. For instance on the cover of the guide below, I opted for a higher angle because I wanted the focus not to be on his expression, but rather on his reflection in the puddle.
The key with this, and all of these tips, is to try it and then decide whether you want to use it or not in favor of something else.
Bonus: This also counts as doing squats, so really you’re killing two birds with one stone on this one. Way to go!
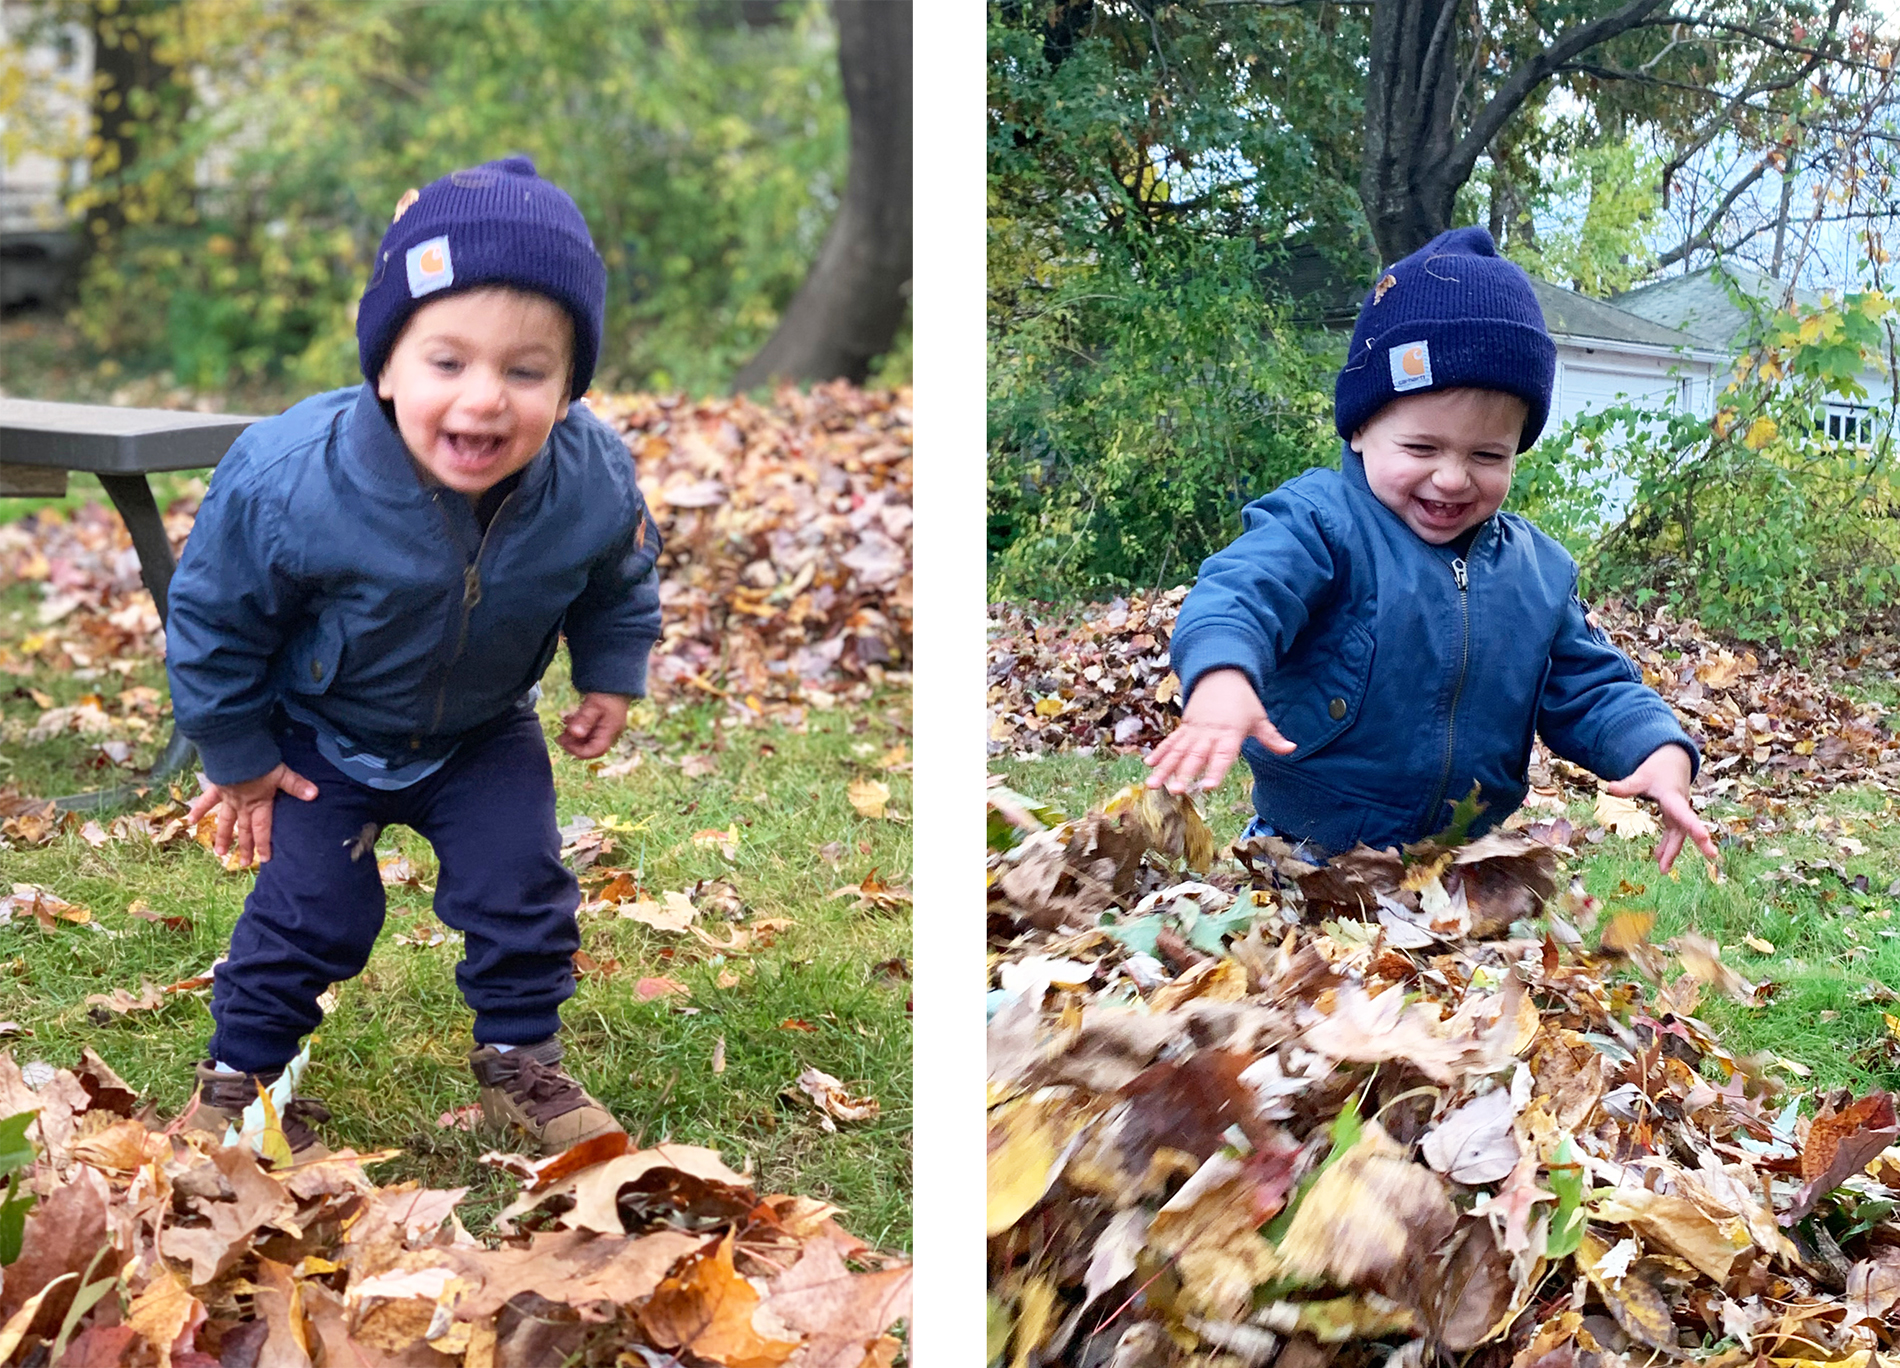
TIP #3: Ditch portrait mode
Unpopular opinion alert!
Portrait mode is great if your kids are relatively still, and you have lots of light to work with—but as soon as you introduce movement or a not-so-bright environment, it really struggles.
I like portrait mode as much as the next guy (ok, maybe not quite as much), but you’ve probably noticed it just doesn’t work well unless you’ve got ideal conditions and obedient subjects.
I usually try it once, and if I realize it’s just not going to work then I ditch it and switch back to normal photo mode. I’d rather have a sharp image with everything in focus than a motion blurred one of nothing. And if my son is running around in the yard like a crazy person (don’t we all want to do that a little right now?) then I usually don’t even try it at all.
You can see in the photos below that portrait mode was no match for this leaf pile jumping session. In the image on the left, I tried using portrait mode, and wound up with a very blurry picture of my son. On the right I shot in the regular iPhone camera mode, and wound up with a much better image.
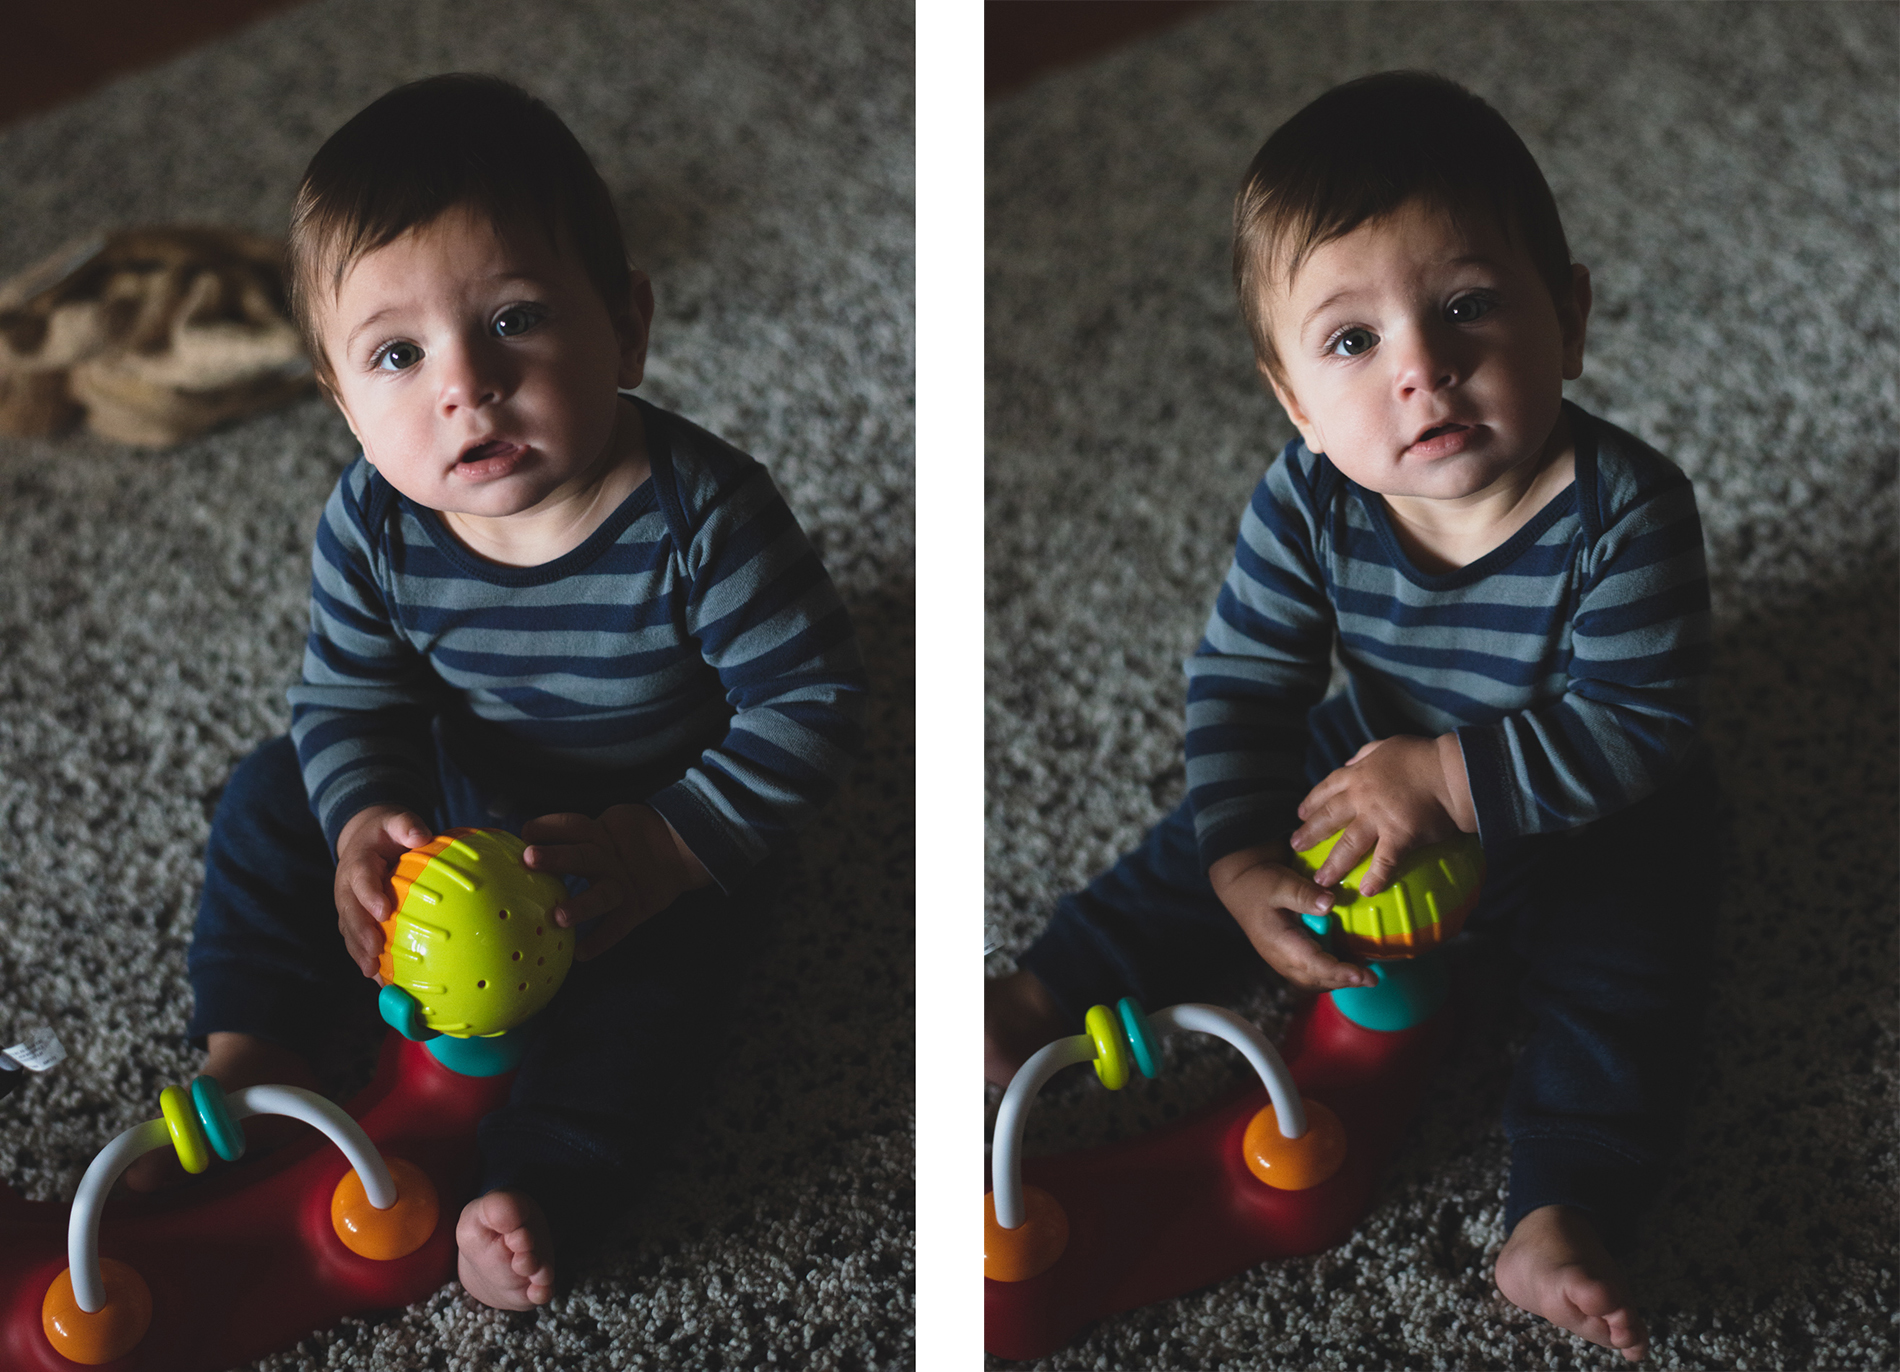
TIP #4: Grab the shot—then try for a better one
I cannot stress this enough: grab the shot before the moment has passed. Then worry about getting a better angle, cleaning up the background, telling them to smile, prompting them with a question or instruction to direct their movement (Hey, is that a dump truck over there?) etc. Get the organic shot before they notice you, and then work on getting a better shot.
Half of the time with kids, by the time you’ve reached in to arrange or move something, the moment has already passed, or you’ve distracted them and diverted their attention. So grab the shot first—then work on perfecting it. You may get the chance at a better shot, or you may not—but an imperfect picture that captures the moment is a whole lot better than missing it altogether. There is no greater regret than a shot not taken!
Here is an example of an image where I found the mess behind my son to be distracting—but I made sure to take the shot first, then clean up and try again.
TIP #5: Don’t worry about “perfect”
Kids aren’t perfect, so your photos won’t be either.
Make like Frozen and let it go! The beauty of families is that they are messy and imperfect—so forgive yourself for some messiness and imperfection in your photos! That’s what makes them real.
If you liked these tips and want to learn more, check out my Stay Home Photo Tips Guide to Photographing Kids, available here!
Learn things like…
- Using light
- When to use a flash
- Simple posing
- And lots more!