stay home photo tip #2: master the art of the flat lay
April 15, 2020
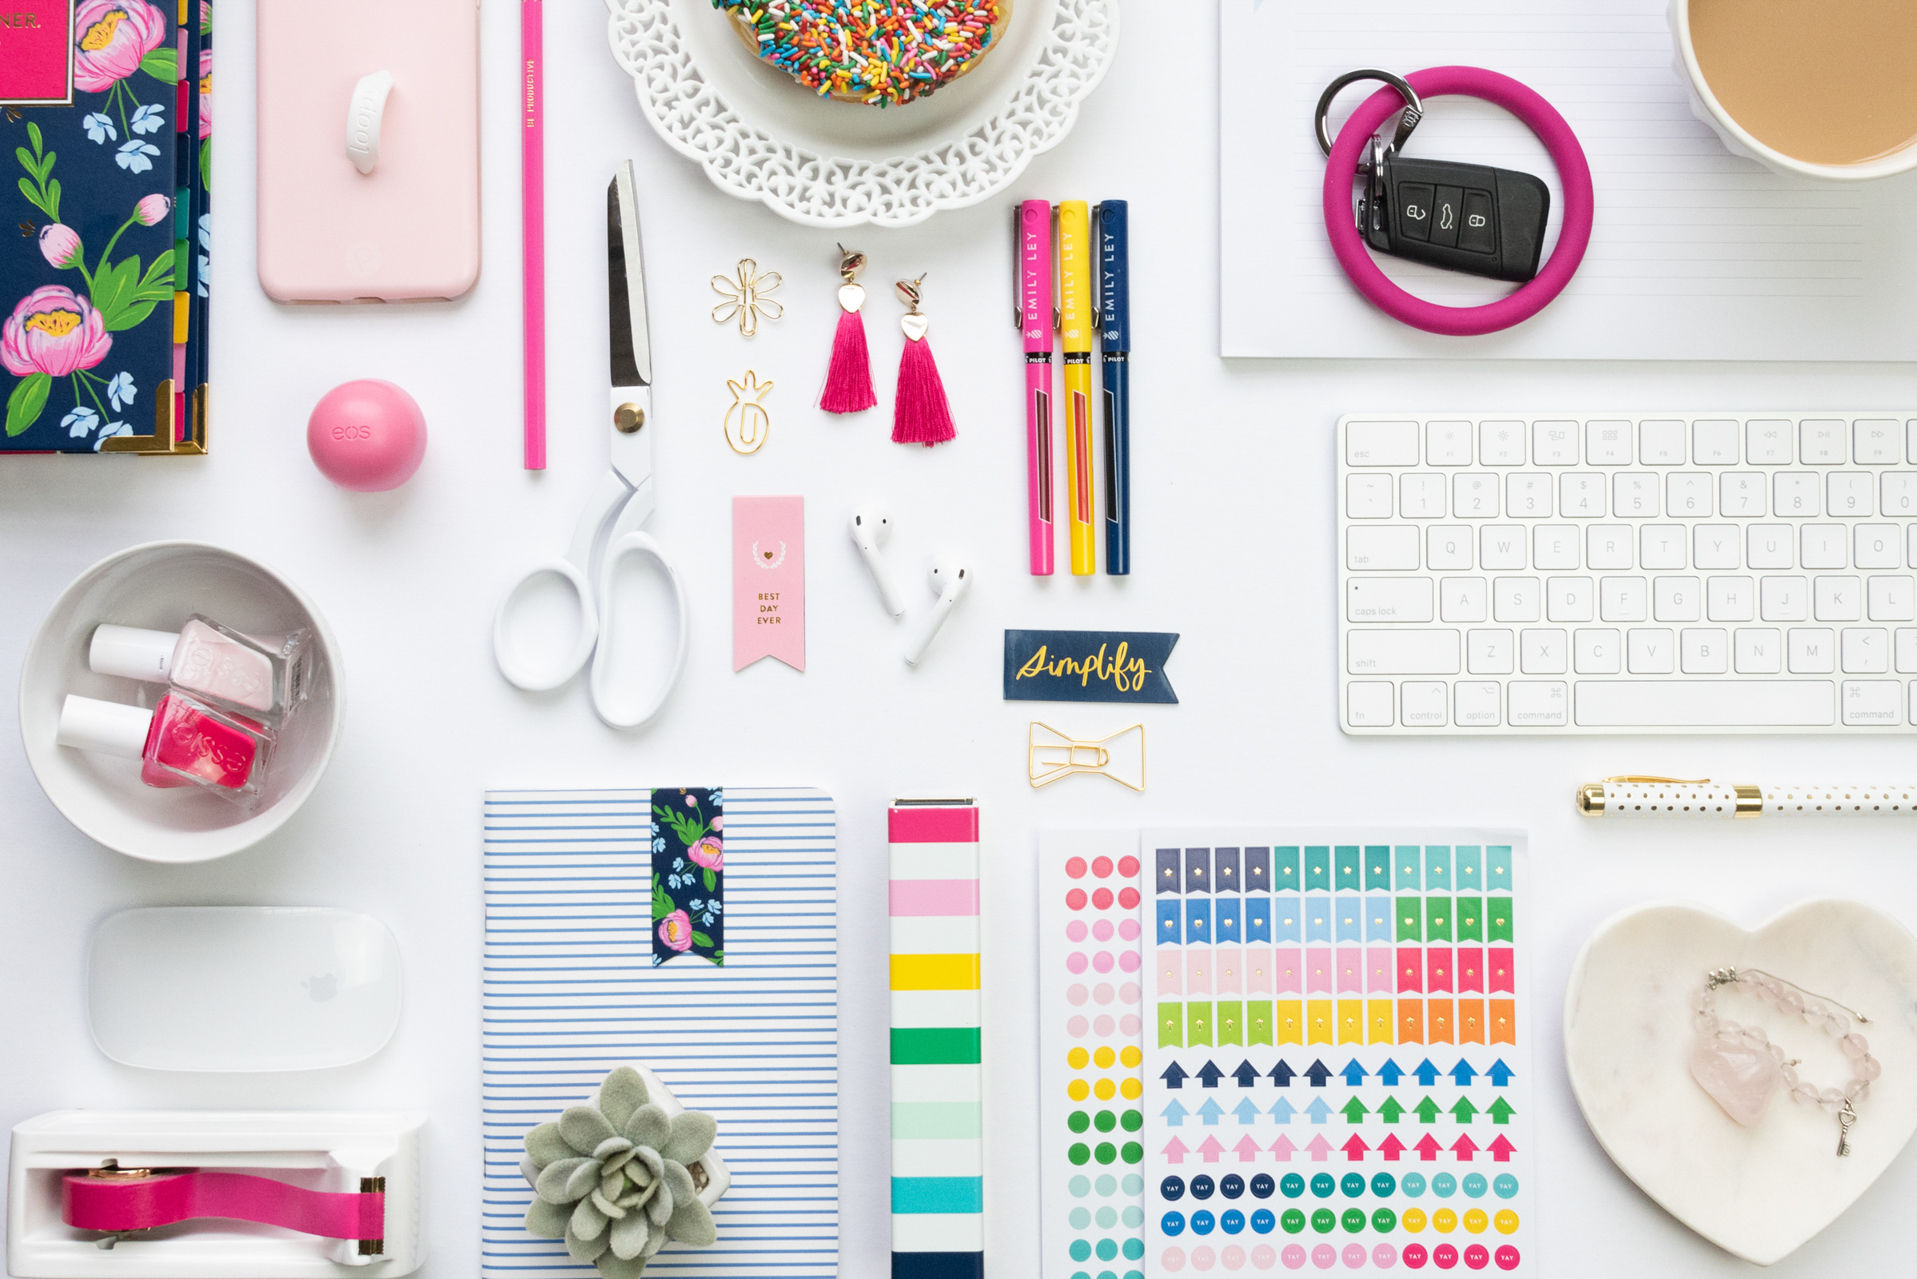
Who doesn’t love a good flat lay?
There’s a reason Instagram is full of them. Fun, visually interesting flat lays can provide great, engaging content for your brand.
And the best part is that flat lays are super easy to create in the comfort of your own home! In fact, there’s nothing more you need than a surface and a window.
Here are my 5 favorite tips for mastering flat lays, and if you like these, you can find 10 more tips for creating picture perfect flat lays in my guide, available here!
TIP #1: Choose a simple surface that’s right for you.
Flat lays work best with a simple surface—and you probably have some great options already lying around the house.
I often like to use a white foam board, my butcher block countertop, or a hardwood floor. Have some colorful construction paper or tissue paper lying around? Or a scrap of cardboard and some cheap paints? Those work great as well! Or take it outside and use a piece of slate from your walkway, or the concrete on your front steps.
Look around for a surface that’s simple, but also on brand for you. Then think about what objects you’re using, and make sure the surface doesn’t clash with or take away from them.
That brings us to Tip #2…
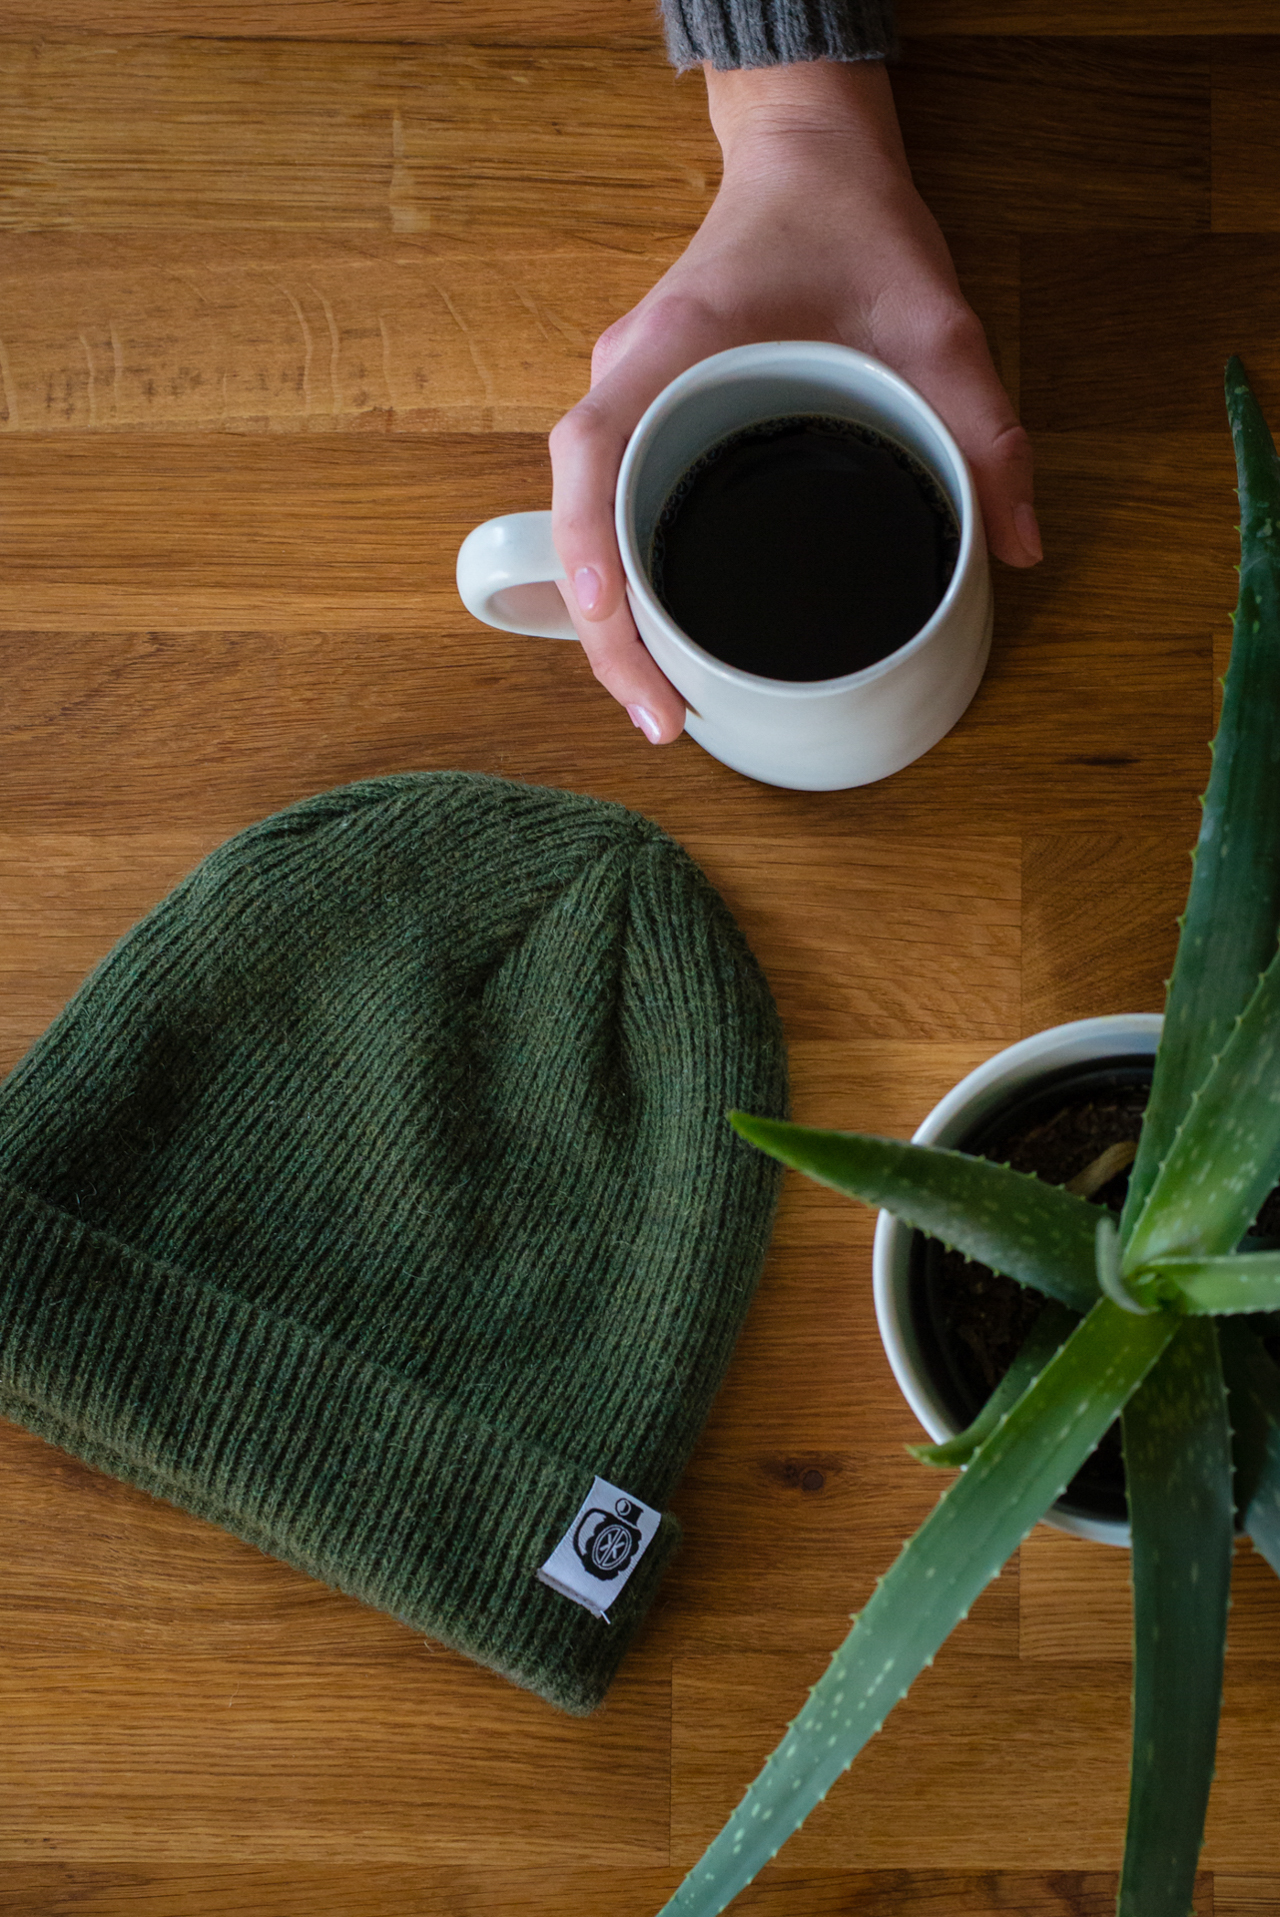
TIP #2: Tell a story with your flat lay.
So many times I see flat lays of items that don’t make any sense together. The objects you choose for your flat lay should go together, and not be random or disjointed.

Choose a theme for your flat lay. Is it office supplies on a desk? Or perhaps out of office / personal items, like a pair of sunglasses, some earbuds, and a coffee? Whatever your theme, keep the objects in sync with one another. A random grouping of things will just leave you with a picture of a sloppy looking desk.
And your items don’t necessarily have to be related to each other thematically to be related—there are other ways objects can relate as well, such as color, or shape.
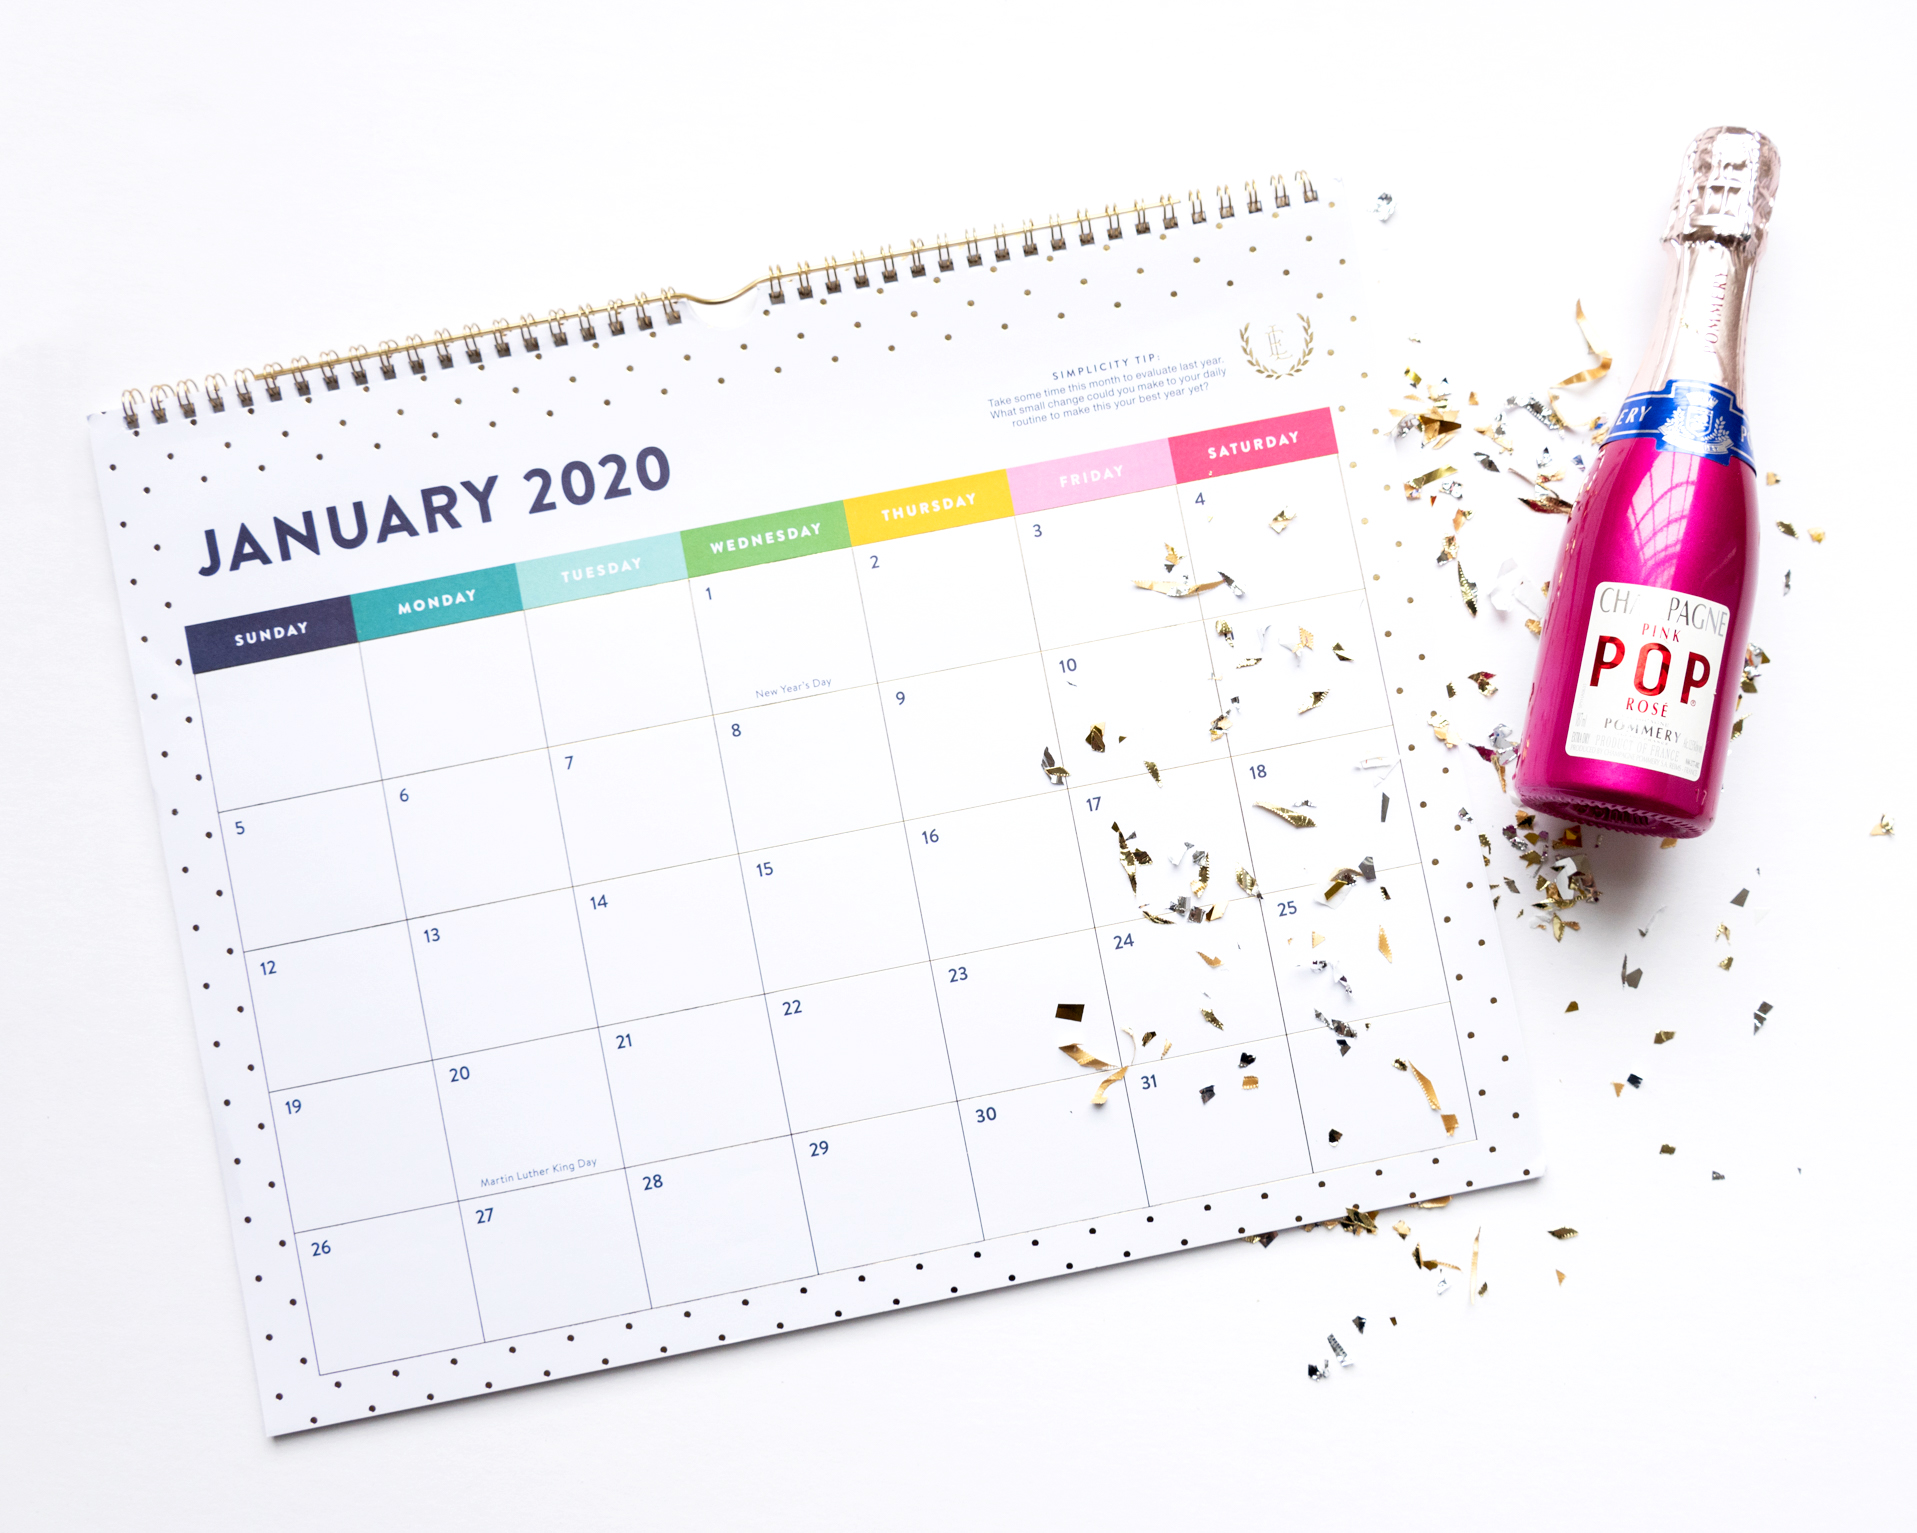
TIP #3: Details, details, details!
This one’s important. Take care to arrange the items of your flat lay carefully and meticulously. Line them up, angle, and space them neatly and intentionally, and pay attention to where you put them in the frame. Sloppiness tends to be amplified on camera—so a slightly off angle or lazily arranged object that you don’t necessarily find offensive to the naked eye will be much more conspicuous in a photo (the same goes for slouching, by the way!)
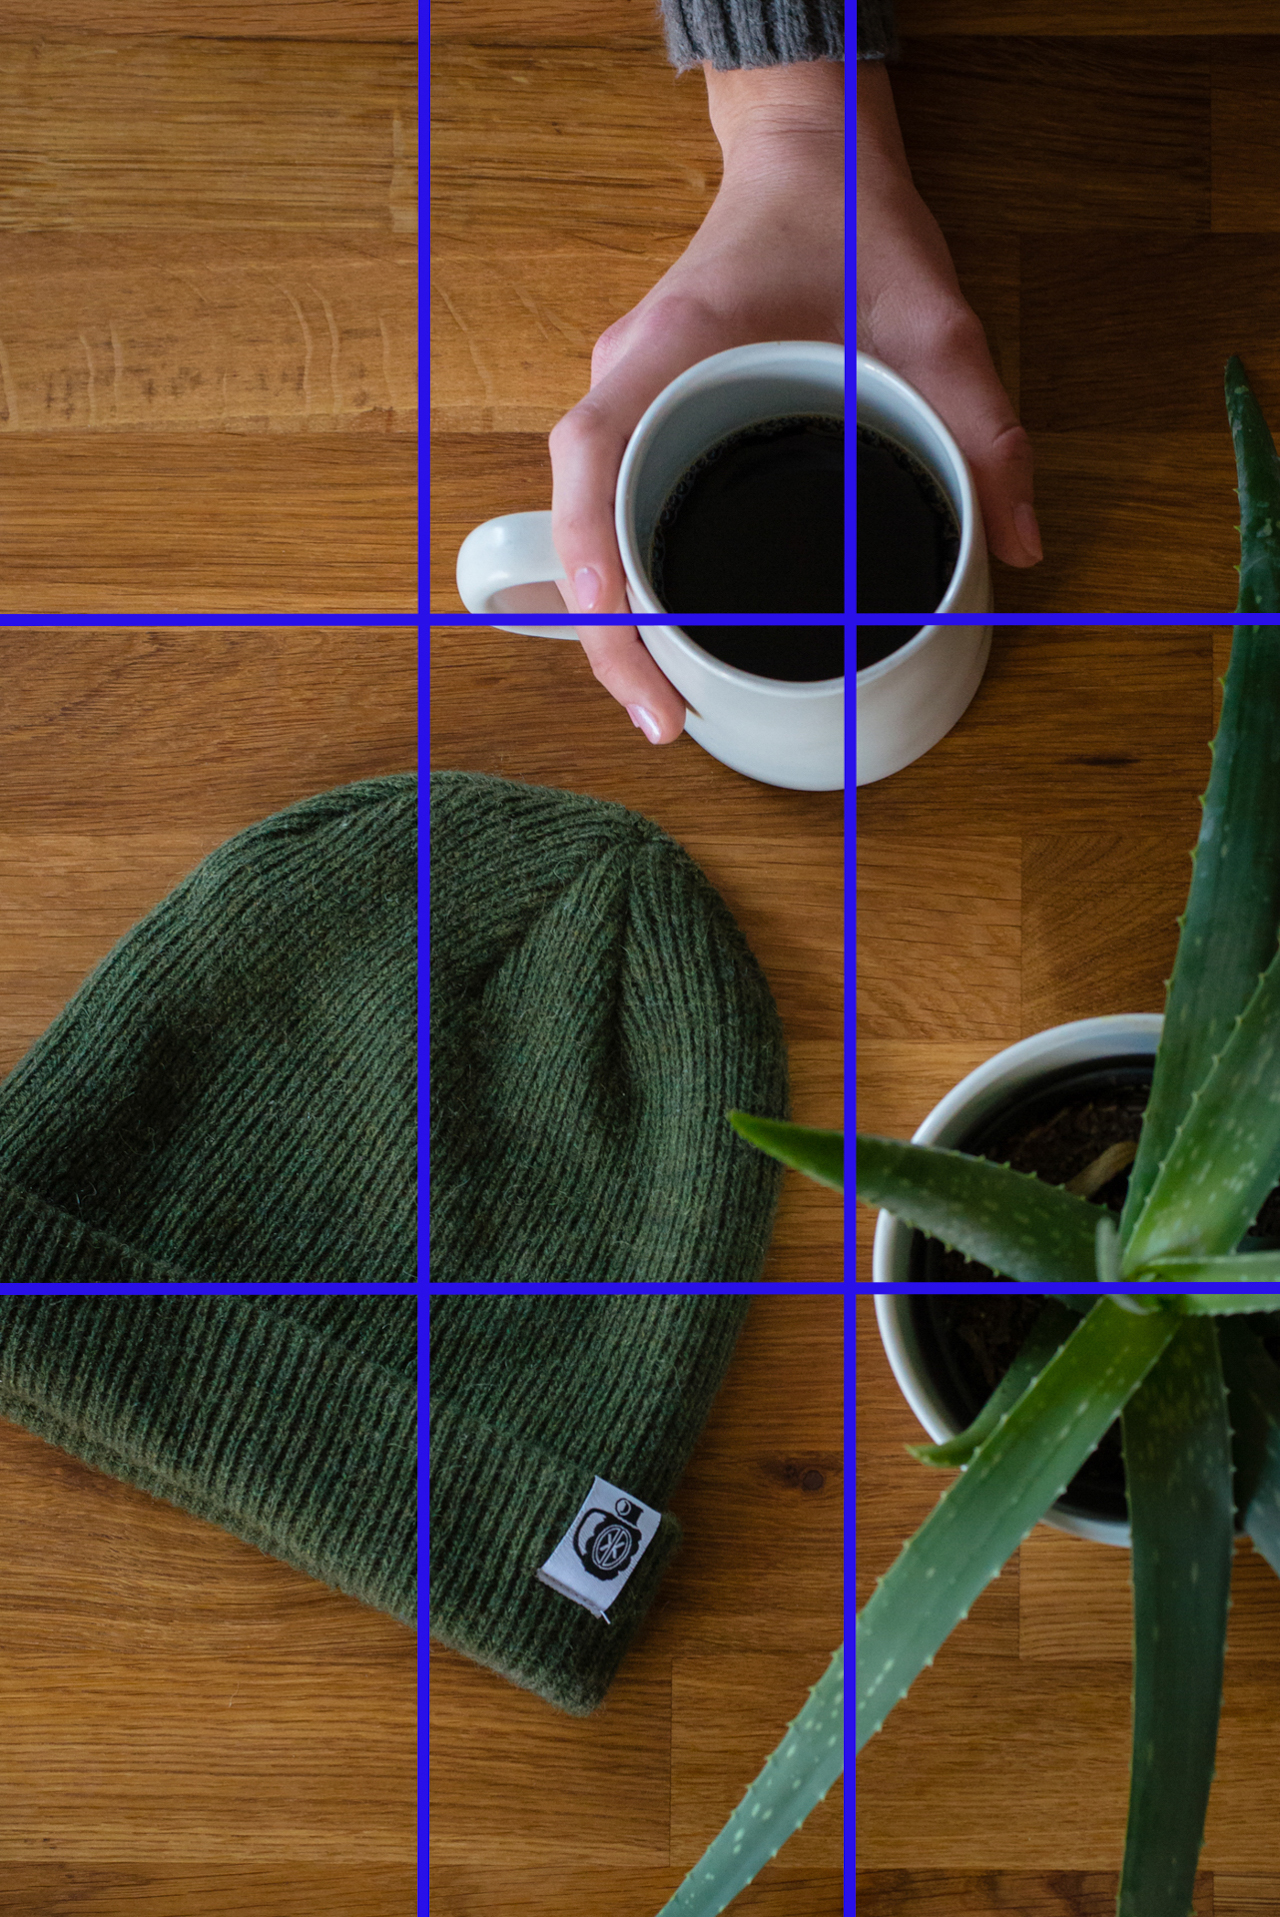
Composing your objects carefully and deliberately within your frame leads to a polished, professional looking flat lay, rather than a messy, cluttered, amateur one. For more on how to compose great images, have a look at my previous post about the Rule of Thirds, and for more check out my Stay Home Photo Tips Composition Guide.
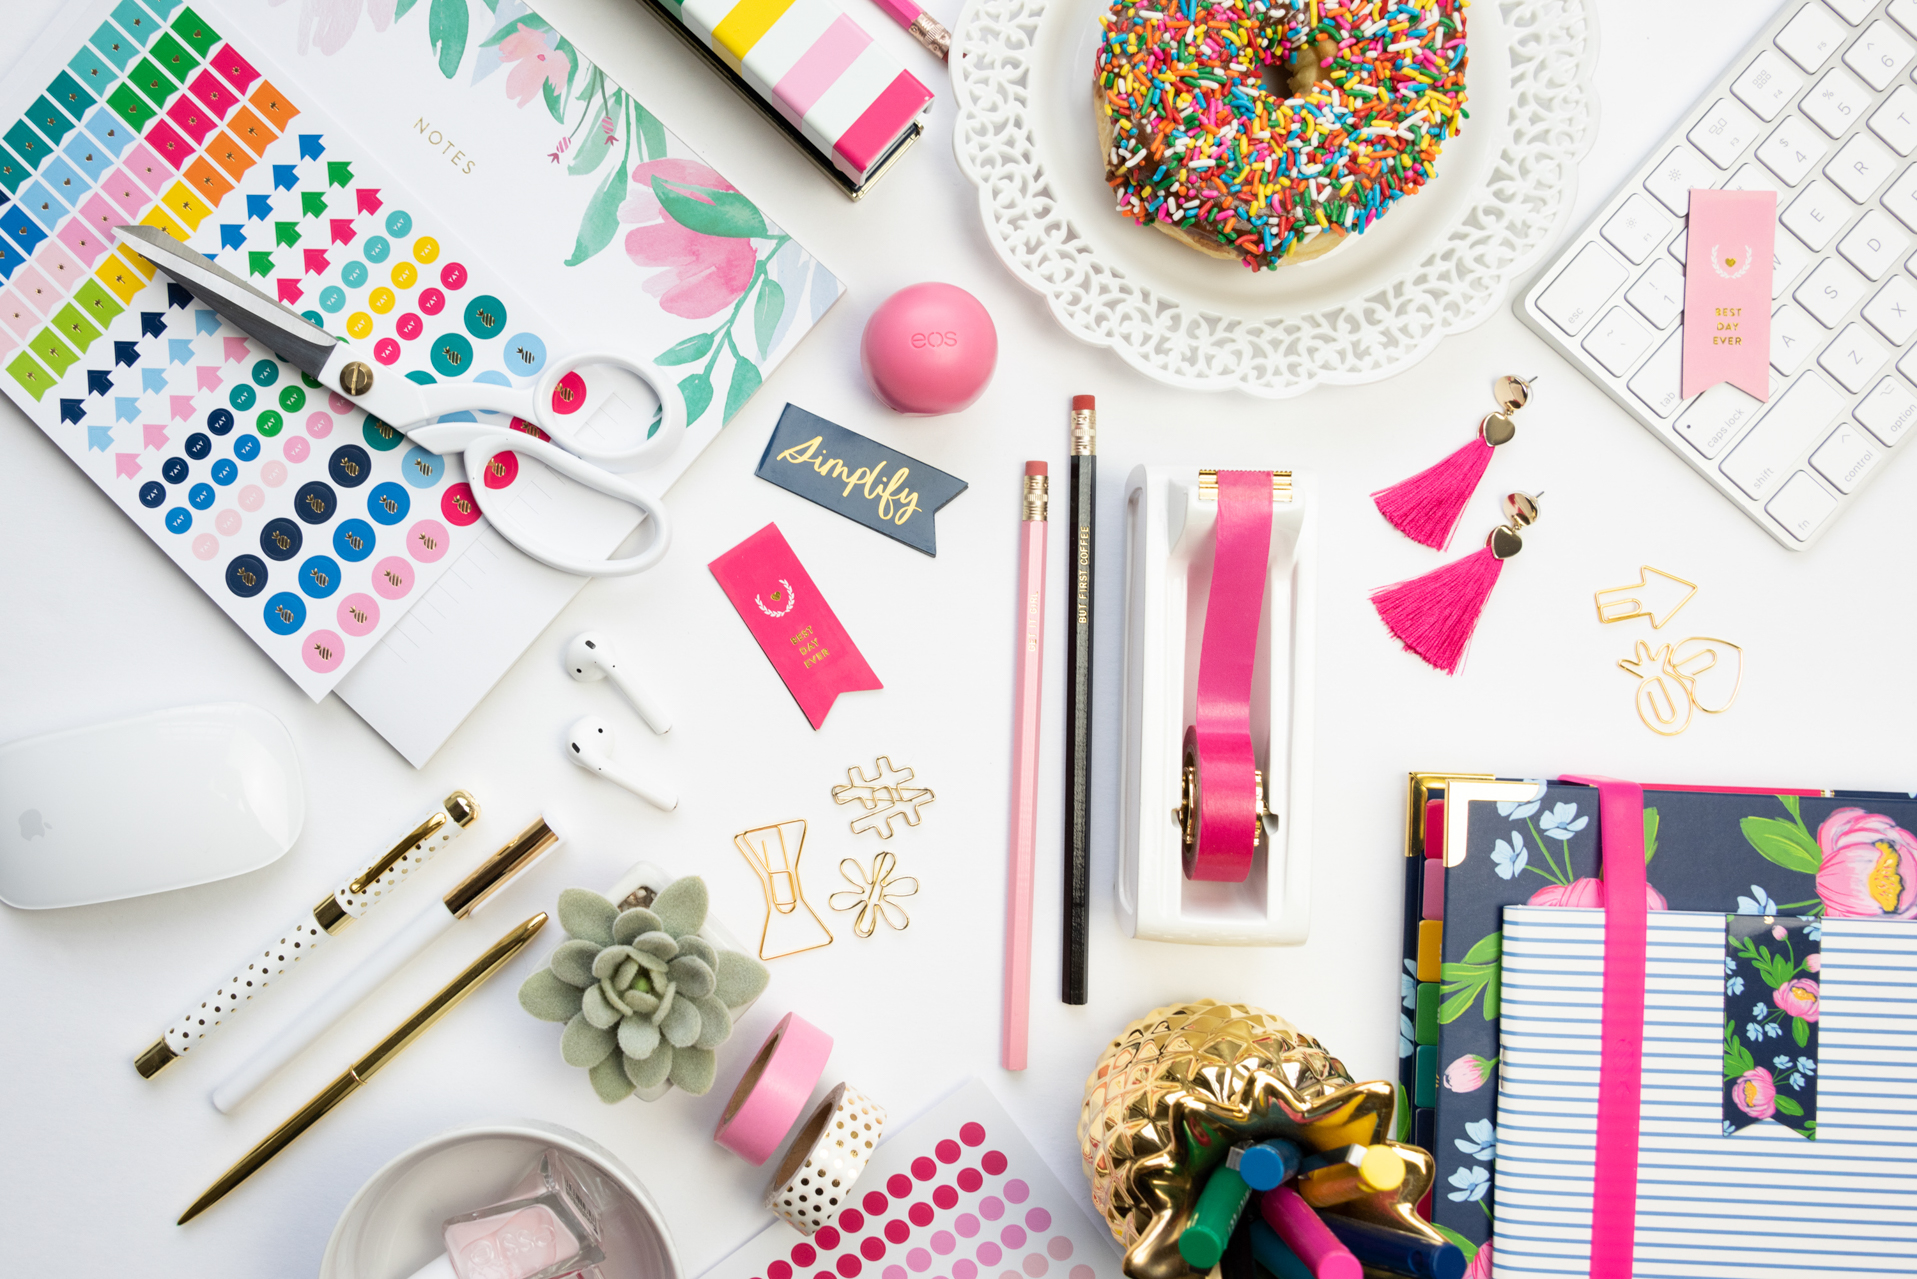
If we look back at this image, we can see a good example of how to use the Rule of Thirds to compose a flat lay:
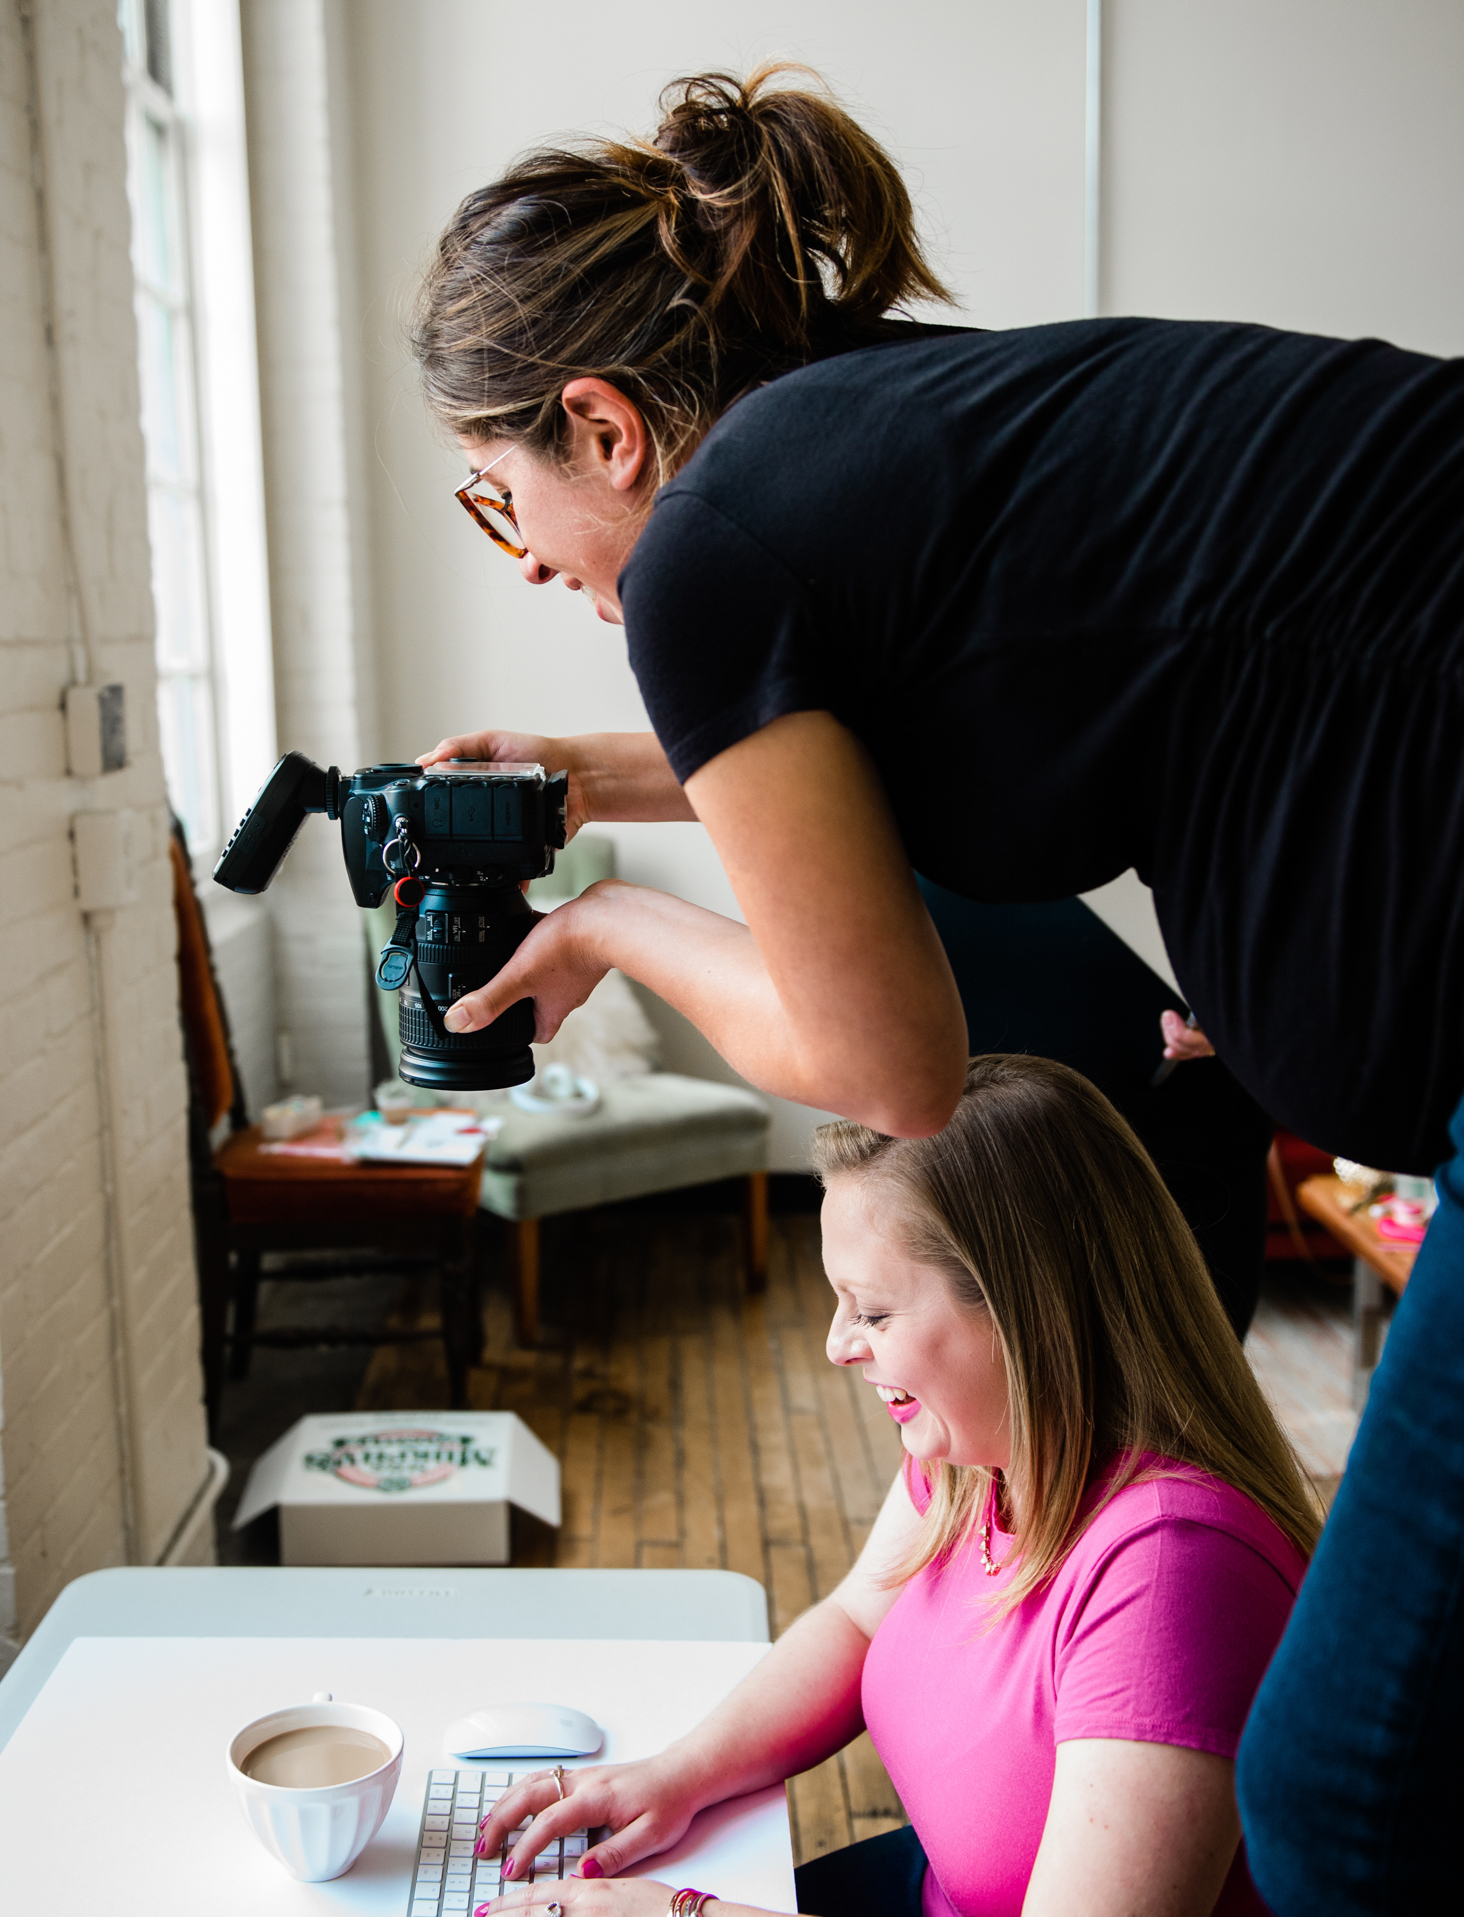
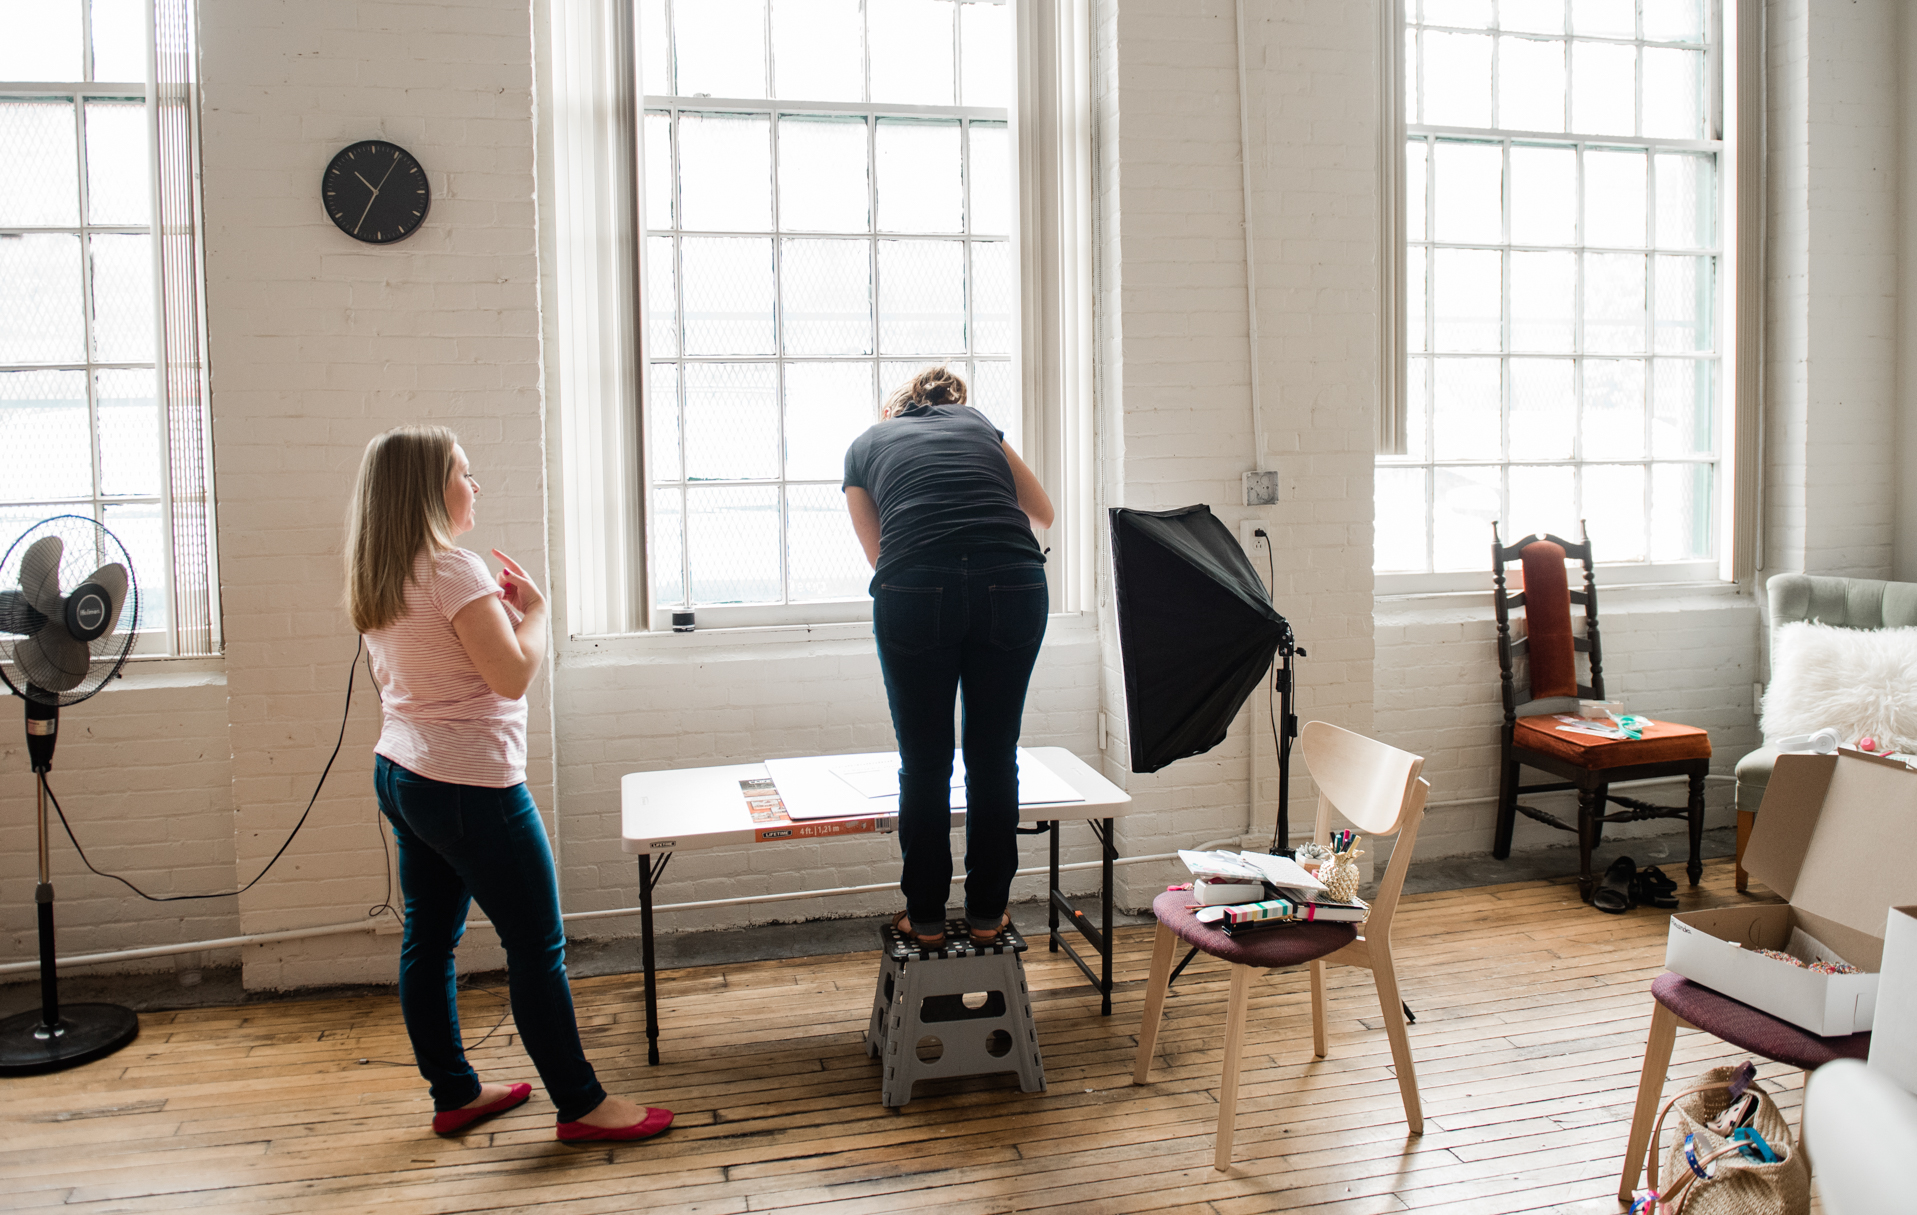
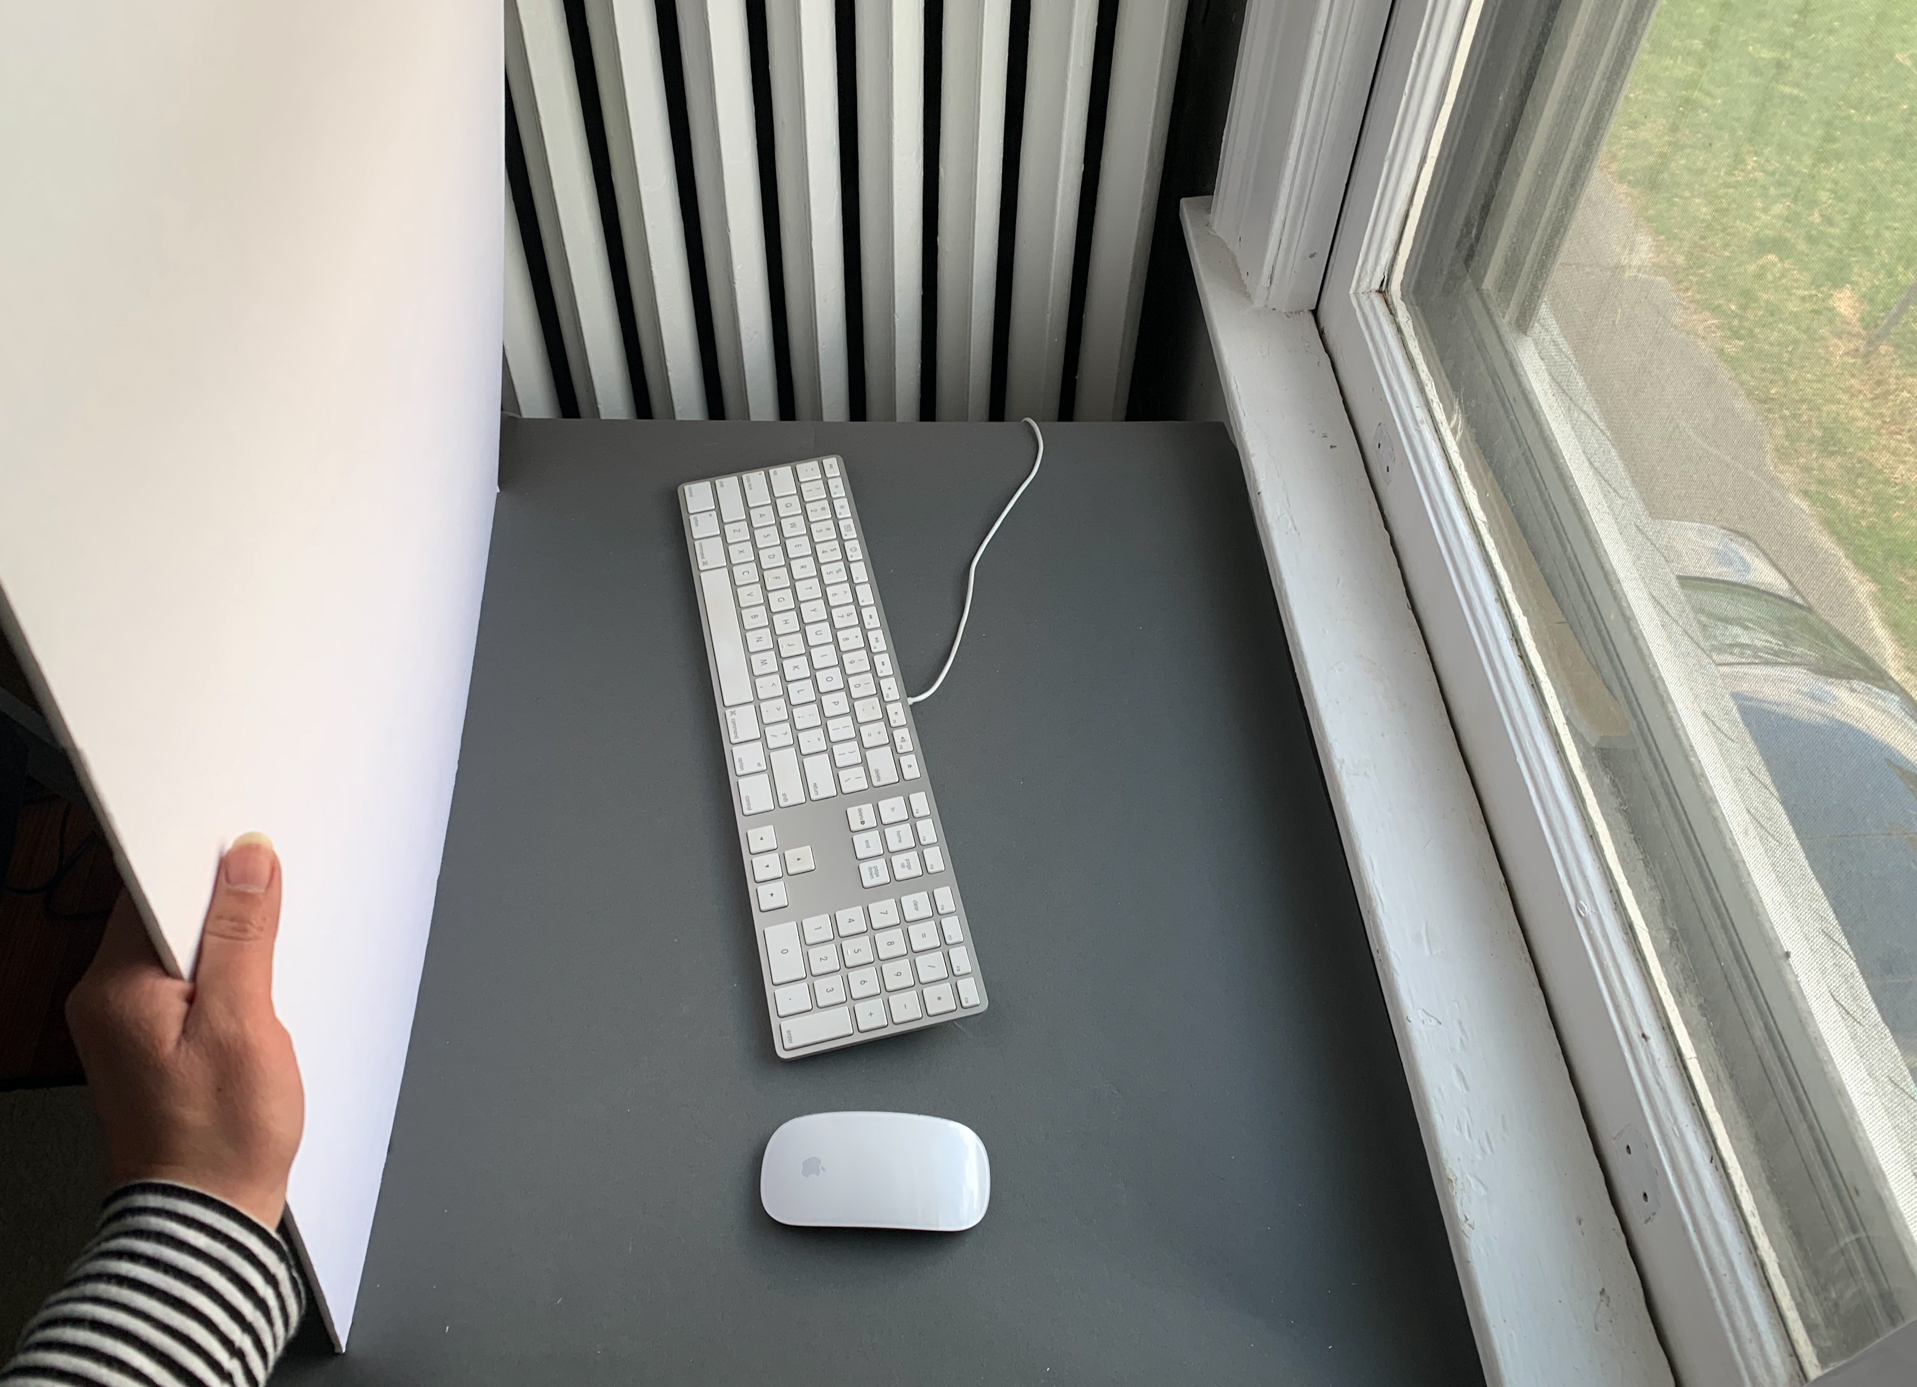
TIP #4: Set up by a window.
90% of the time when I am shooting flat lays, even in studio, I am set up next to a window using natural light. A big window serves as the perfect light source for a flat lay, especially if you choose a time of day when it gets a lot of light.
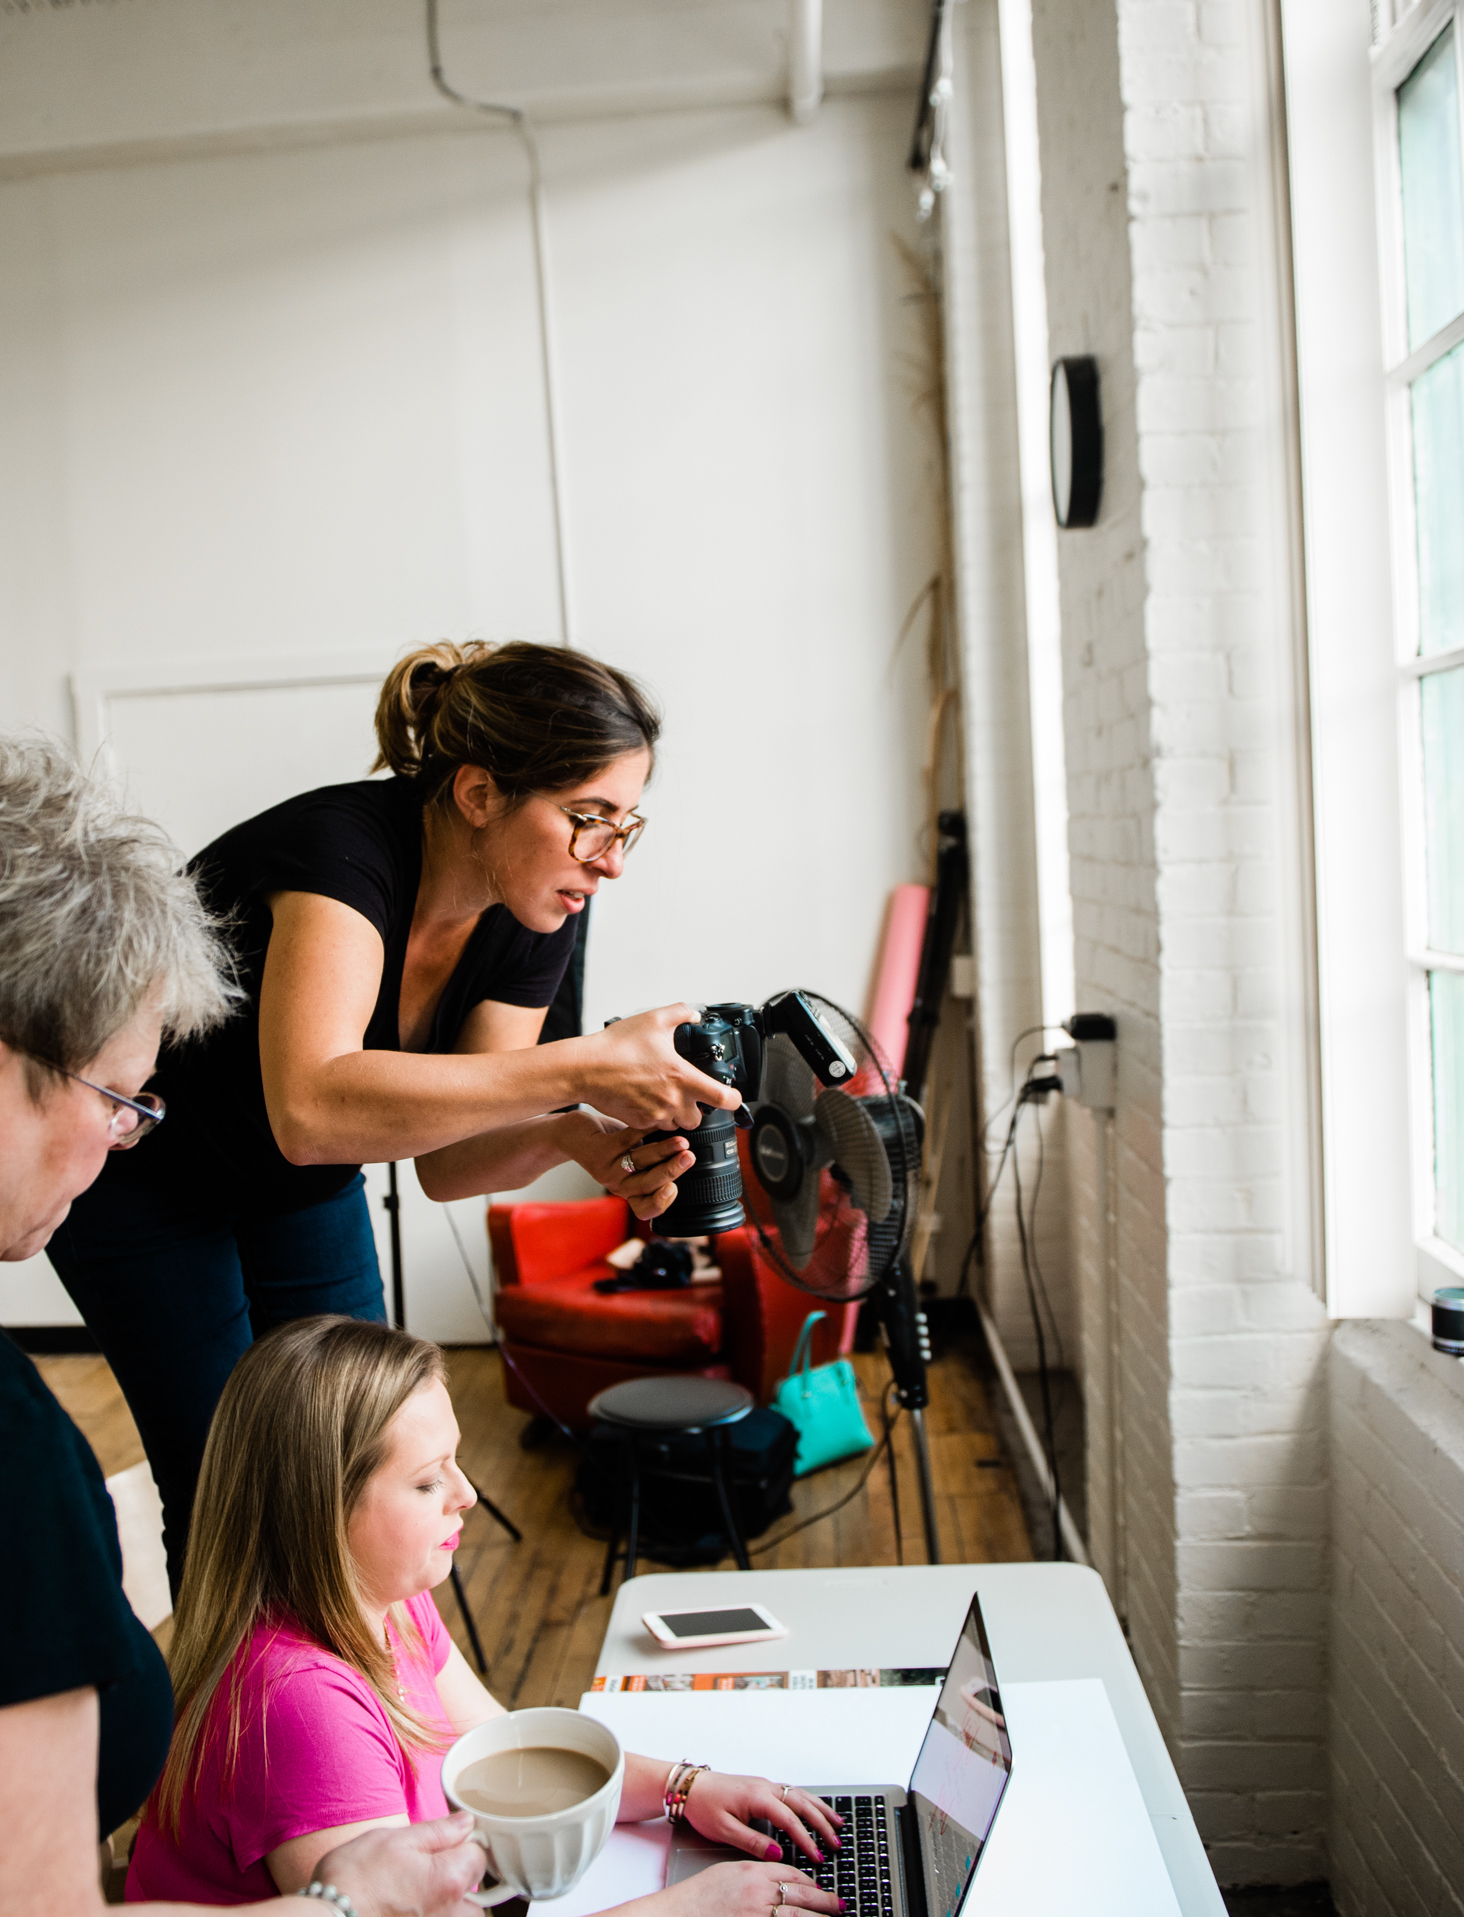
Depending on the look you are going for, you may want to shoot on a sunny day/time, when you get a lot of direct light coming through the window. Or, you may like a more subdued, evenly lit flat lay. The window you use and how you use it depends on the look you are going for, but I recommend choosing the biggest one you’ve got—or better yet, a glass door!
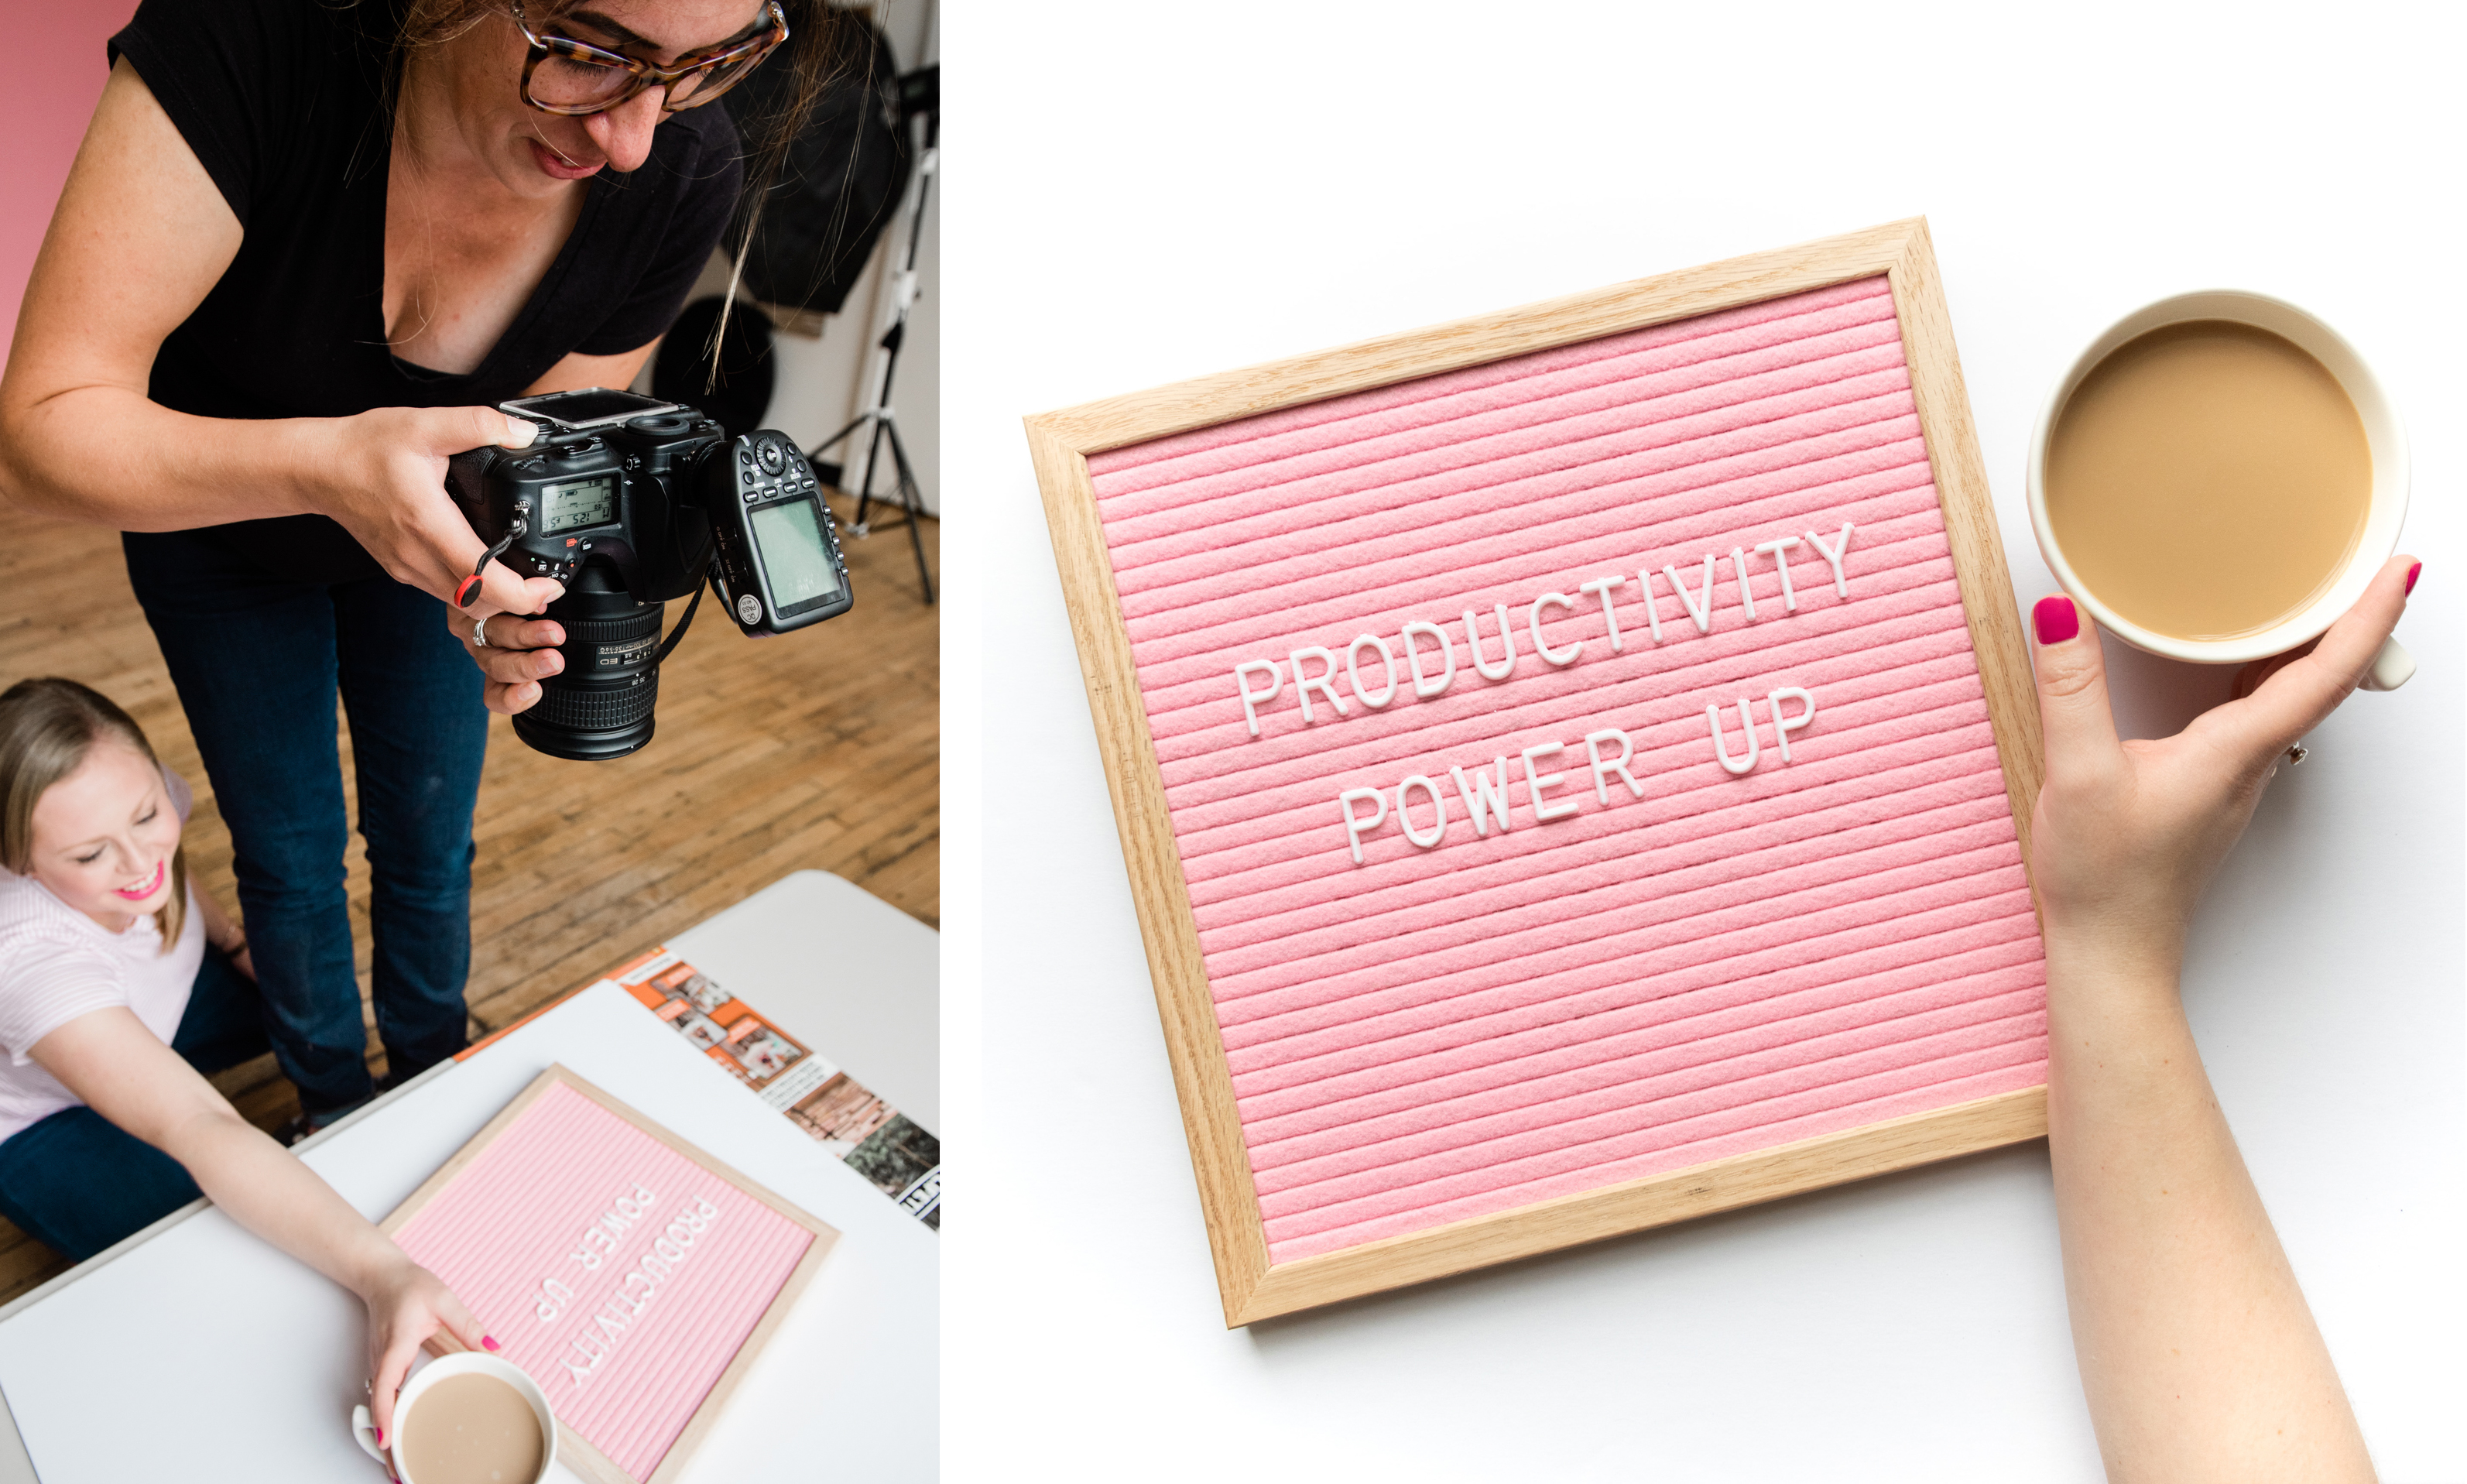
For example, in the image above, I wanted a fairly evenly lit, light and airy look, so I opted for a cloudy day in front of a large window. You can accomplish the same effect on a sunny day by draping a white bed sheet or sheer shower curtain liner over your window to diffuse the light.
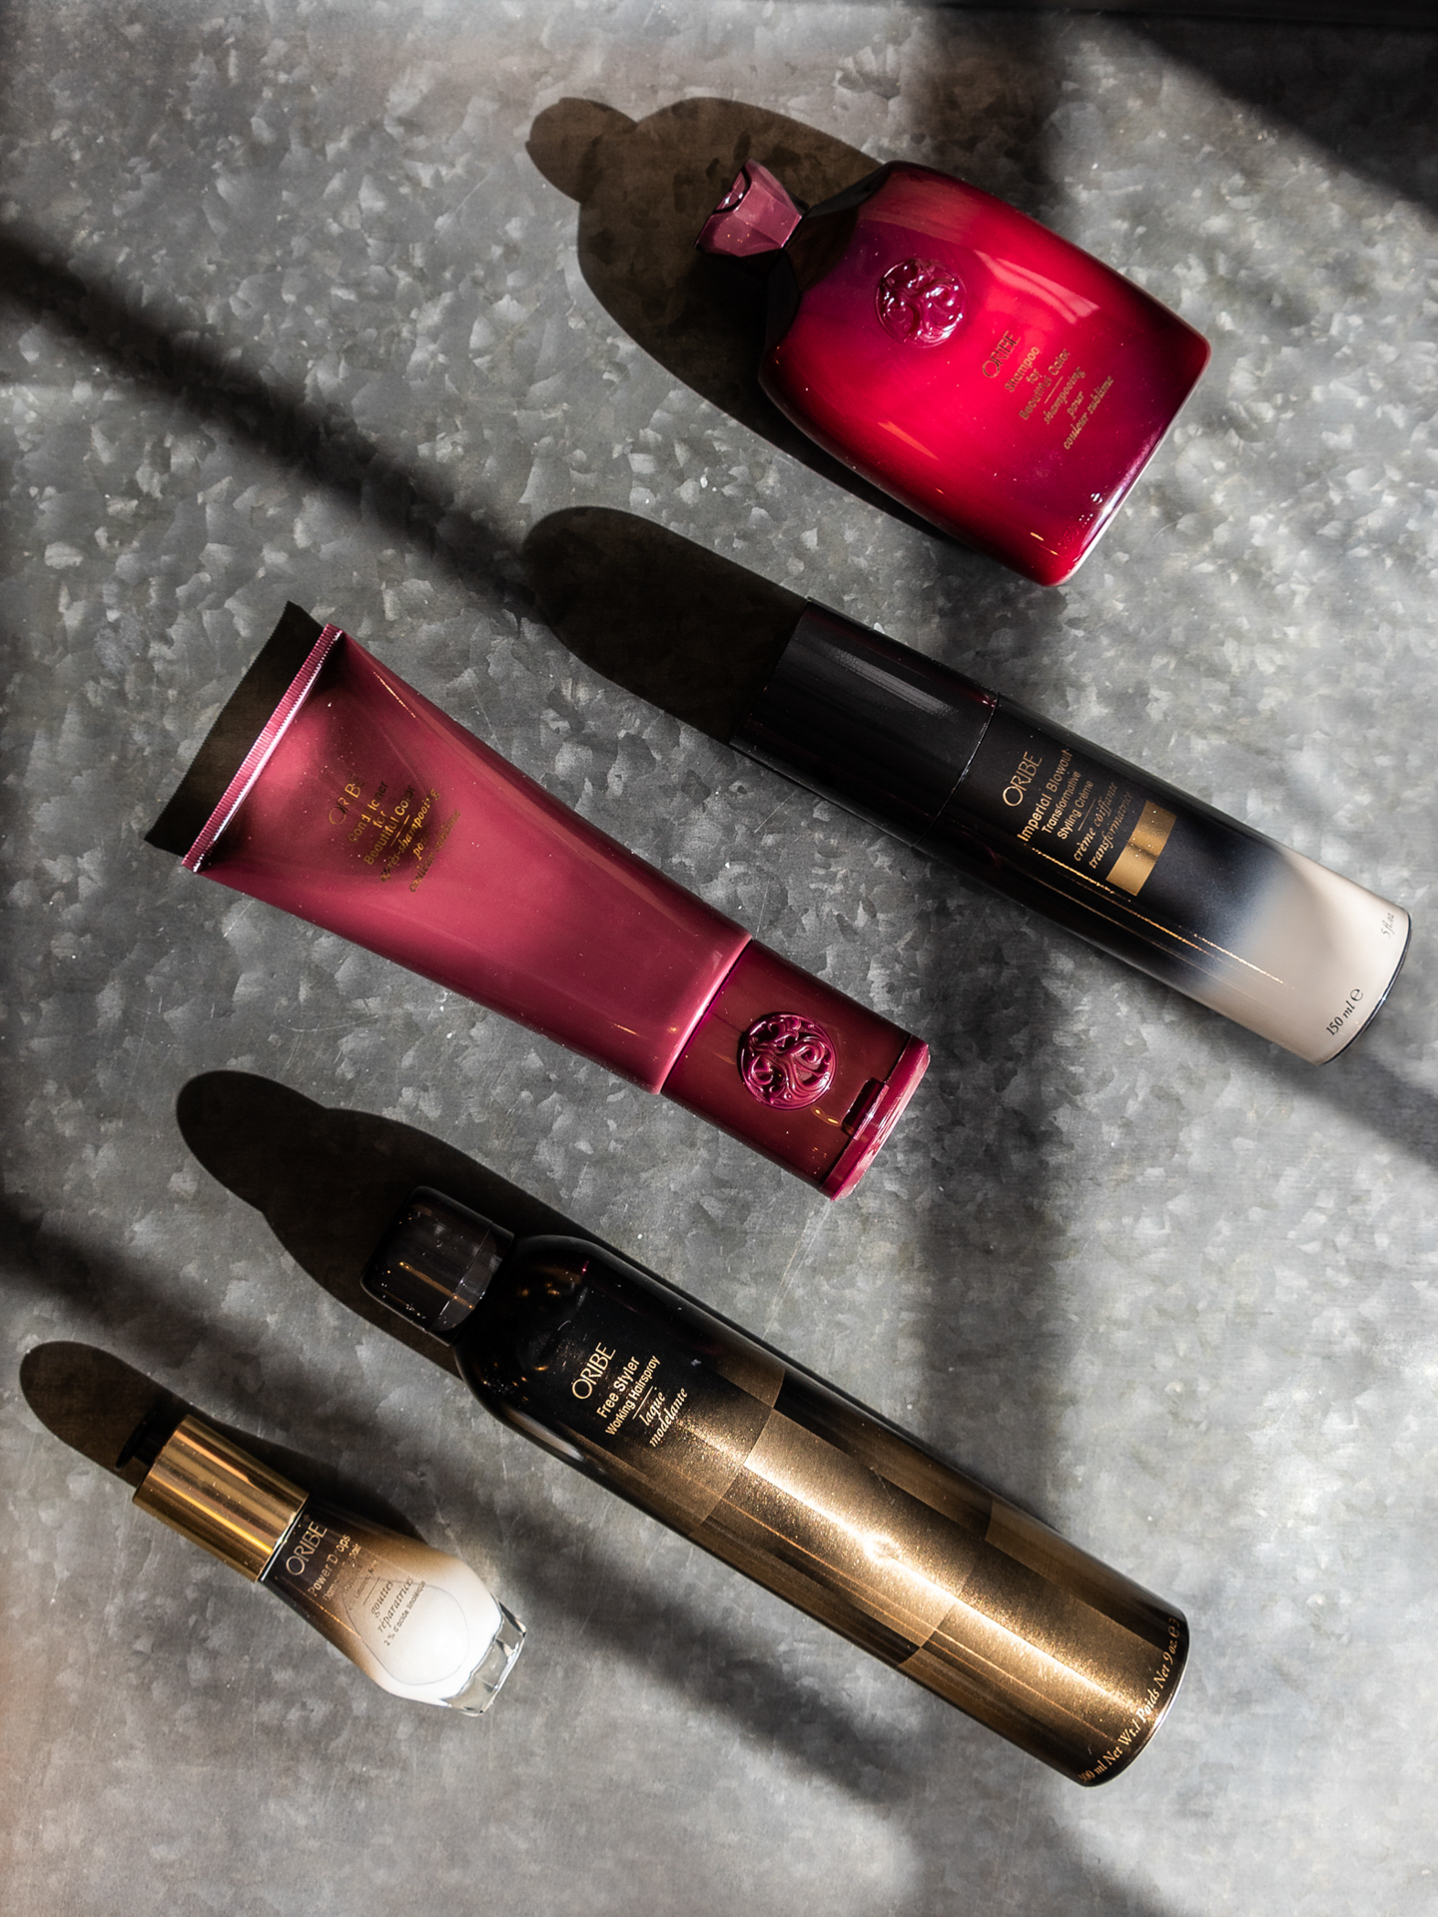
In the image below on the other hand, I wanted a very dramatic look, so I chose a sunny day with the bright sun coming directly through the window to create hard shadows as a compositional element.
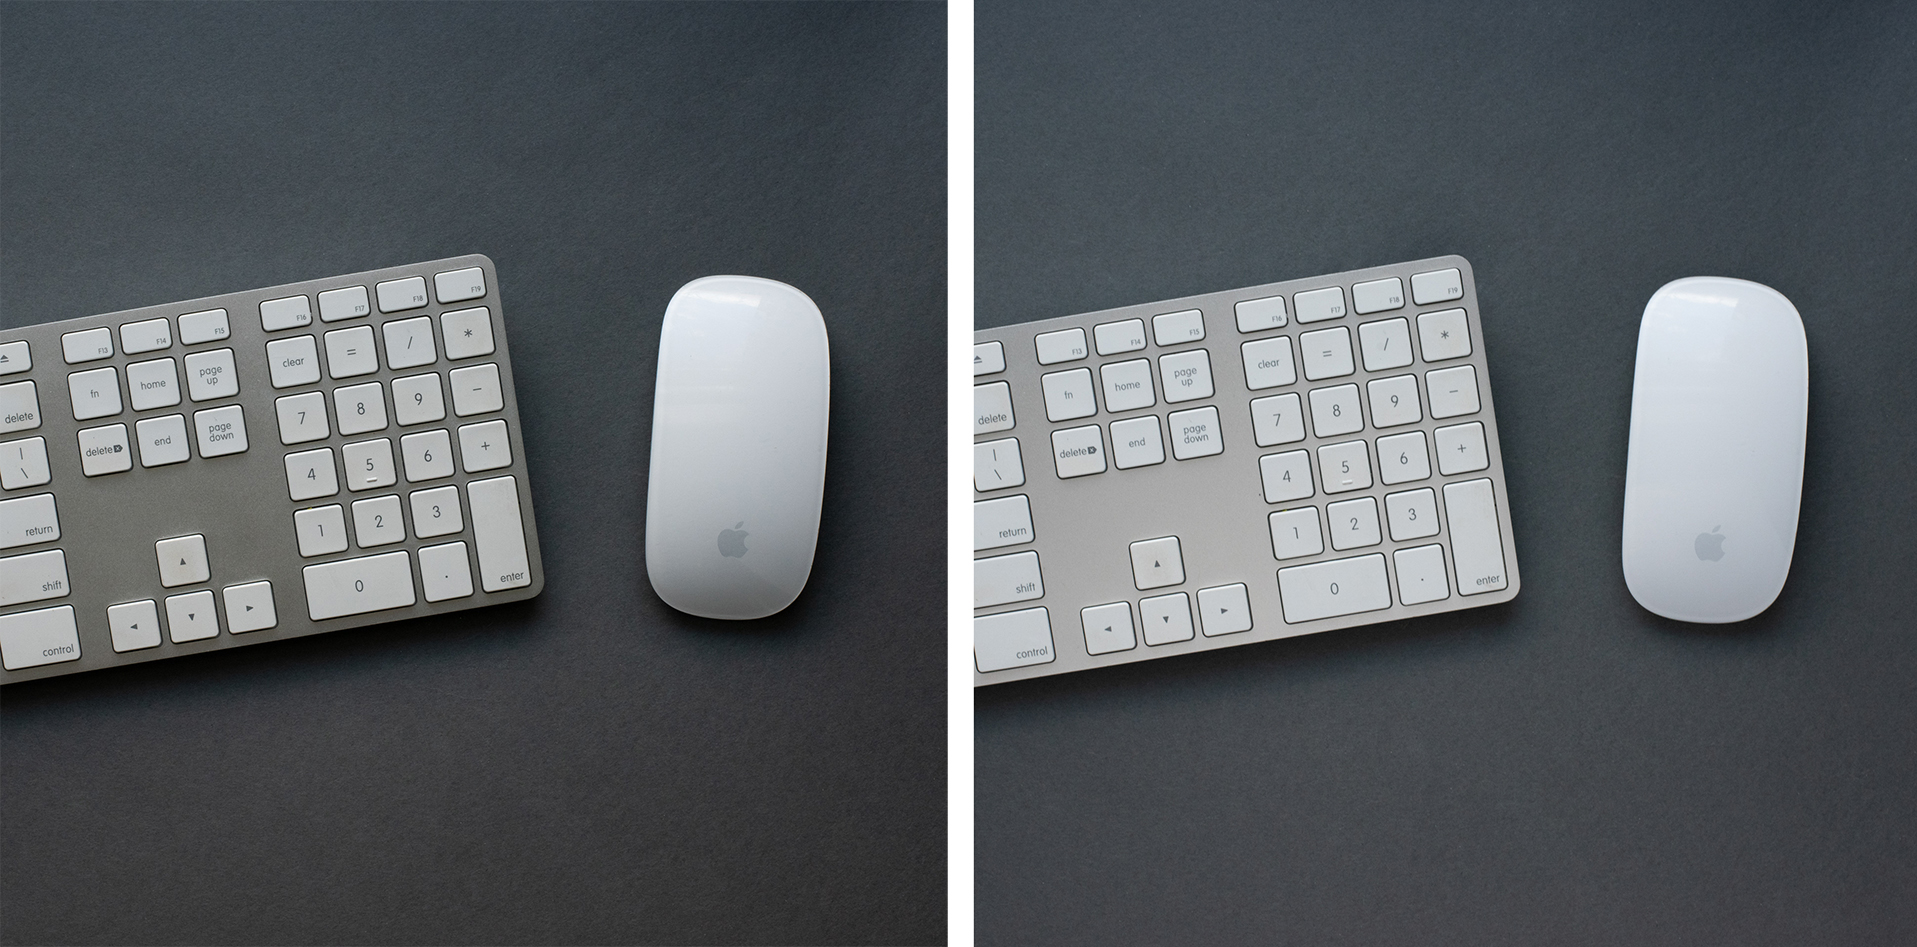
I also recommend trying a reflector to change your light, give yourself more even light, and minimize any shadows that you may not like. You can create a makeshift reflector with a simple piece of white foam board.
Here is a set-up of what that looks like—the image on the left was taken without the reflector, and the image on the right was taken with the reflector shown for comparison. If you move it around and tilt it different ways next to your flat lay, you’ll quickly see the effect it can have on changing the way your light looks as you bounce it off the board from the window.
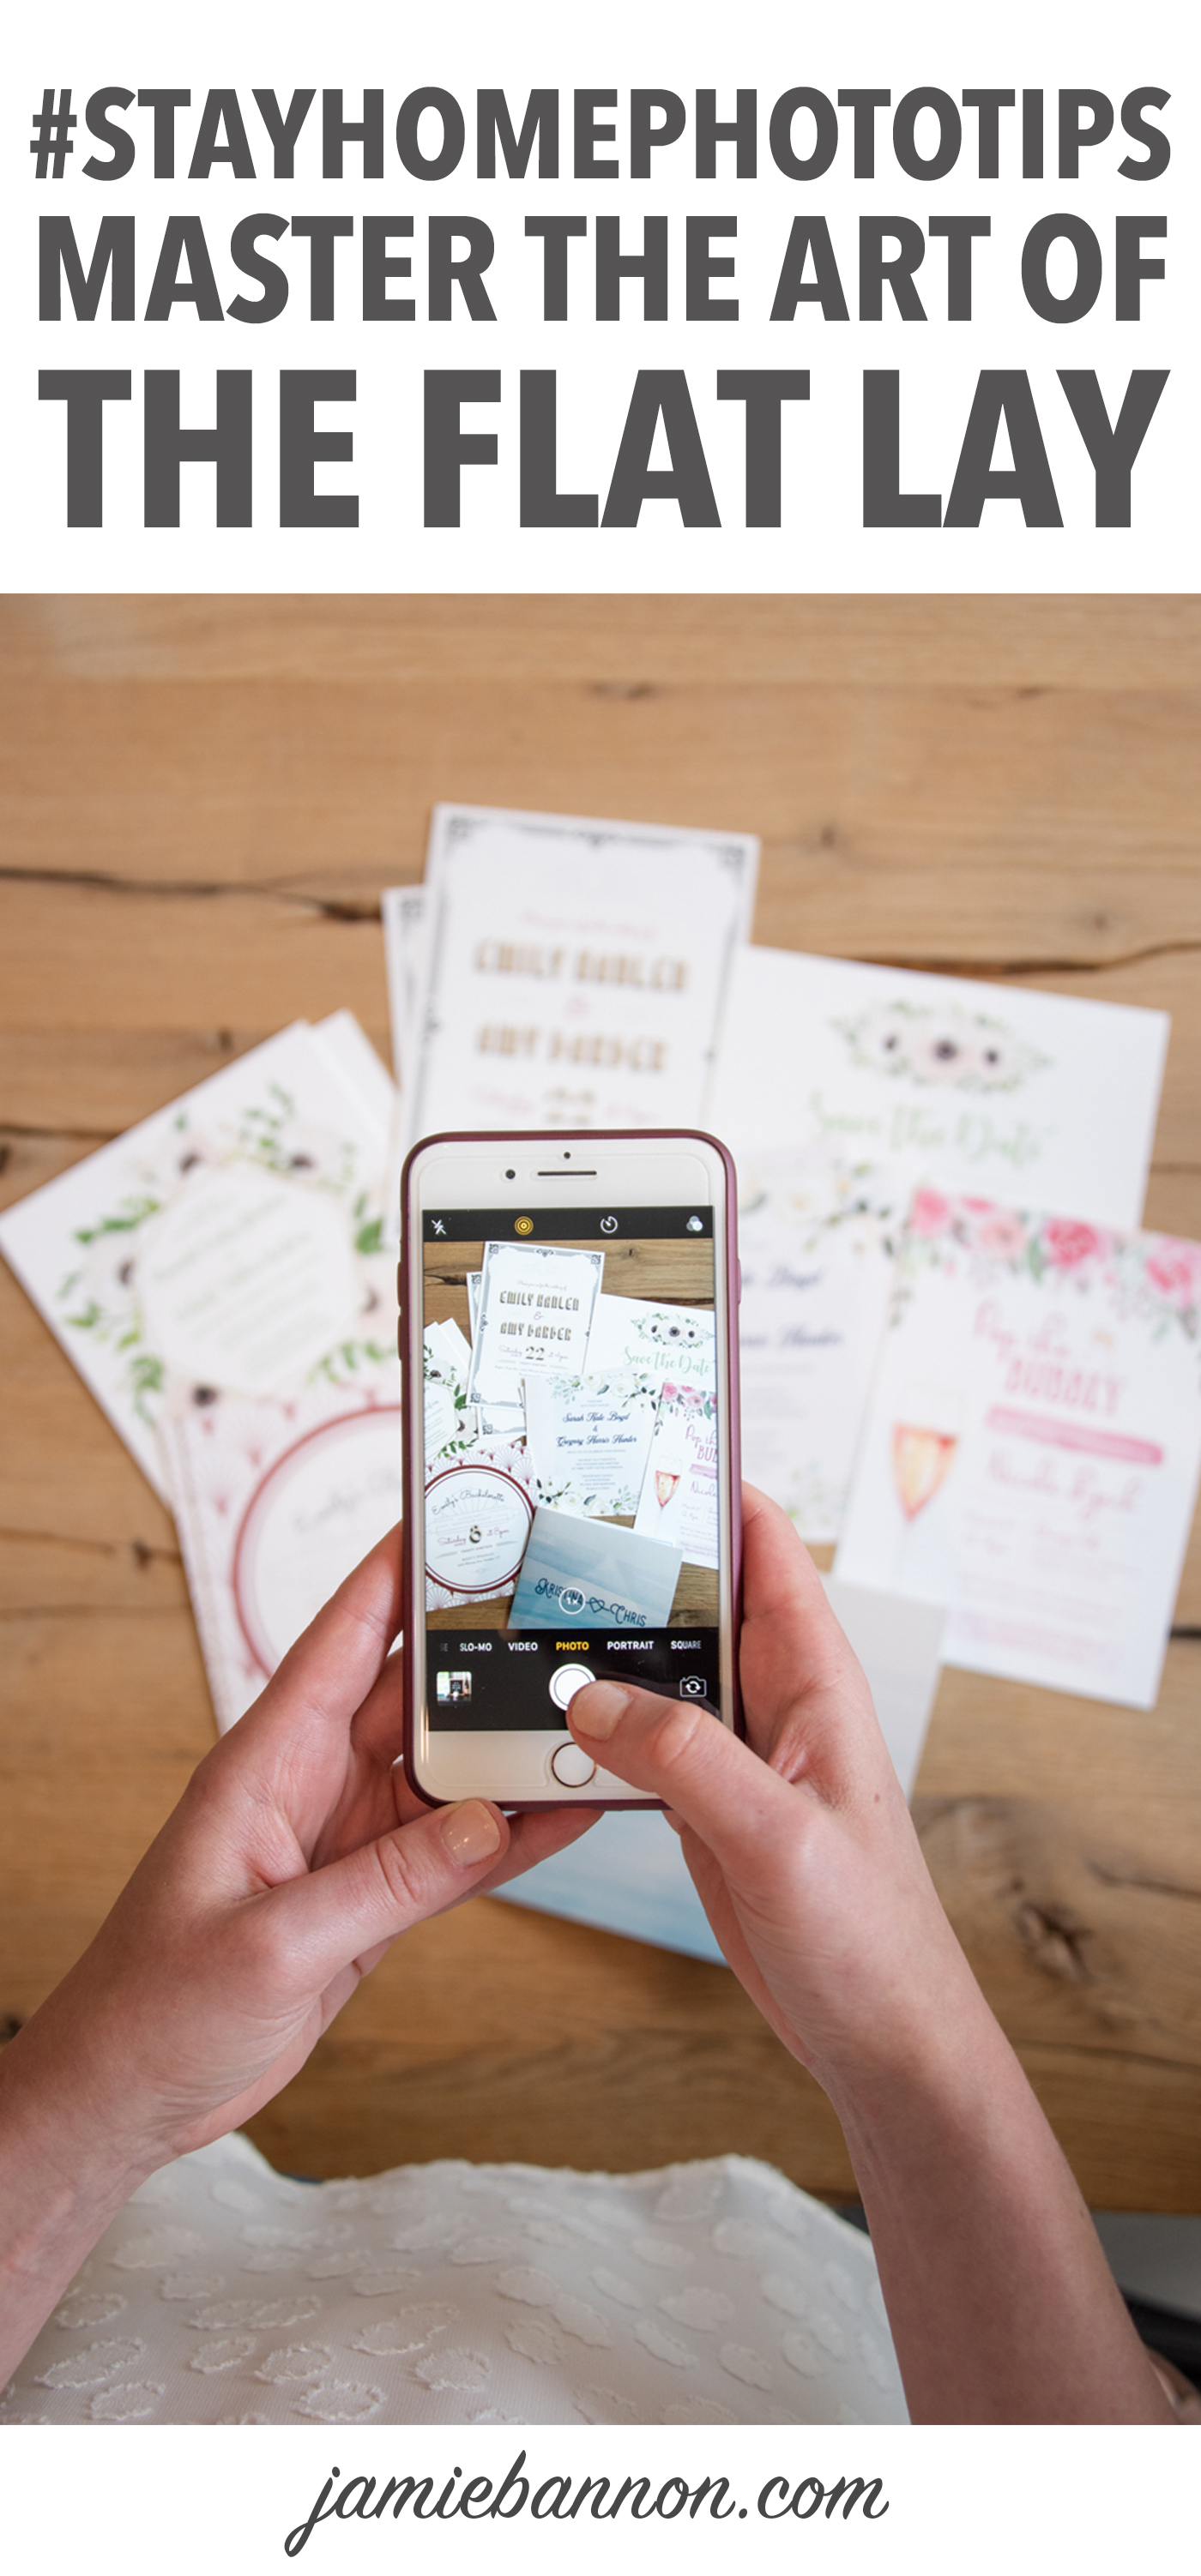
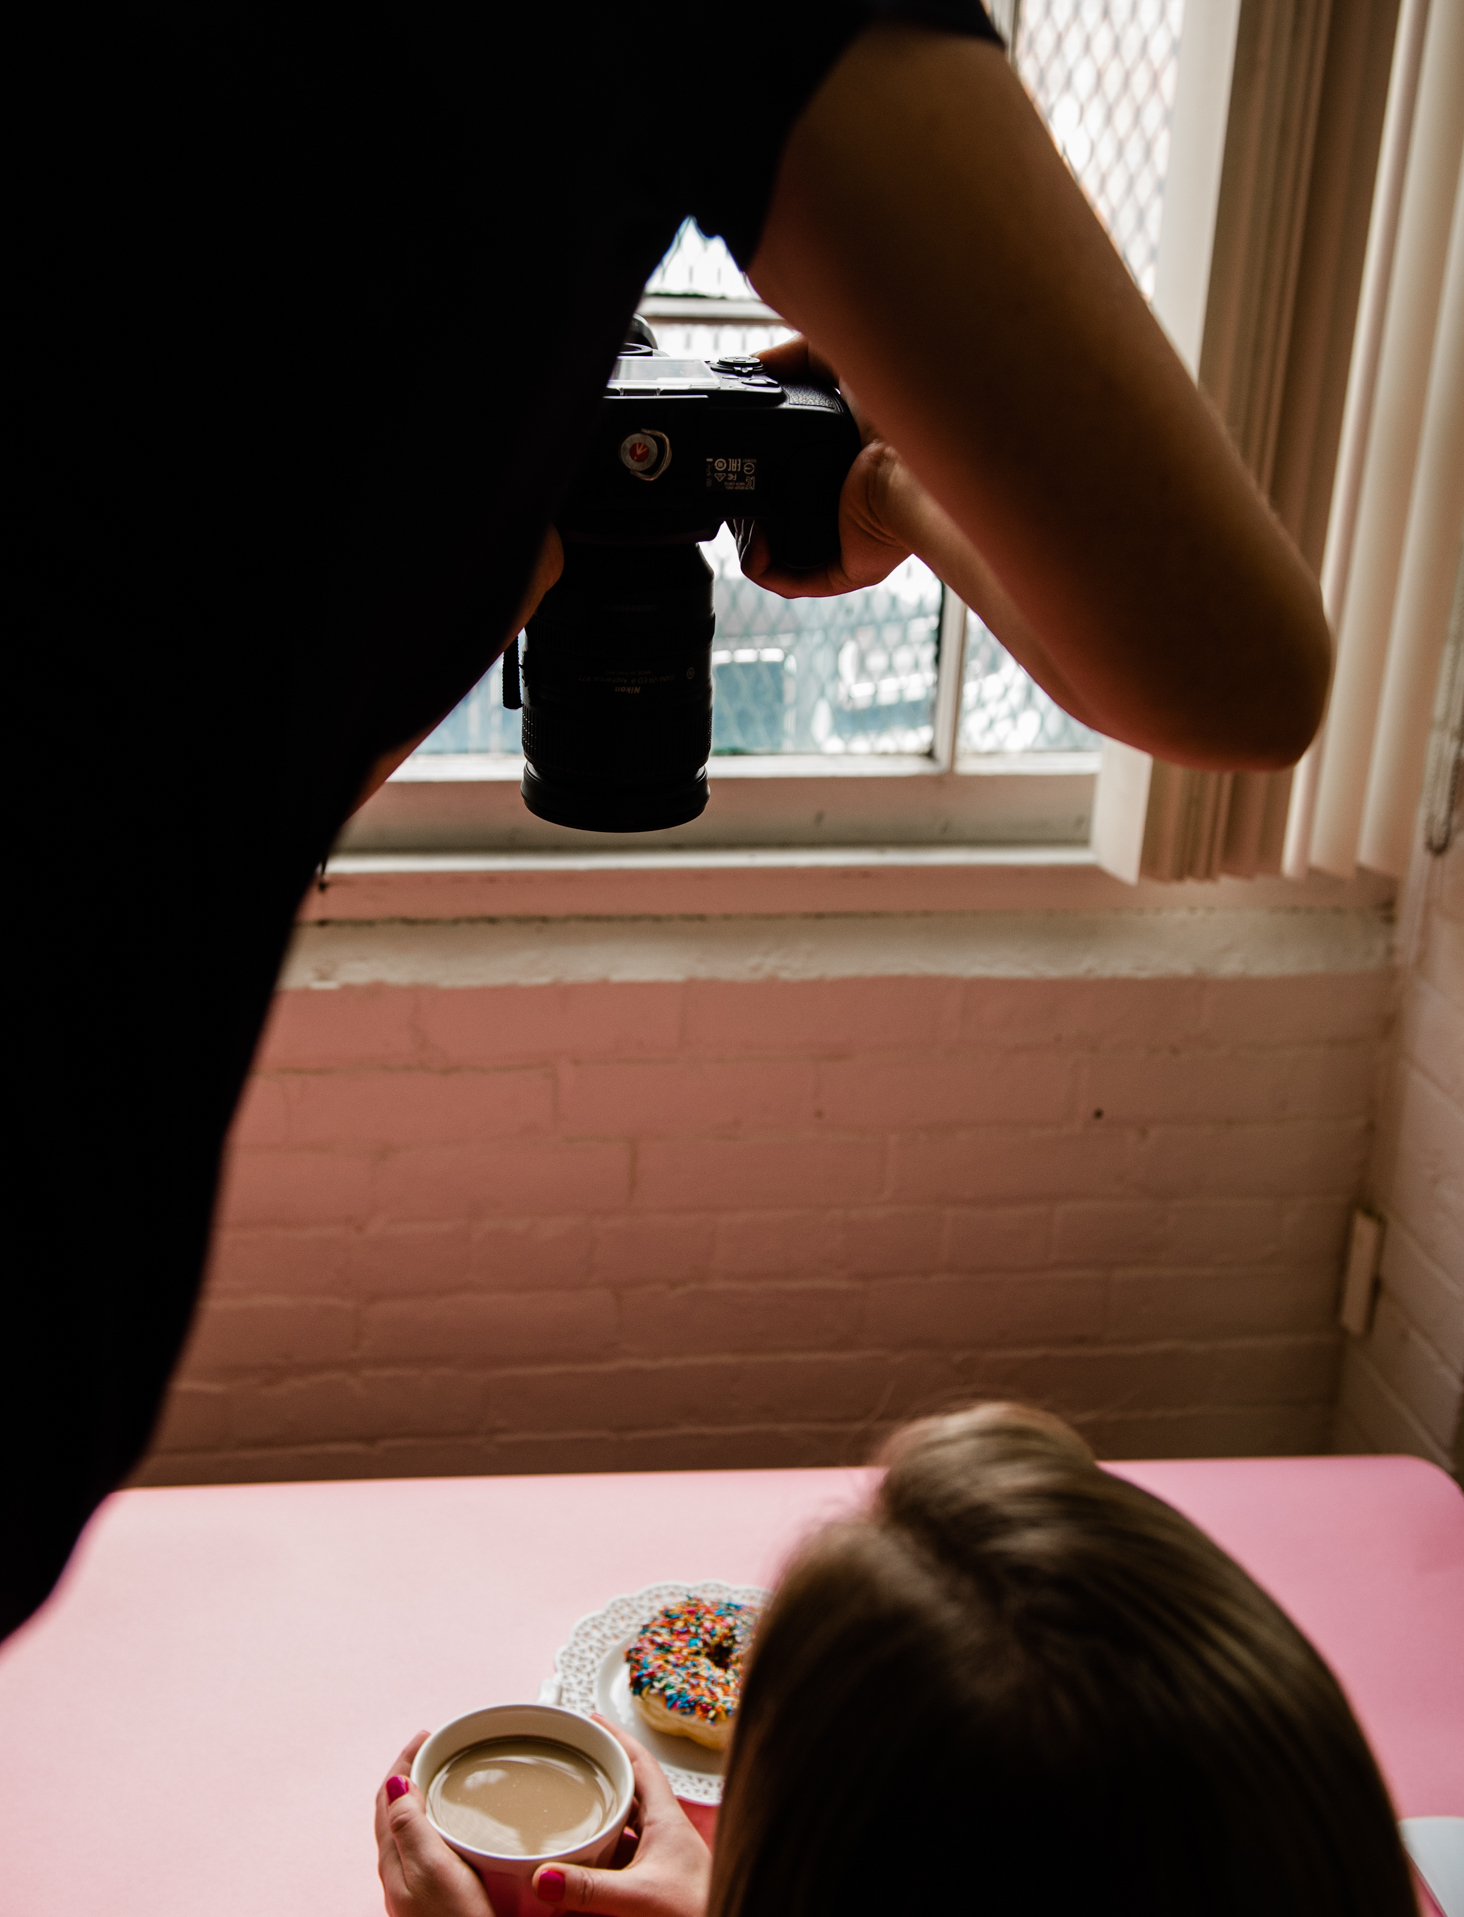
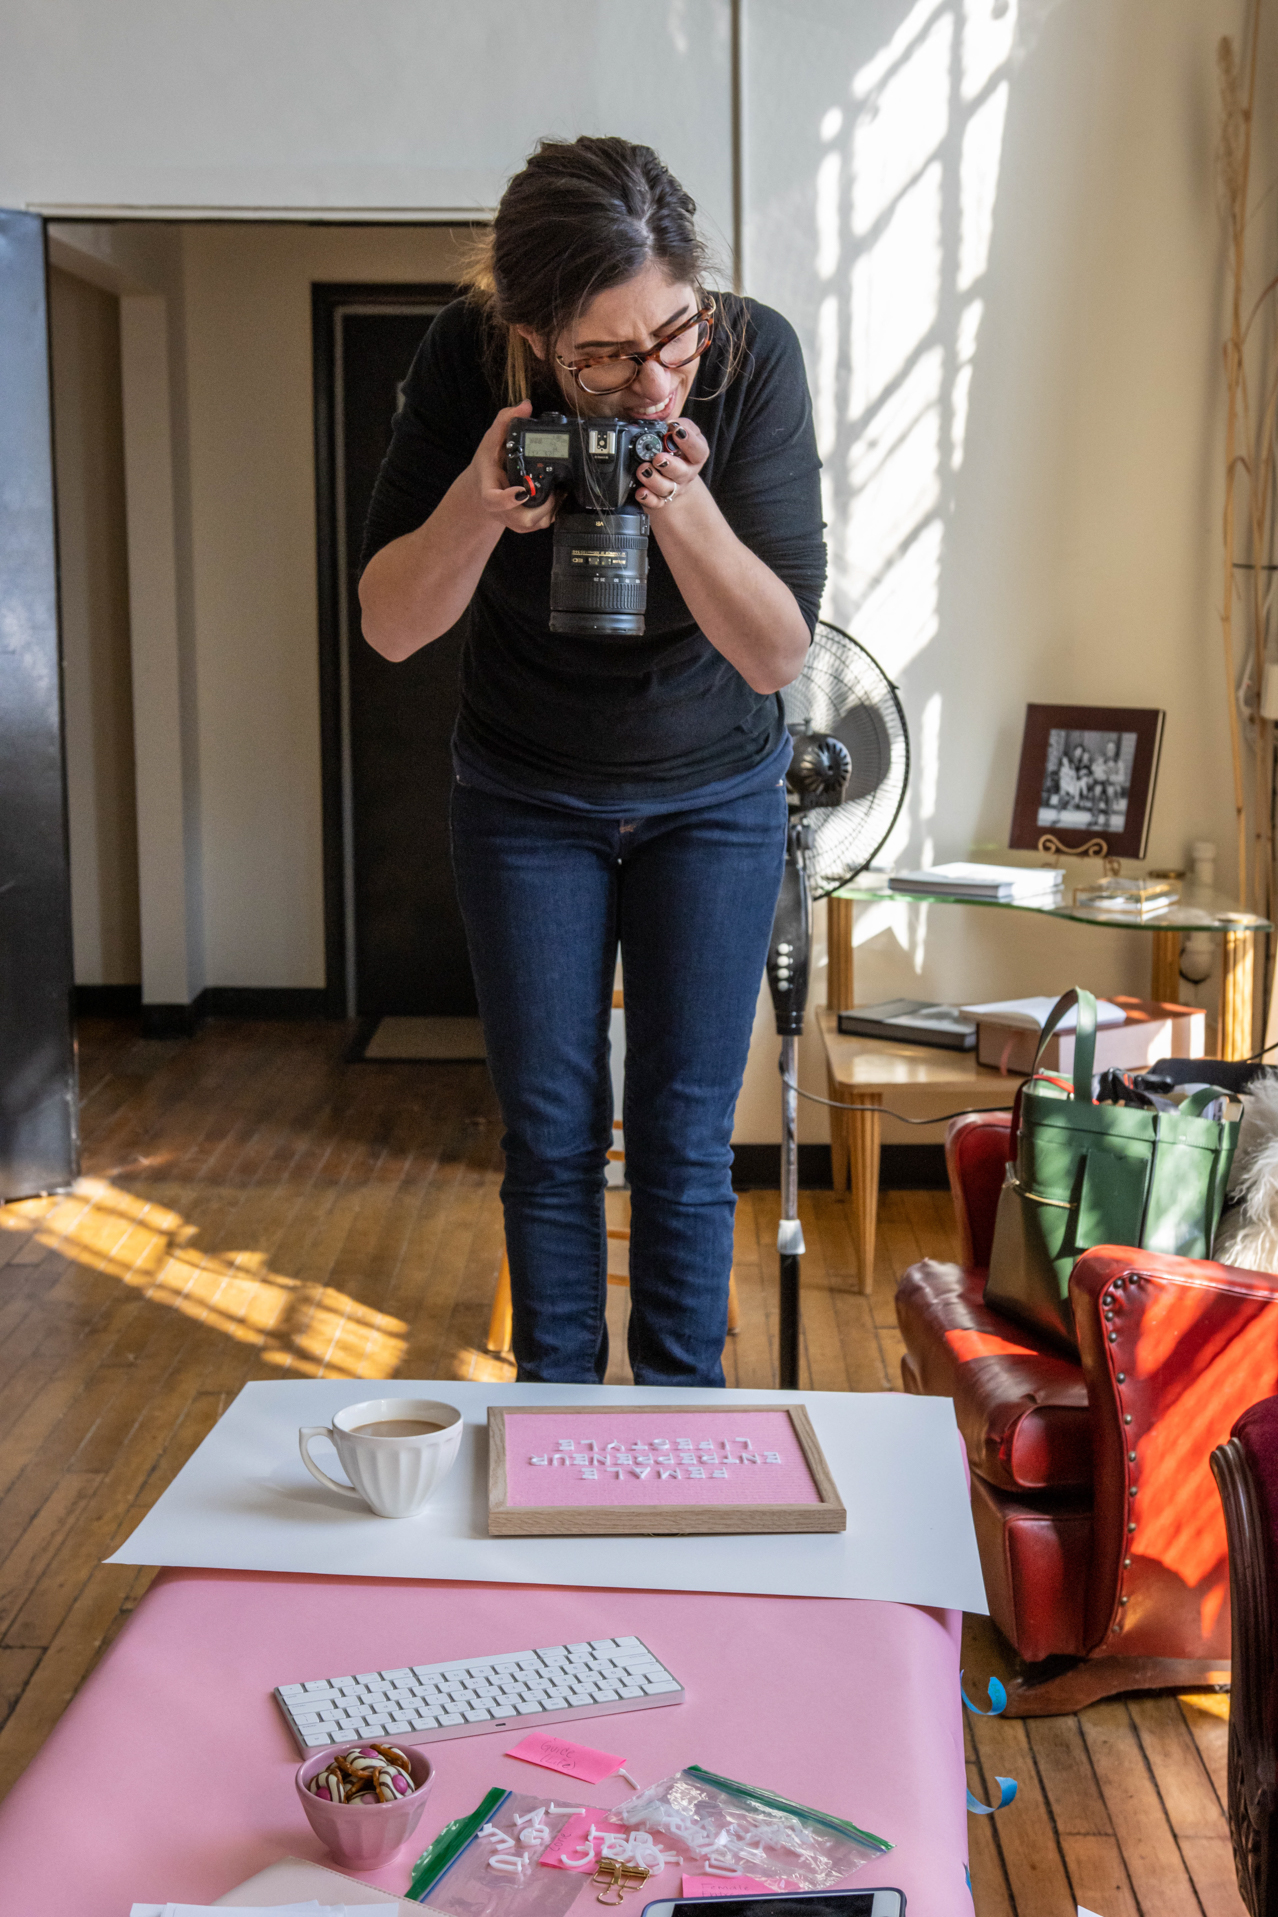
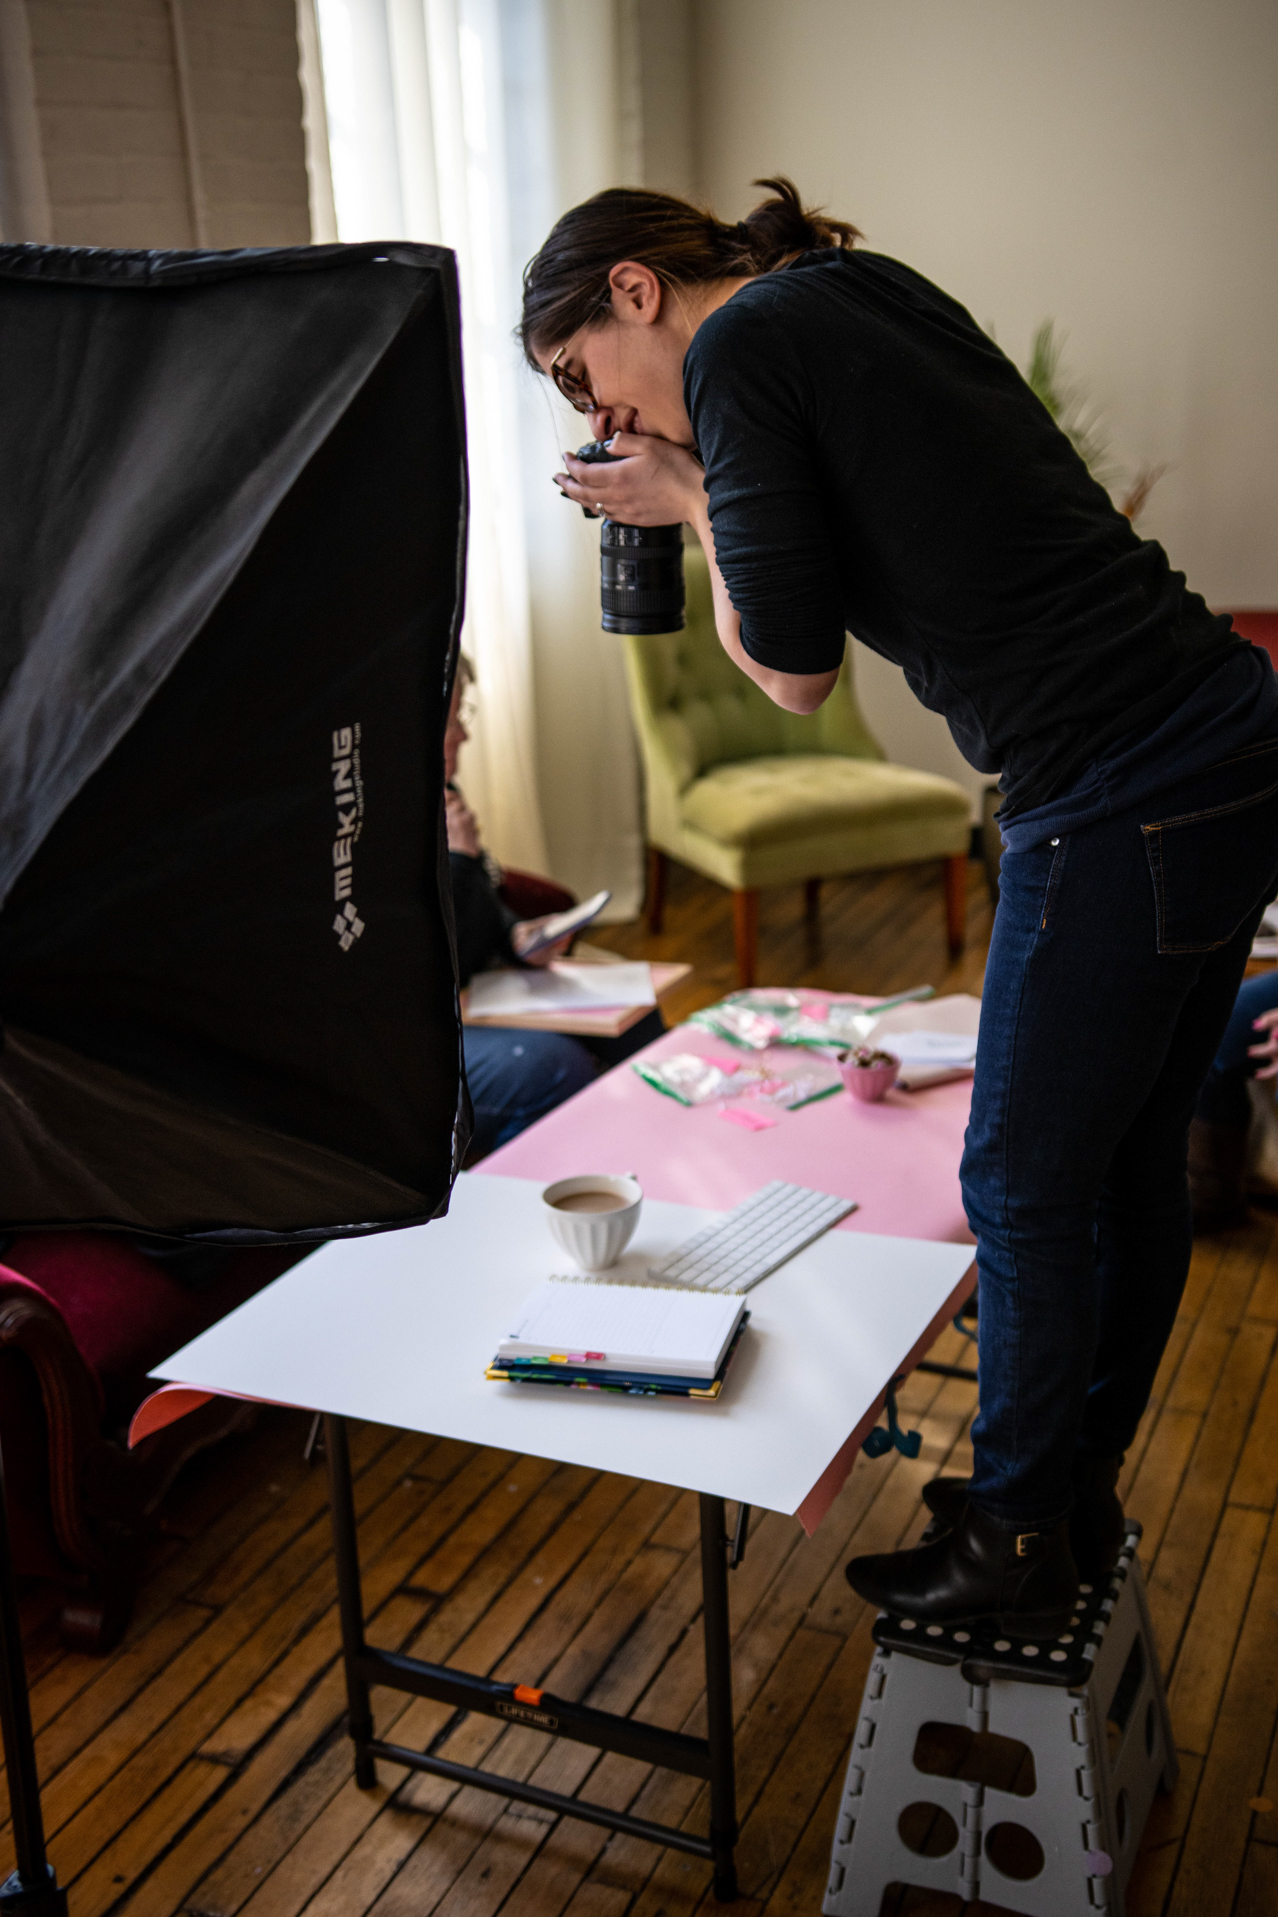
TIP #5: Shoot from directly overhead, parallel to the surface.
Duh, right? It’s a flat lay after all. But the important piece of this is to keep your phone or camera parallel to the surface of your arrangement. Shooting at a crooked angle is a great way to make your flat lay look crude. And after all the work you’ve done arranging and lighting it, that’s the last thing you want!
If you’re shooting with a DSLR, I also recommend shooting from as high up as you can to avoid lens distortion, and then cropping in a little after—if you’re shooting with an iPhone, you don’t have to worry about it as much. I like to arrange my flat lays on the floor or a low table, and use a step stool for height.
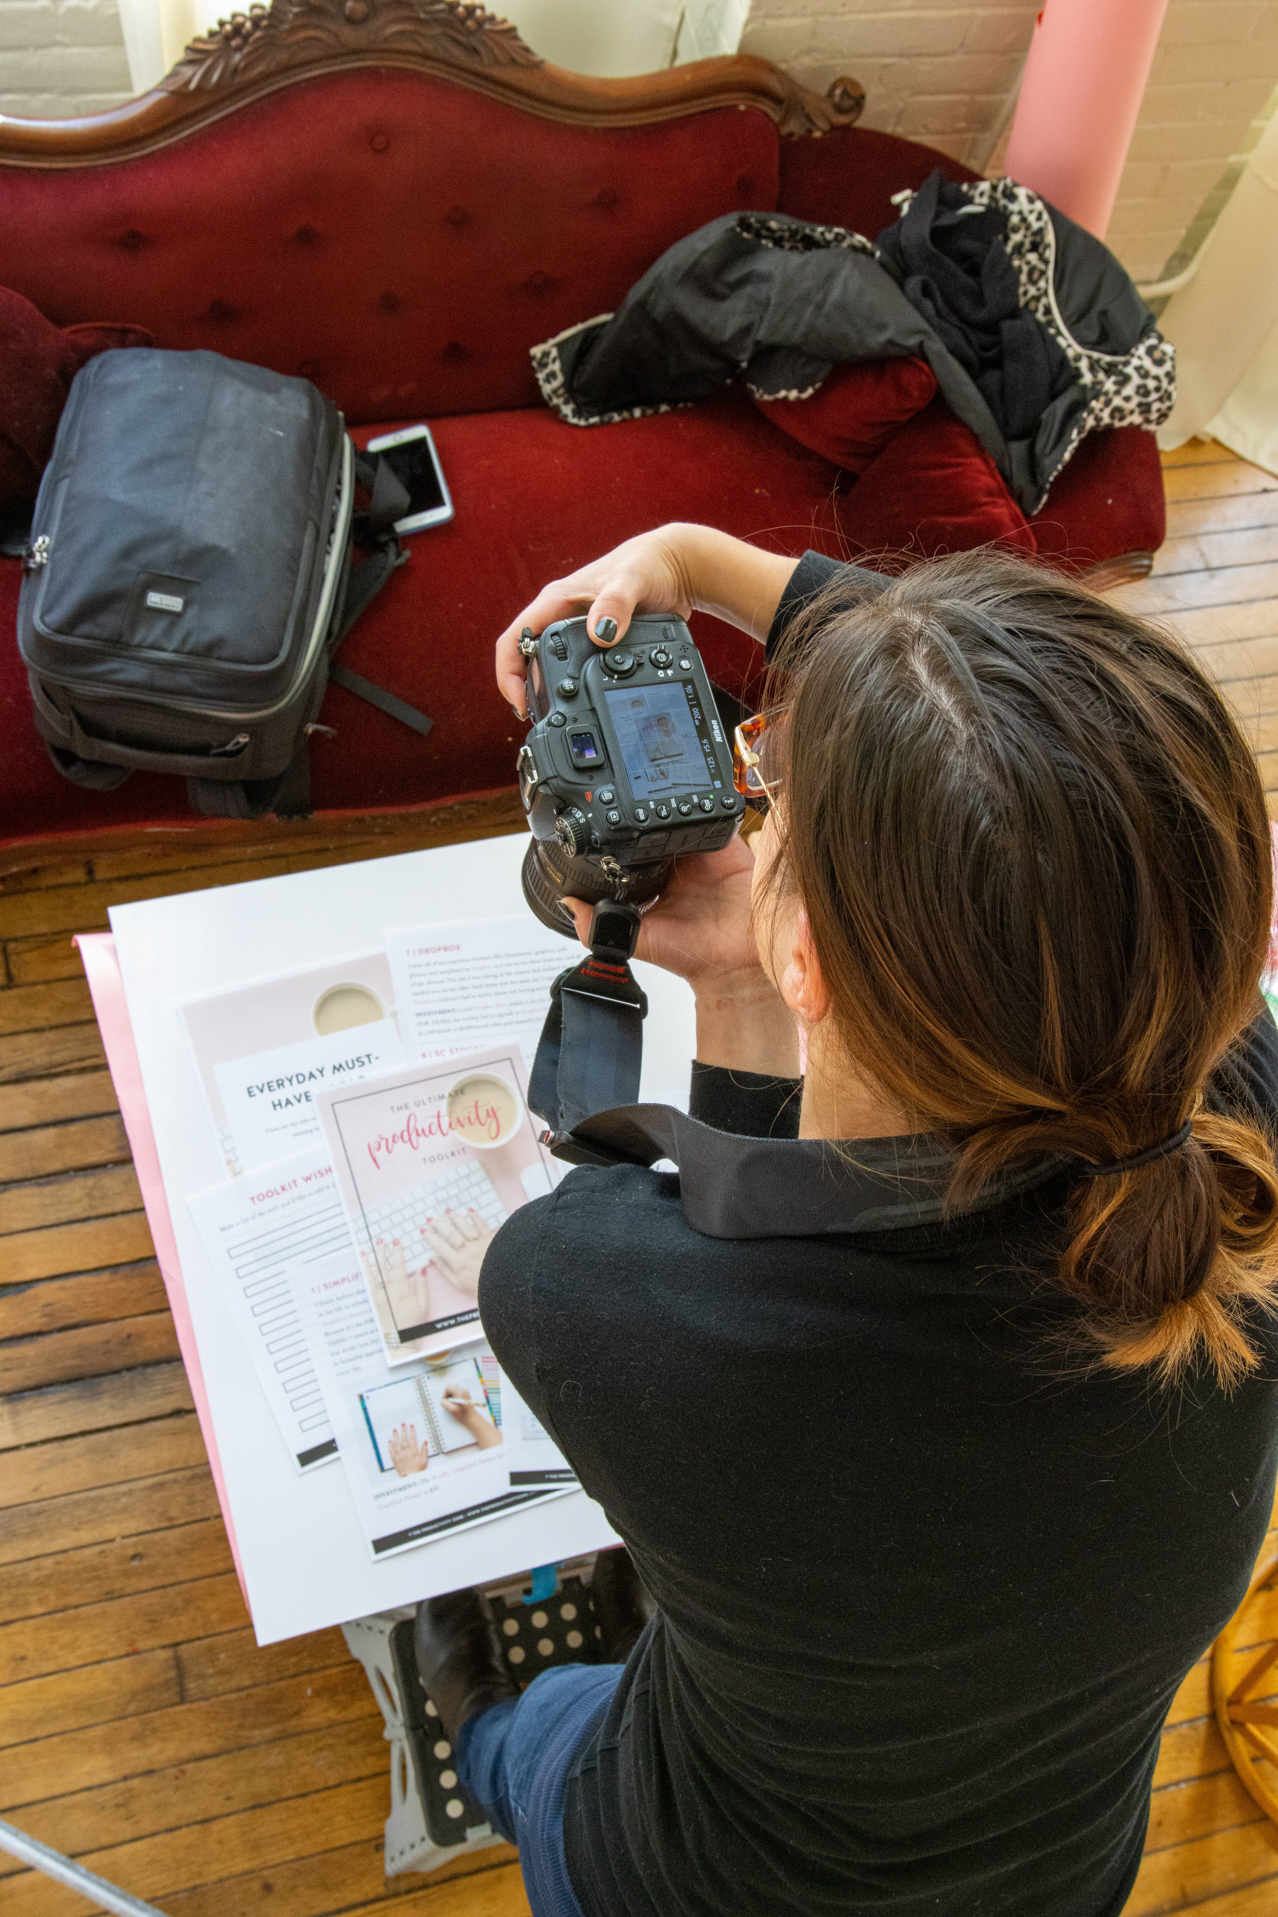
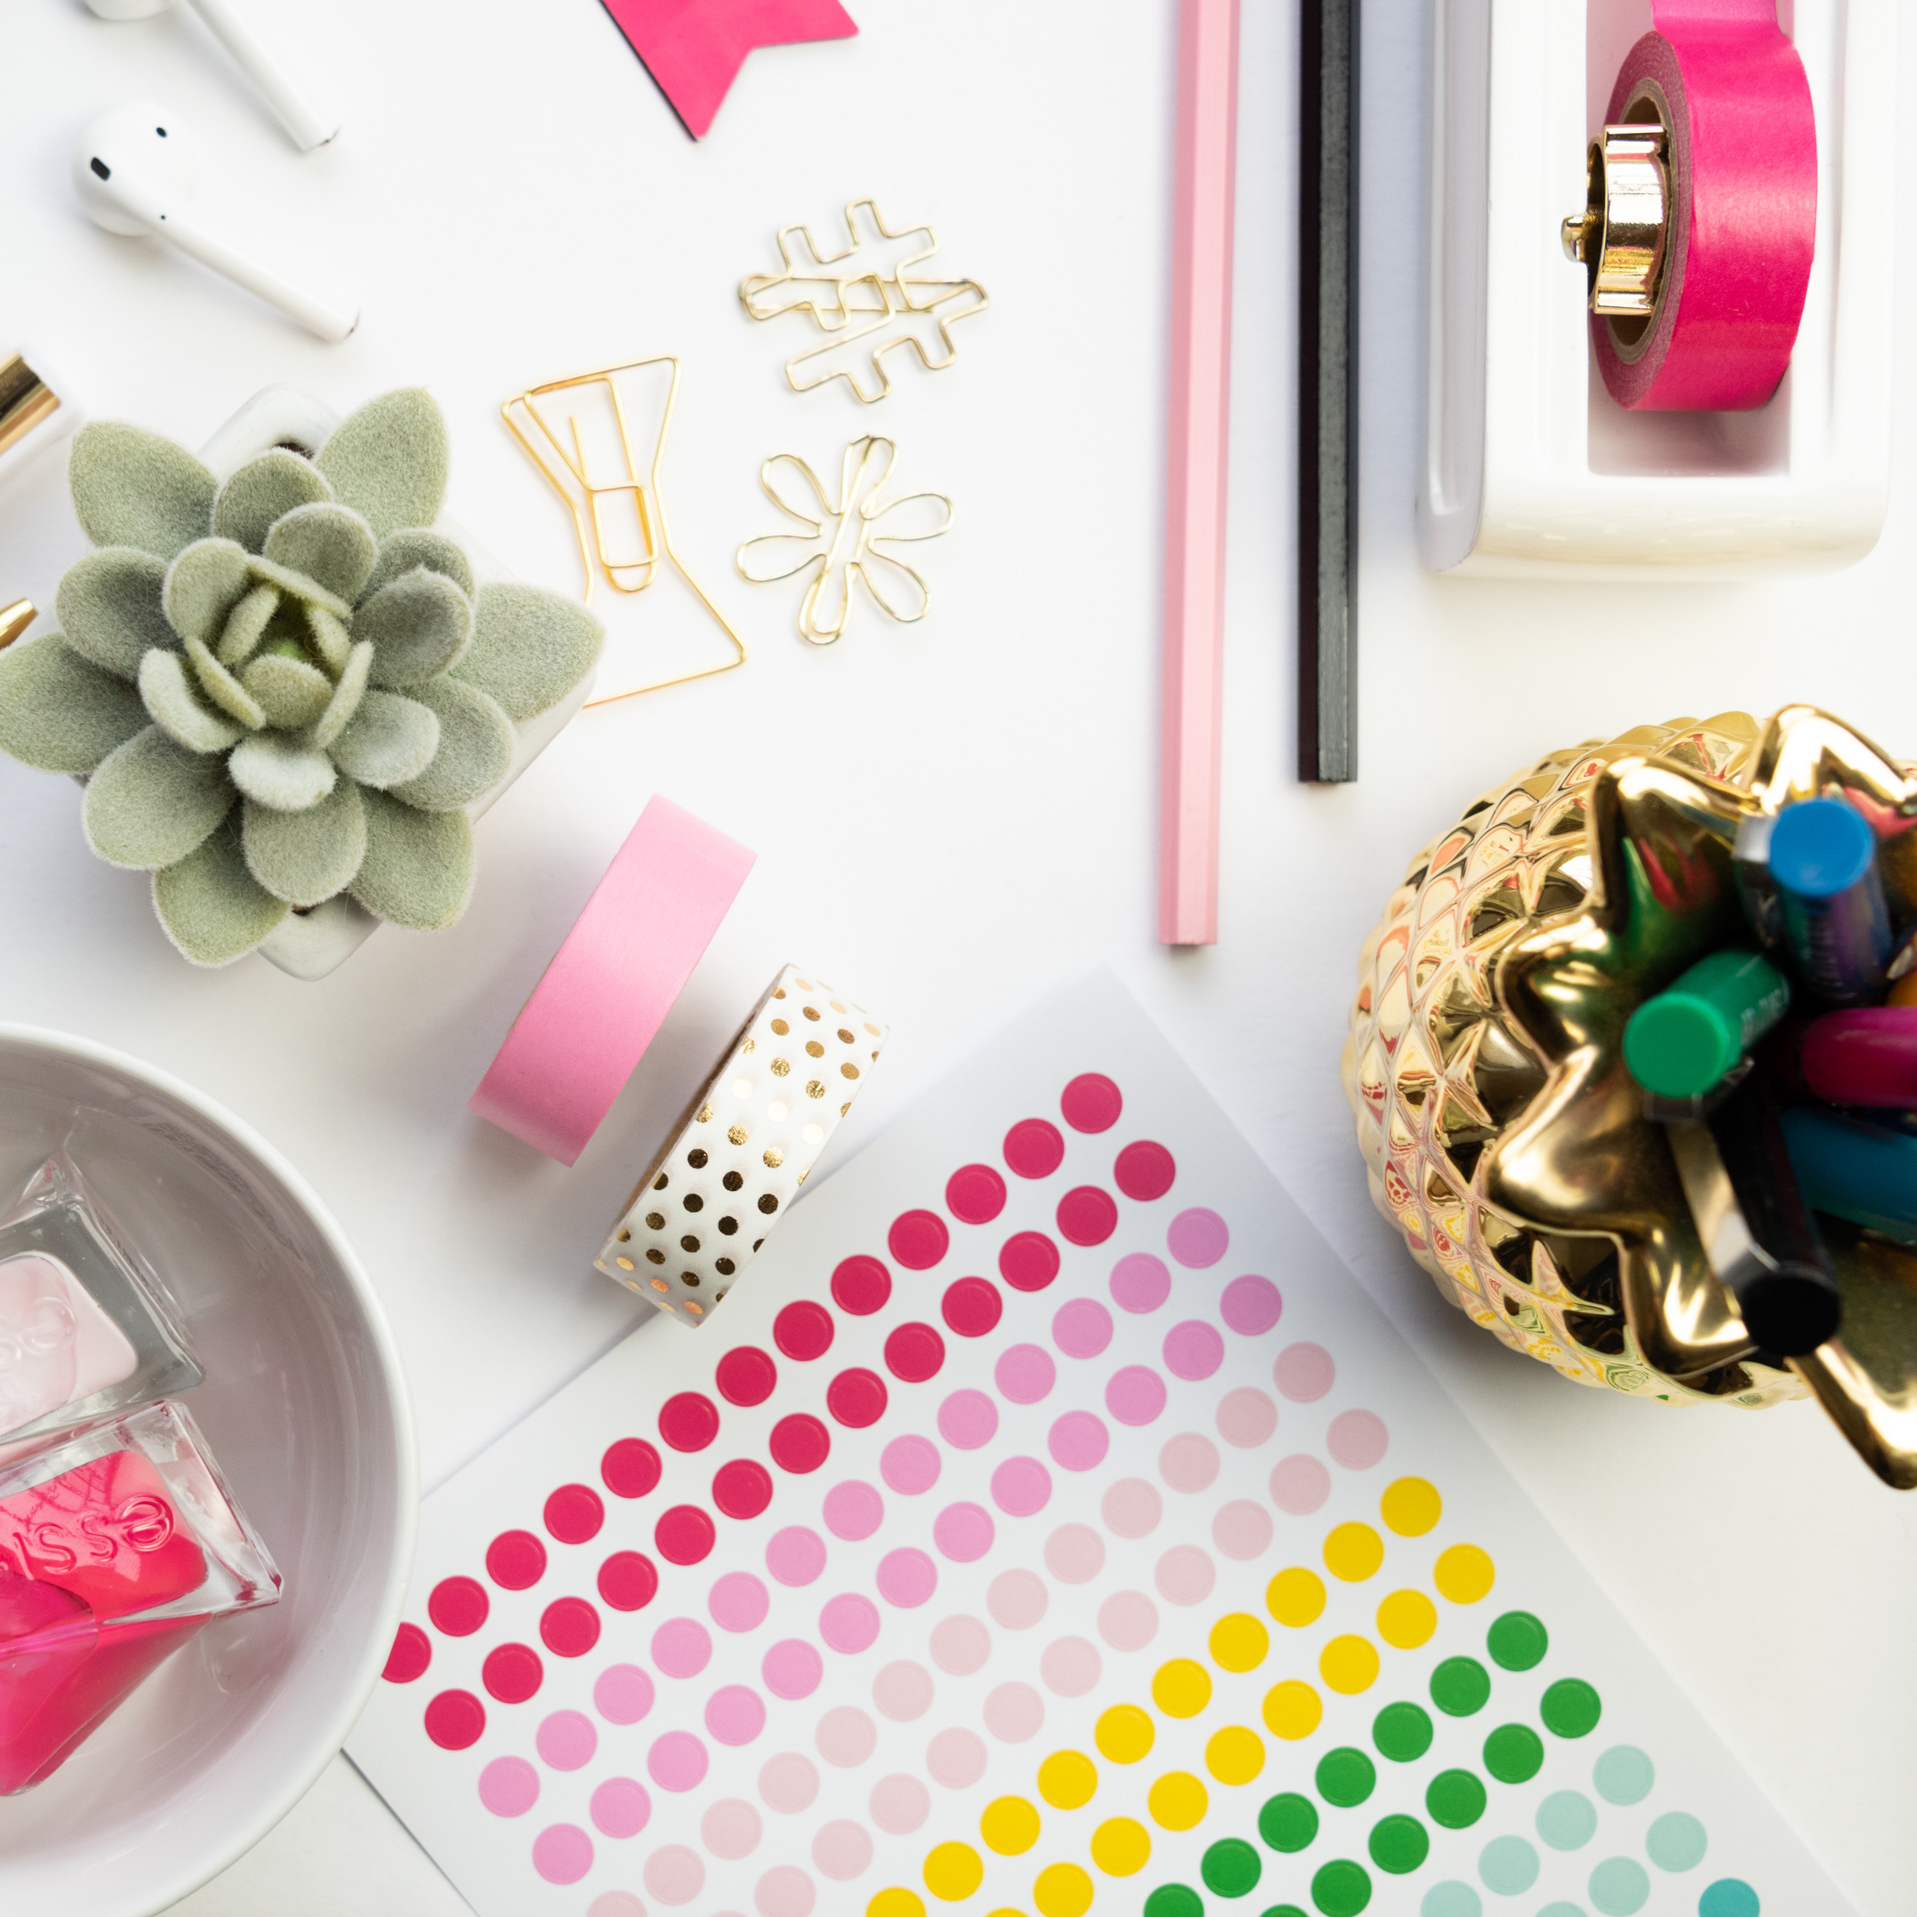
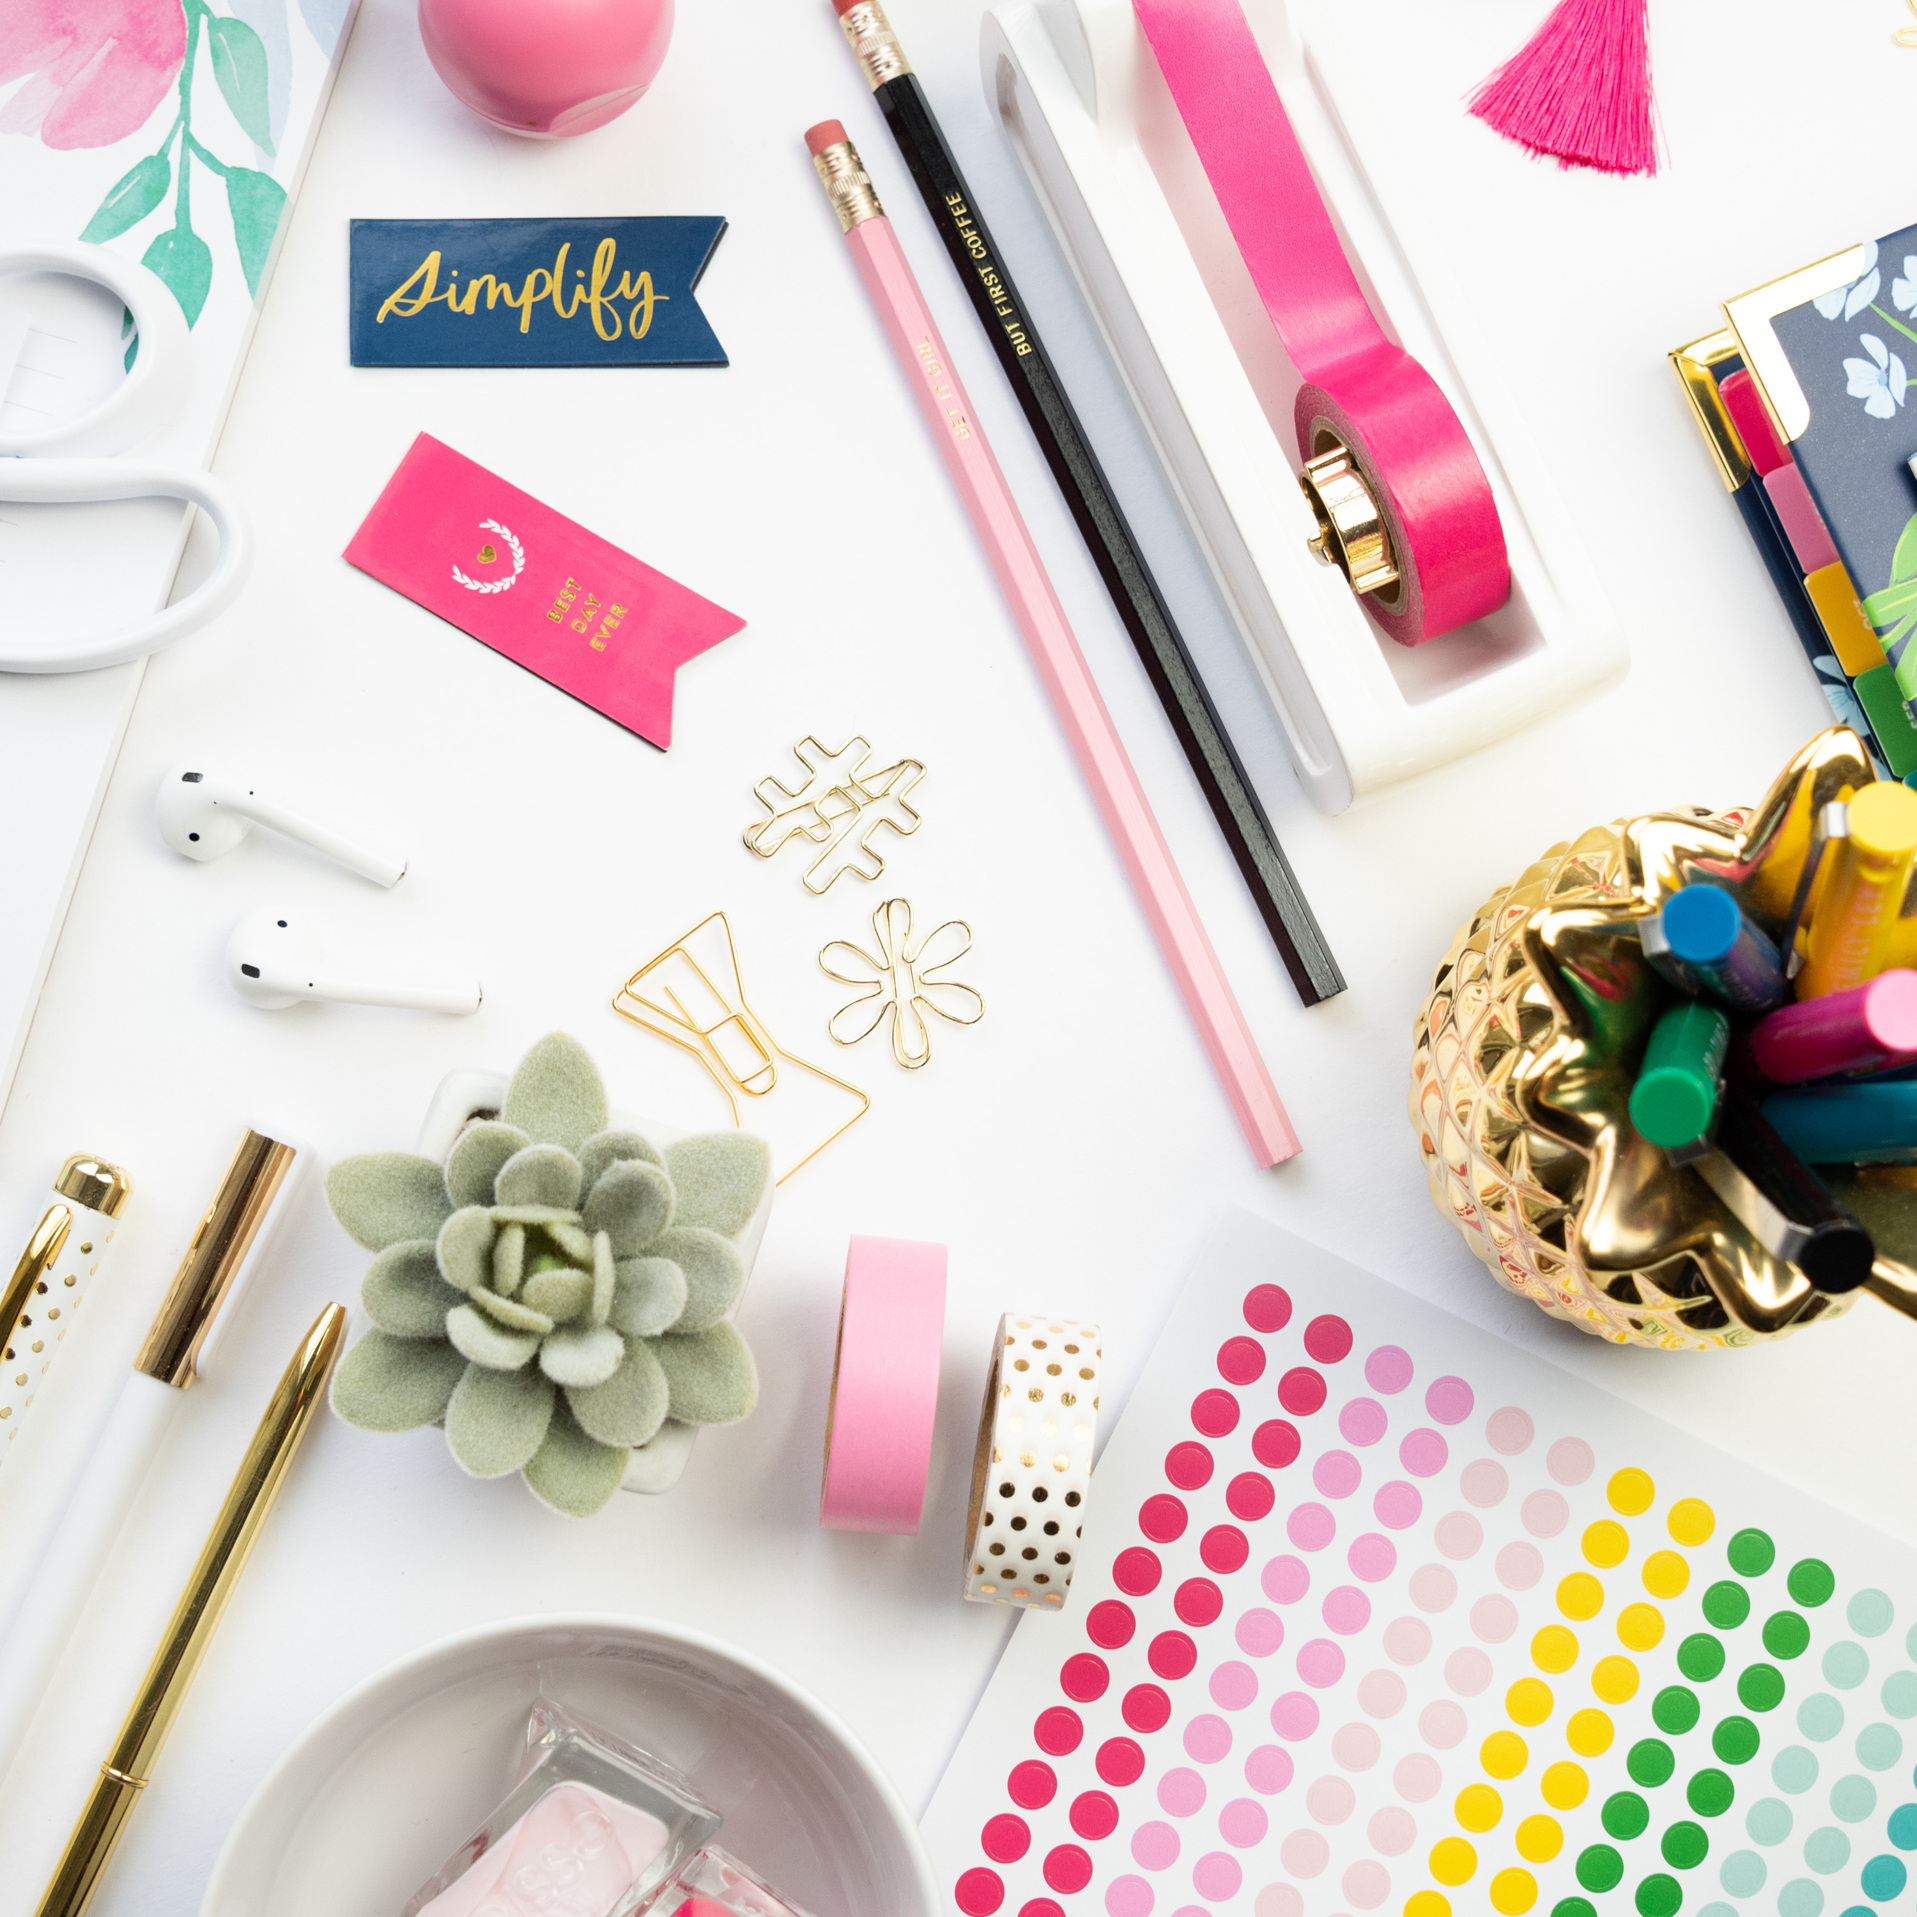
Another reason I like to get a little higher and shoot a little wide is so that I can play with cropping it in post processing. When I am editing my flat lays, I like to try different crops to see what I like best – here’s an example of the same flat lay cropped a few different ways below.

For 10 more tips on how to shoot great looking flat lays, get my guide at the link below! 👇🏼